TIMM's BMW E31
FITTING THE BECKER INDIANAPOLIS NAV UNIT
Satellite Navigation would really be handy in the E31, but the usual stick-on-the-window units just don't look right, especially with the 12V
lead dangling around the cabin. Single-DIN units are available with flip-out screens, but they don't look right either. Fortunately Becker (who
produce the original head units for some versions of the E31), produce a suitable single-DIN unit that suits the E31 cabin:
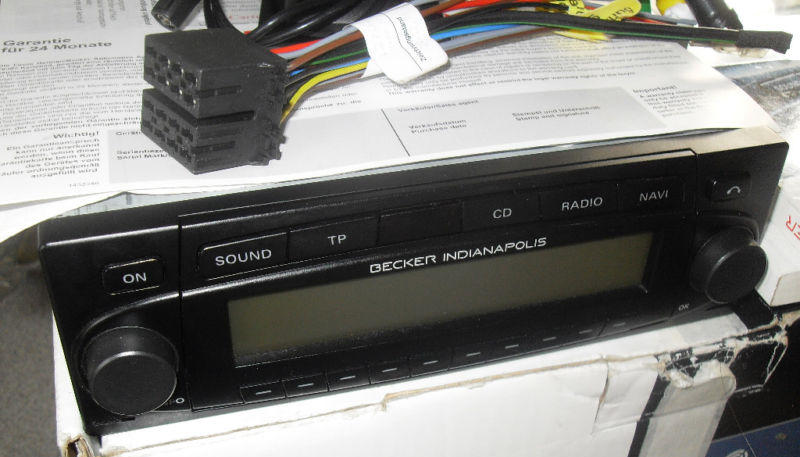
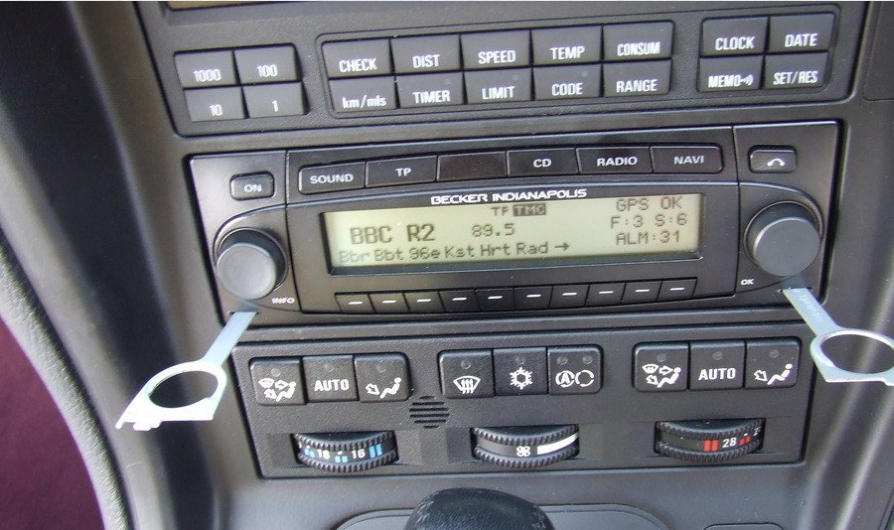
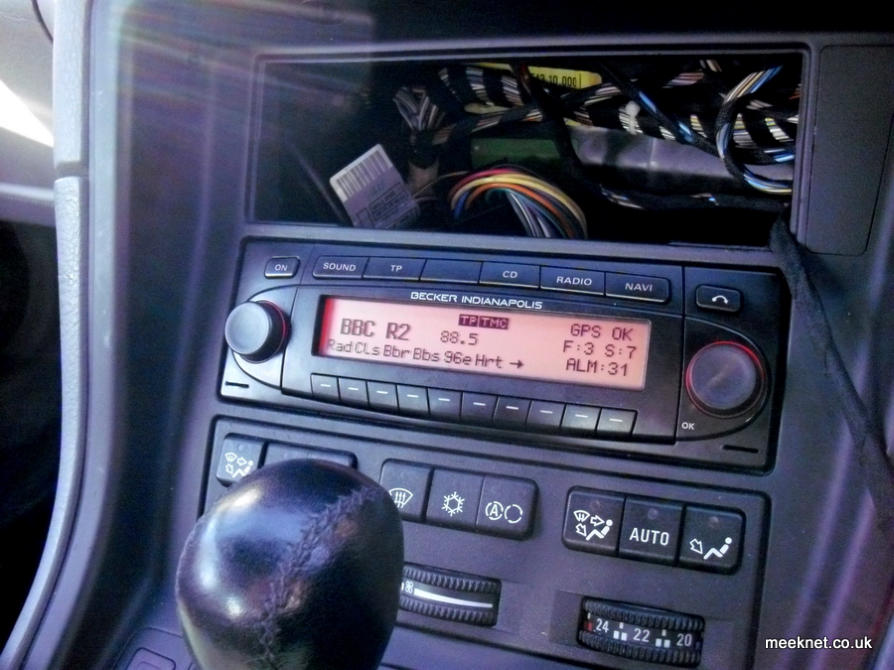
The Becker Indianapolis has a red/orange display that suits the E31's illumination, it is a sat-nav unit, RDS radio (with TMS) and a CD
player that supports MP3 CD's. The sound quality exceeds that of the standard BMW Professional radio that is normally fitted. Fitting is
pretty straight-forward except for the need to site the GPS antenna and to enable the GALA speed signal as this increases accuracy of the
navigation system.
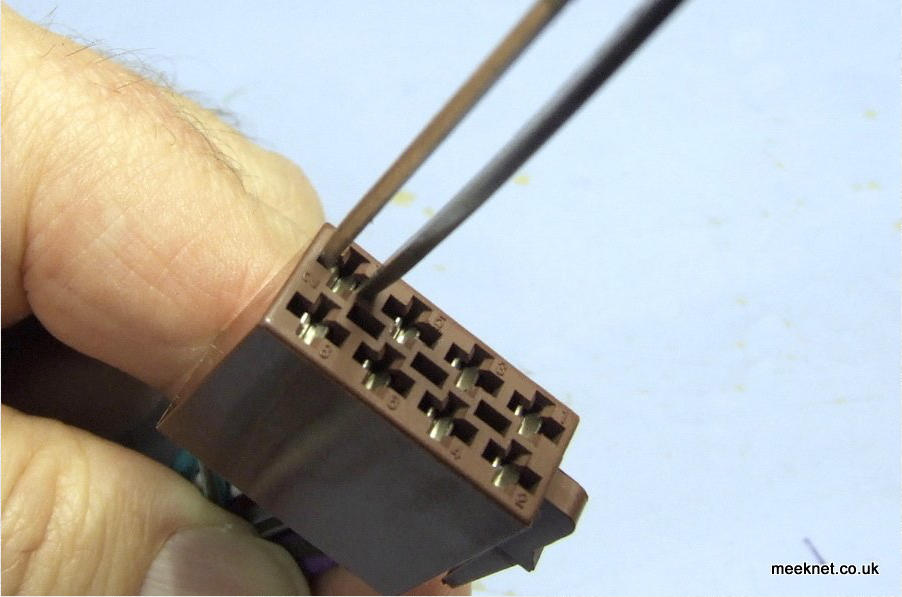
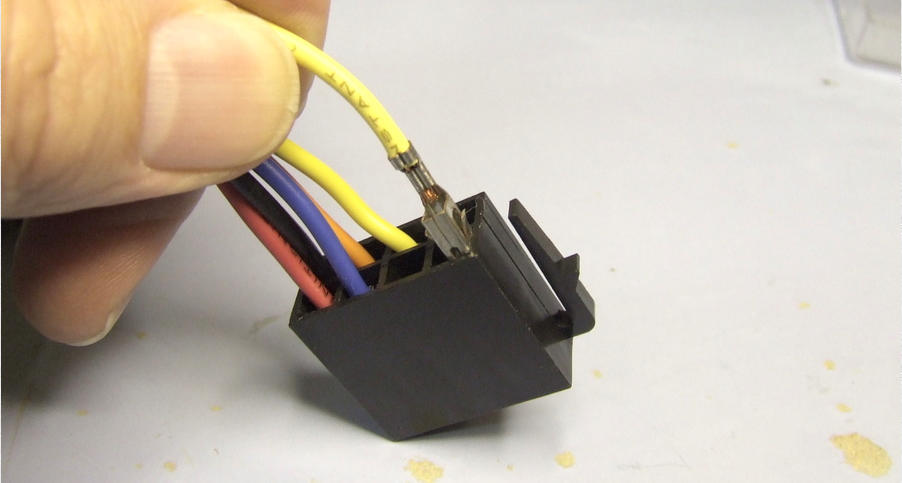
First thing to do is to purchase two BMW to ISO adaptors, these are exceptionally cheap (£2.99 from Ebay), the second adaptor is needed to
provide the missing wire for the GALA signal which is not present on the ISO adaptor. Firstly, remove one of the wires from the spare ISO
adaptor, a pair of tweezers work well on the small connectors:
And a small screwdriver works well on the BMW end:
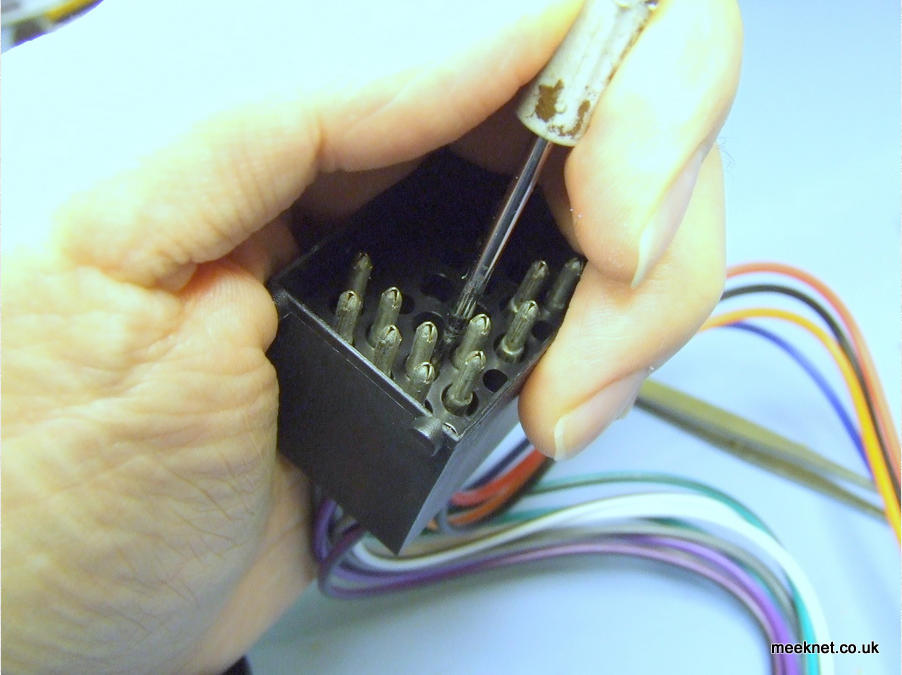
Here is what the connectors look like when removed:
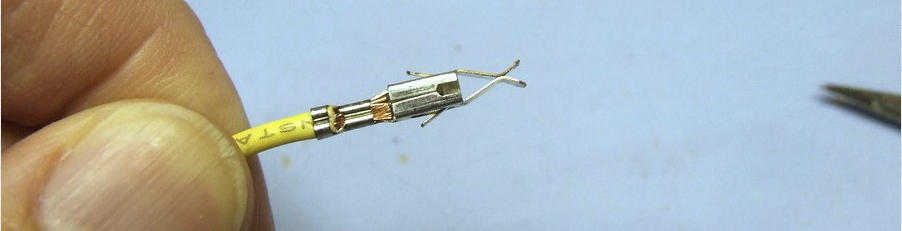
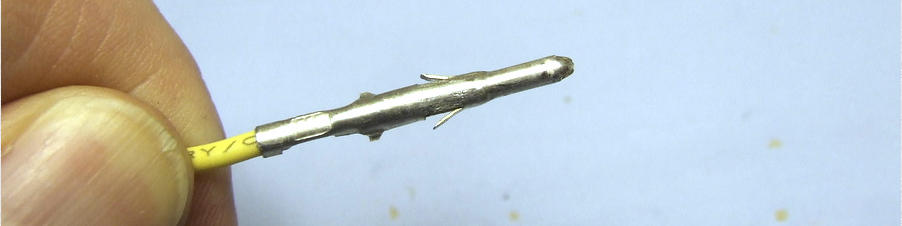
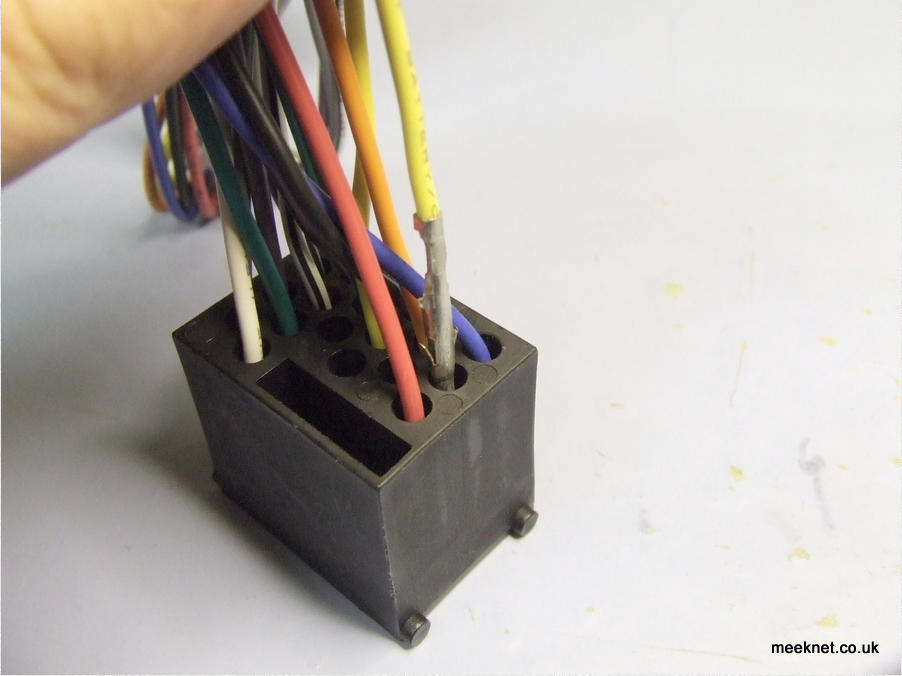
Make sure that the retaining hasps are bent back out and then fit them to the ISO adaptor as shown:
Right, that's the preparation done, plug the adaptor into the Becker unit
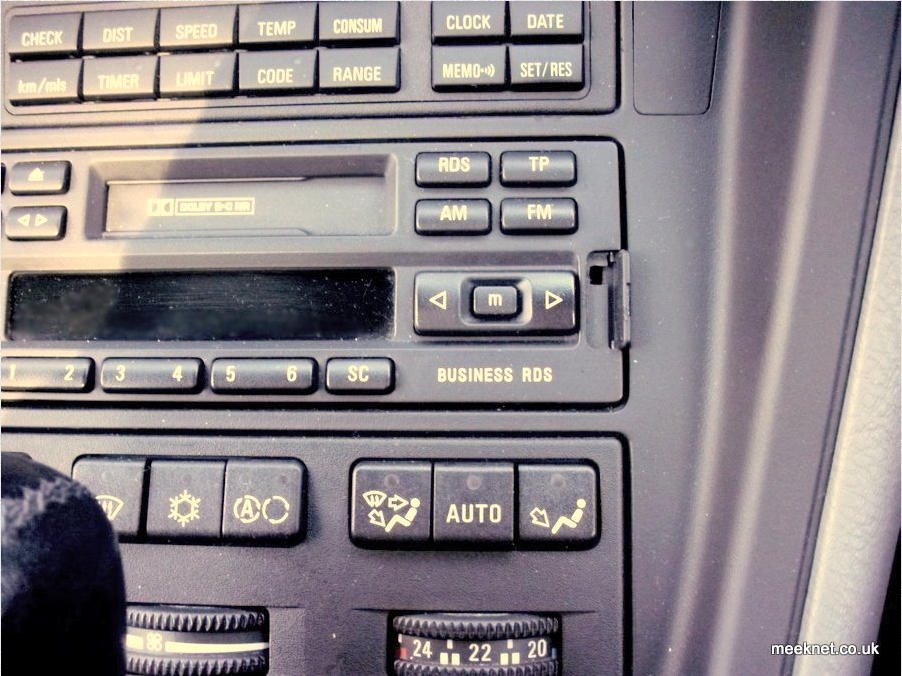
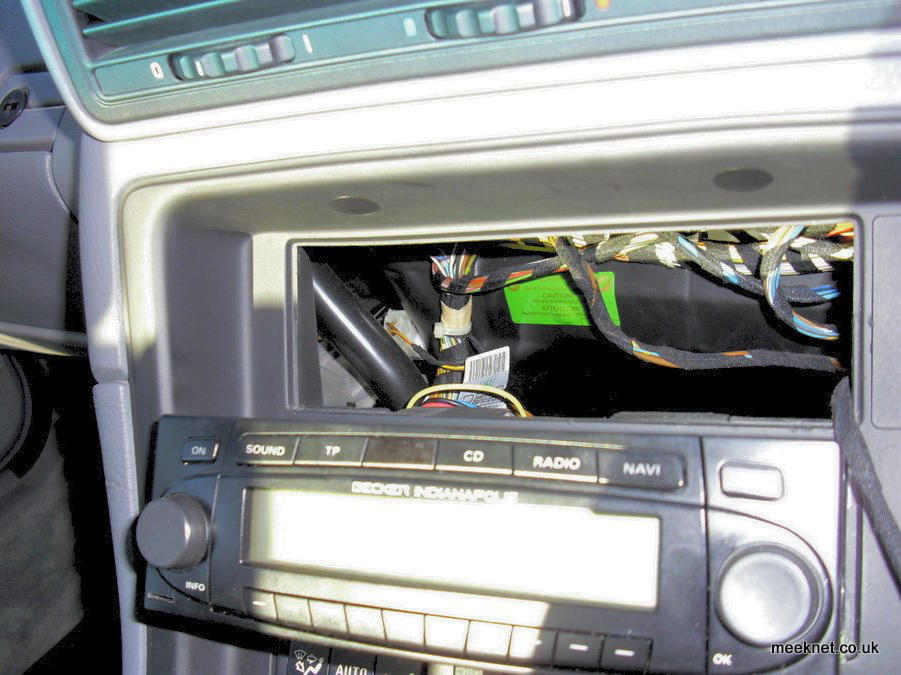
and move on to the car. Start by opening the flaps on the OEM
head unit and undo the two fixings (2.5mm Allen bolts):
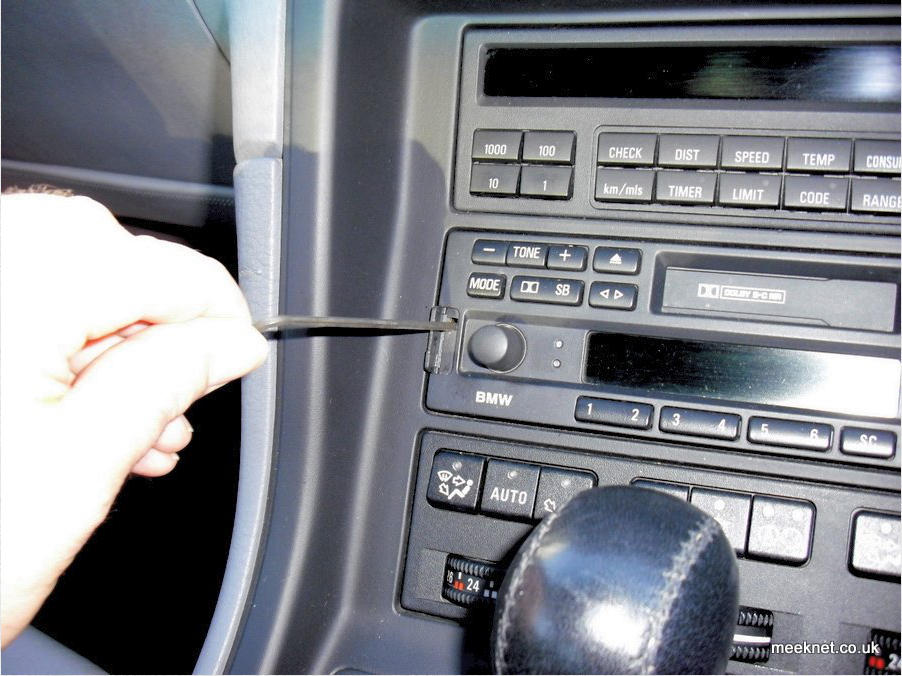
The Allen bolts are very long and you will need to pull the head unit out
and then unscrew the bolts further until out:
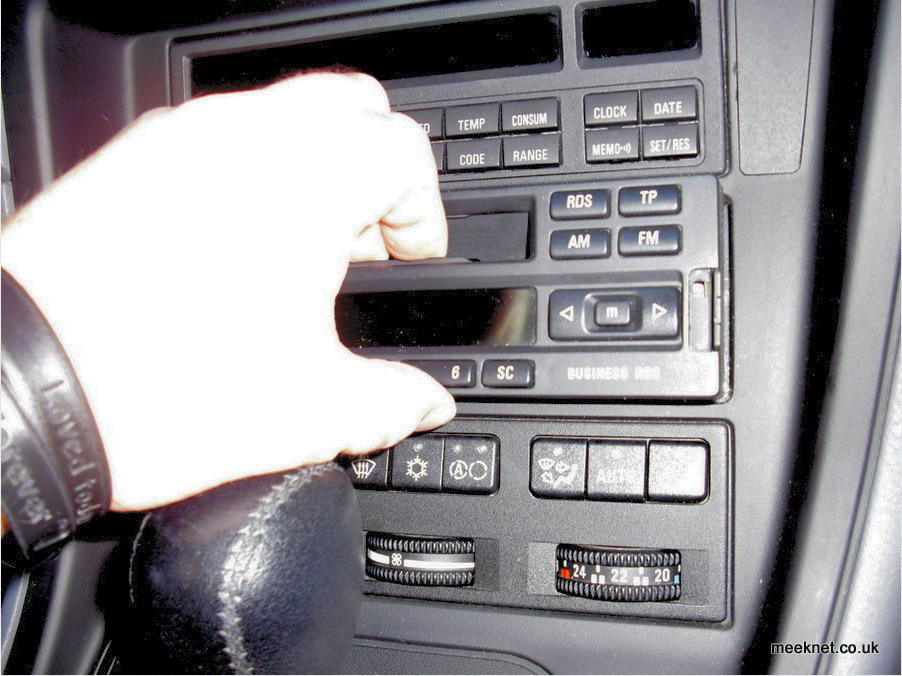
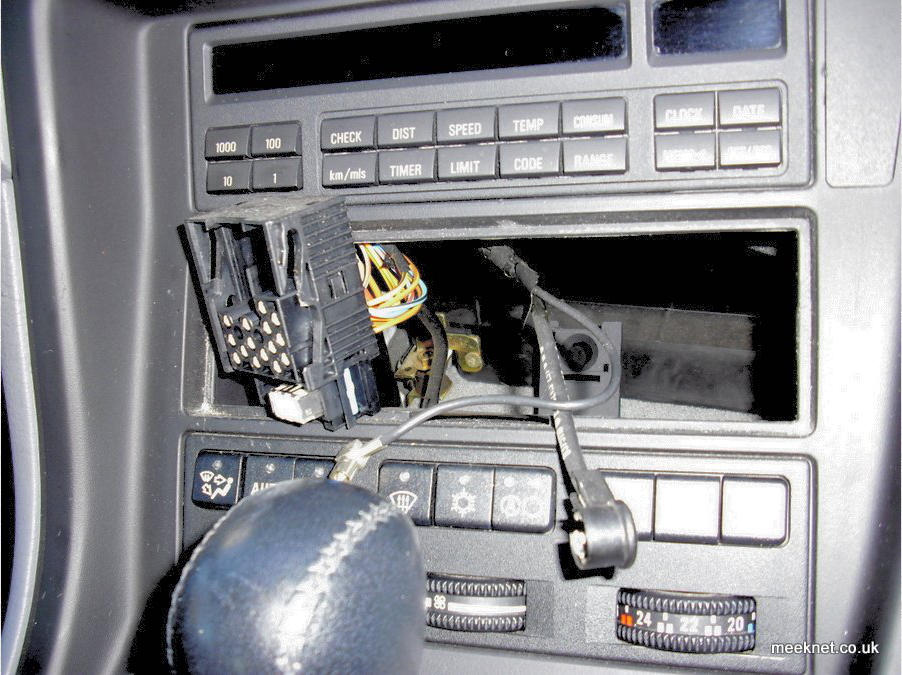
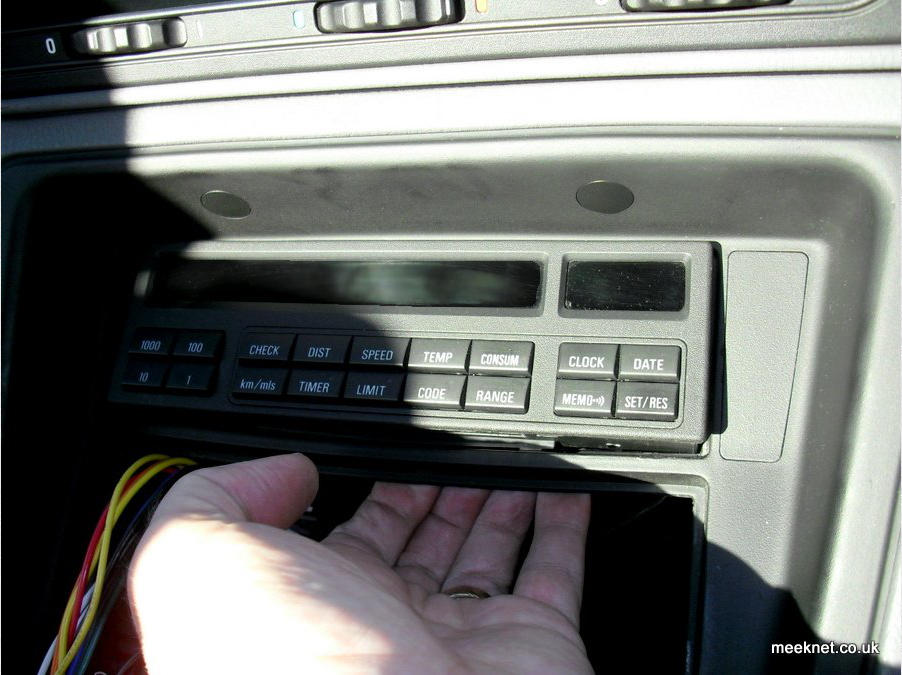
Disconnect the connectors from the rear of the head unit and put to one side. The small connector is not used, I used self-amalgamating
tape to insulate the connector. To make fitting of the Becker unit easier, remove the MID unit by pulling the bezel slightly down while
pulling the lower edge out:
The GPS antenna needs to be sited somewhere where it is not obstructed by metal above it, an excellent place is on top of the centre-vent pipe
work just below the dashboard. The easiest way to get to the pipe work is by removing the instrument cluster. This is a bit fiddly but easier than
removing the centre vents!
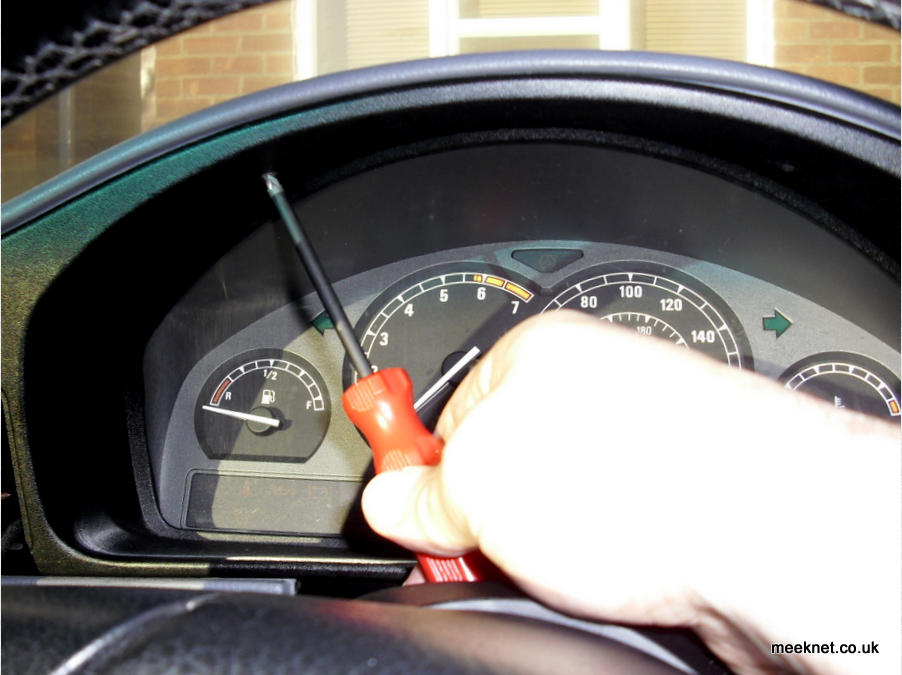
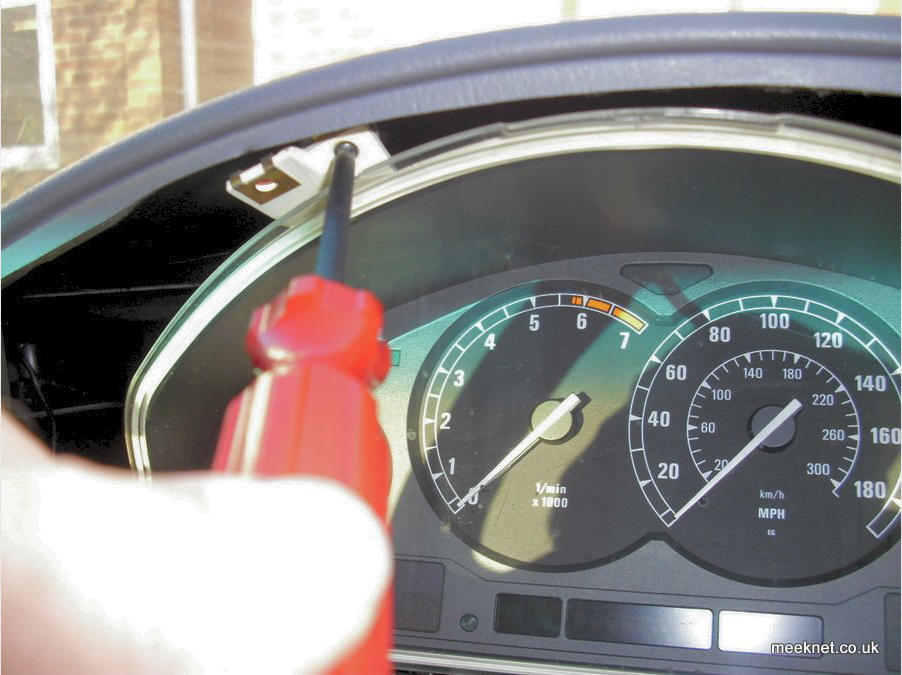
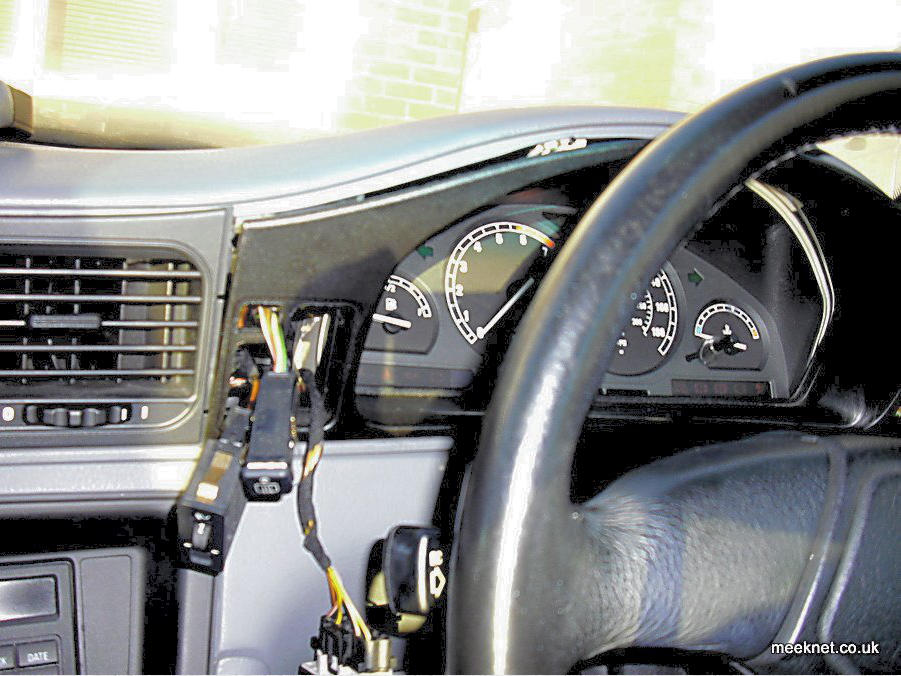
Start by lowering the steering wheel to the lowest position and fully extended. Remove two screws
at the top of the cluster:
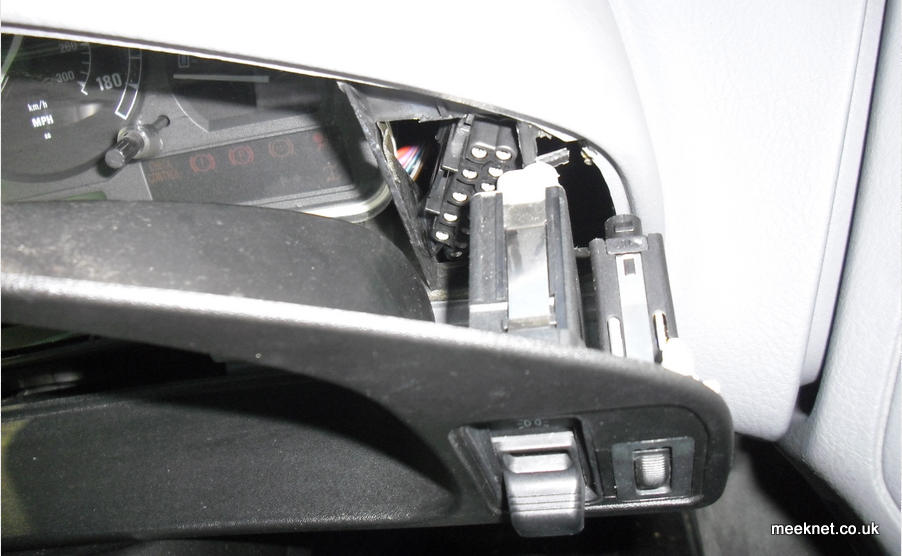
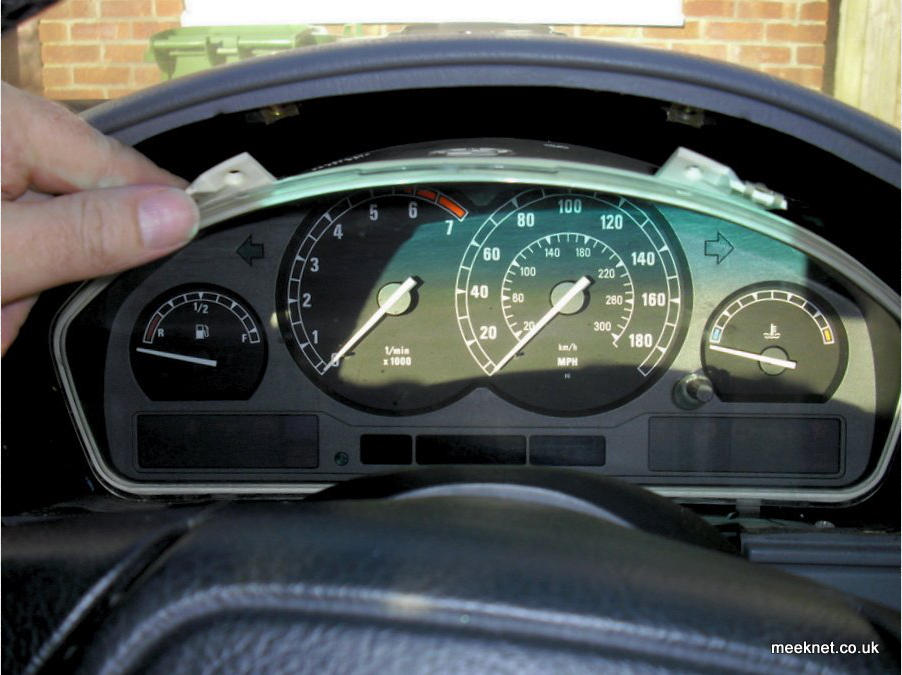
This allows the housing (including the switches to the left and right) to be tilted forward and outwards. Disconnect the connectors from all
of the switches and remove the housing:
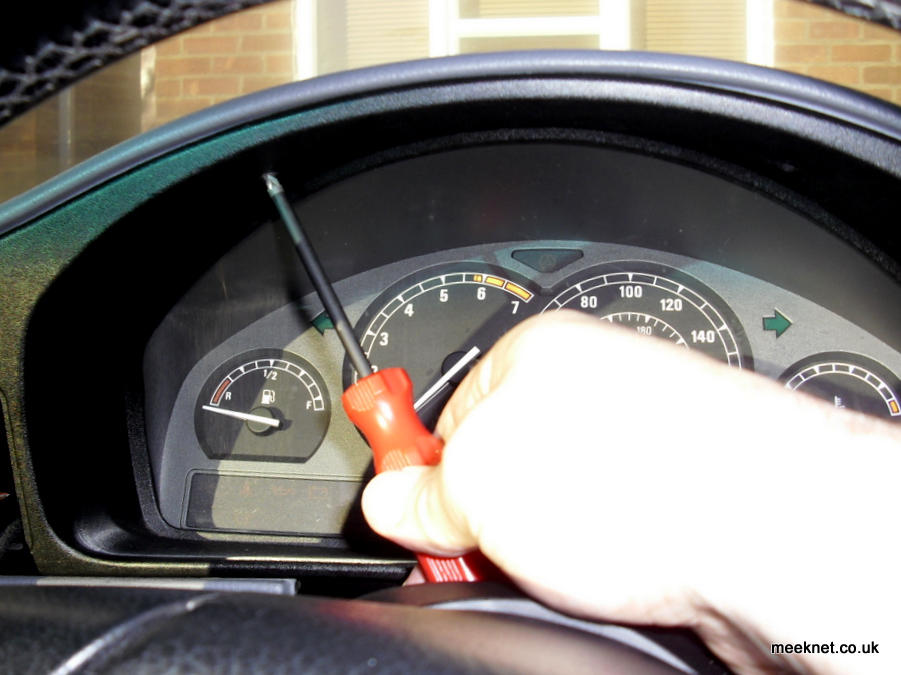
Remove the two screws at the top of the instruments:
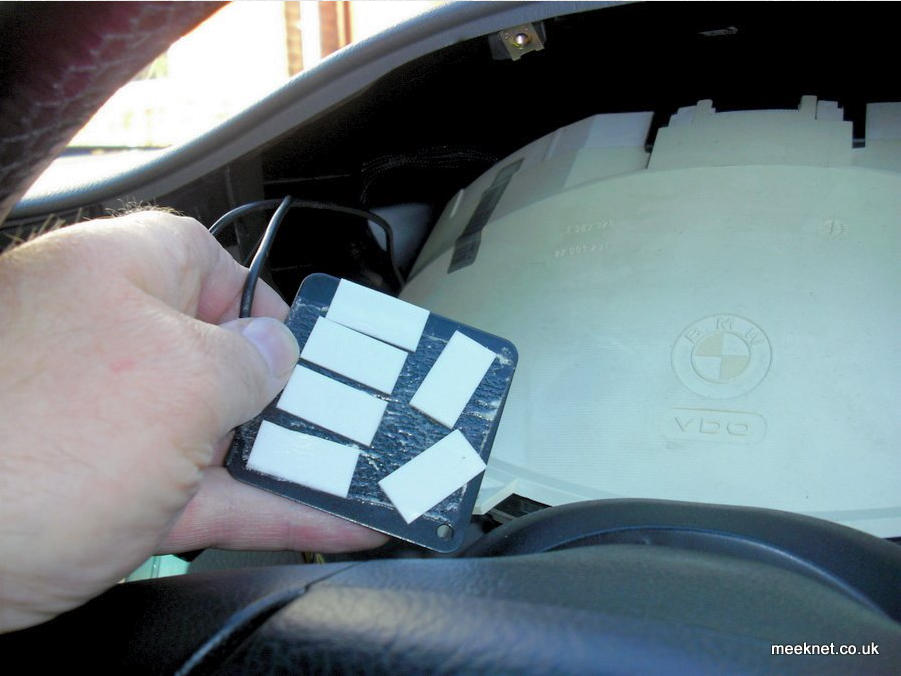
Put a soft cloth over the steering column and instrument housing and pull the instruments down and then
push then backwards into the cavity:
If the antenna has been used, the sticky pad will be, well, not sticky, so adhere some pads to the metal plate:
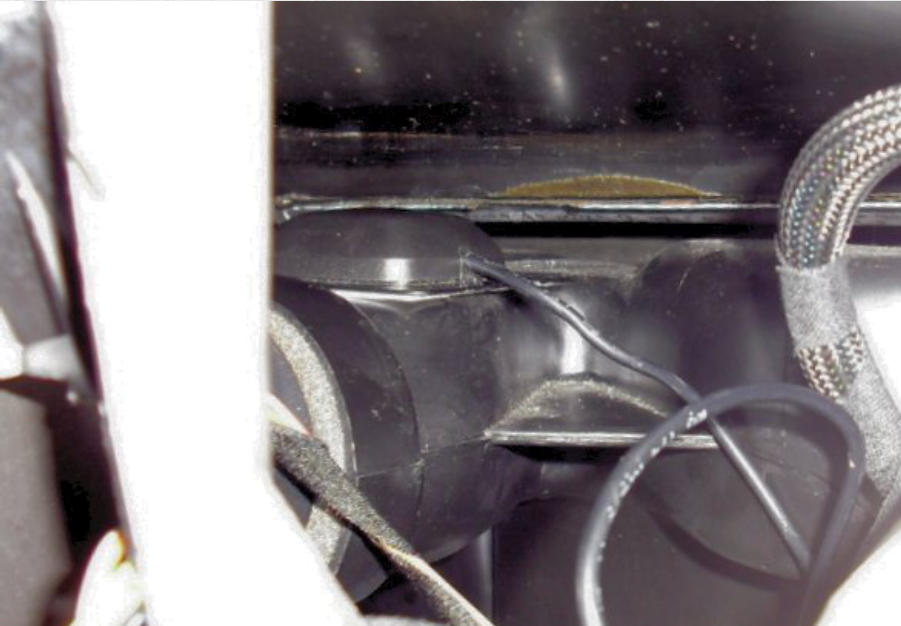
Have a good feel inside the dashboard and find the top of the vent pipe work, it has a flat top-surface which is excellent for sticking the
antenna too. After practising a few times stick the antenna in position:
Thread the antenna loom through to the centre console and then use self-amalgamating tape to tidy up the excess:
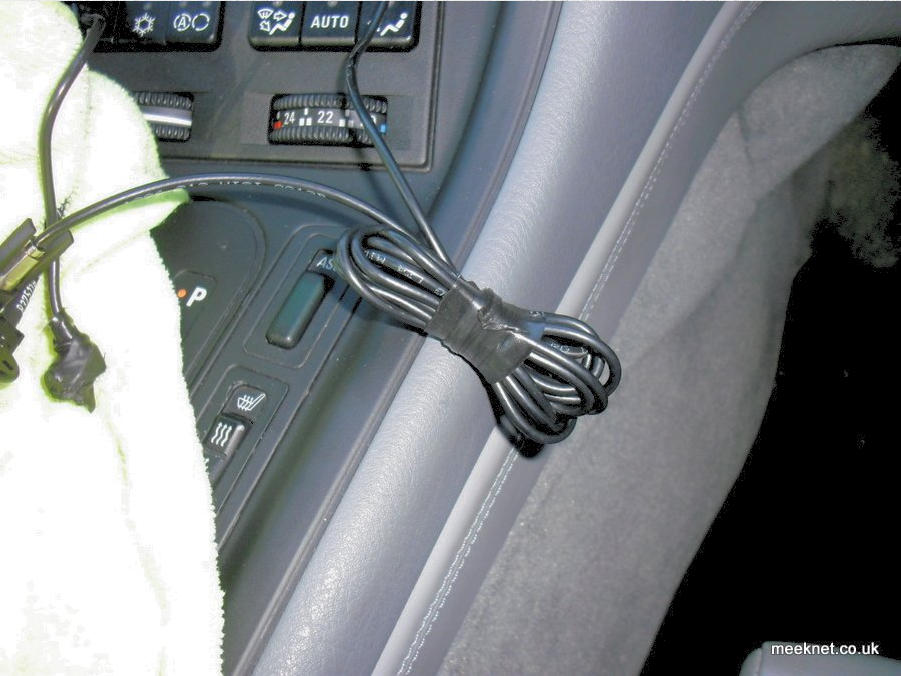
Refit the instruments, the less time dangling around the better. I found it easier to push the switches out from the bezel, fit the bezel in
place and reconnect the switches. So, instruments back in place by locating the tabs at the bottom of the instruments and then pushing
into position:

Bezel in position and switches connected:
Screw the bezel in place and push the switches into position:
Right, getting the
Becker unit in the aperture is quite tricky due to the amount of wires and the ISO adaptor being behind it. The ISO
adaptor has to be sited above the Becker unit and this is made easier by getting your hand in the MID aperture and placing the loom as
the unit is slid in:
Once the unit is in place check that it operates correctly:
Unfortunately, mine didn't, I had damaged the aerial connector which, if bent at all, damages the thin central signal wire. I fully removed
the connector and re-terminated it, then refitted it to the loom. The hardest part was getting the unit back out again as I didn't have the
special keys. I have since purchased the correct keys as shown below - it is a lot easier with them!
Once the unit has been checked to be fully working refit the MID by just pushing it back in to the aperture:
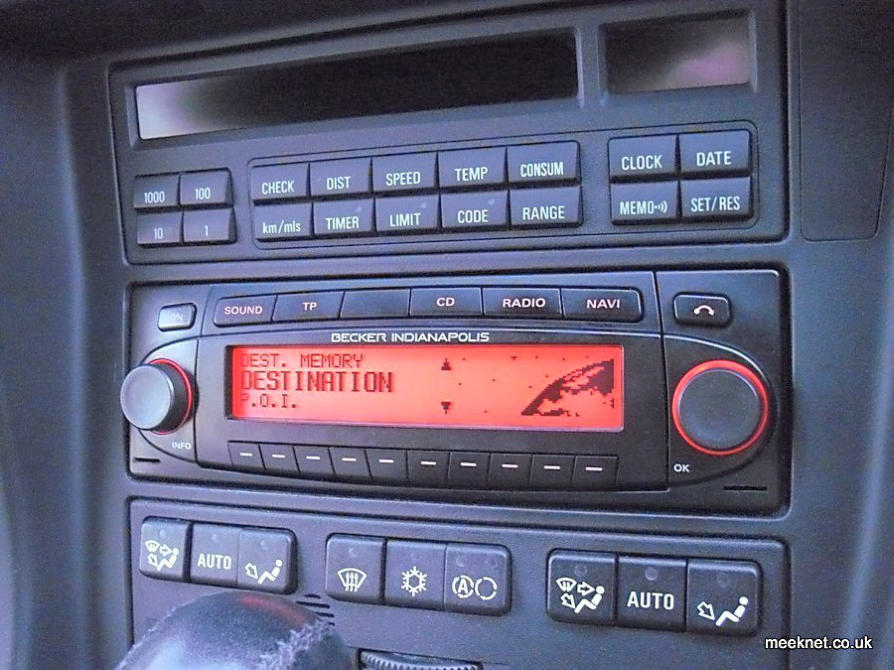

The user-manual describes the method of calibrating the unit, but I completely ignored that, entered a Post Code and off I went up the
road. It is extremely accurate and easy to use! The sound quality (even with the OEM amplifier fitted in the boot) is much better than the
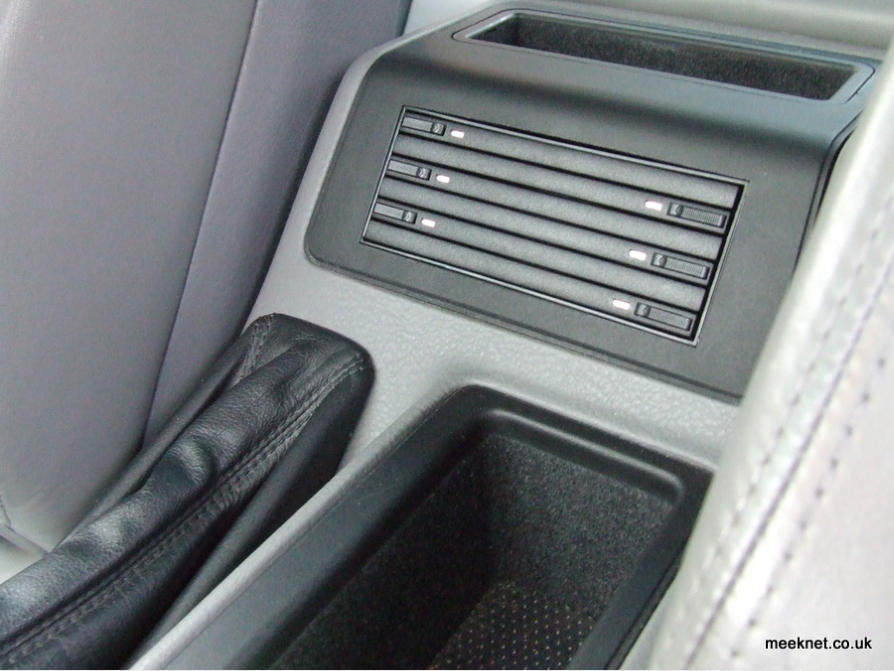
OEM head unit. I also fitted the (now obsolete) CD storage unit to the centre console. This is fitted by removing the upper cubby-hole using
a spatula to lever the cubby at the four points seen here and then unscrewing the two Phillips screws:
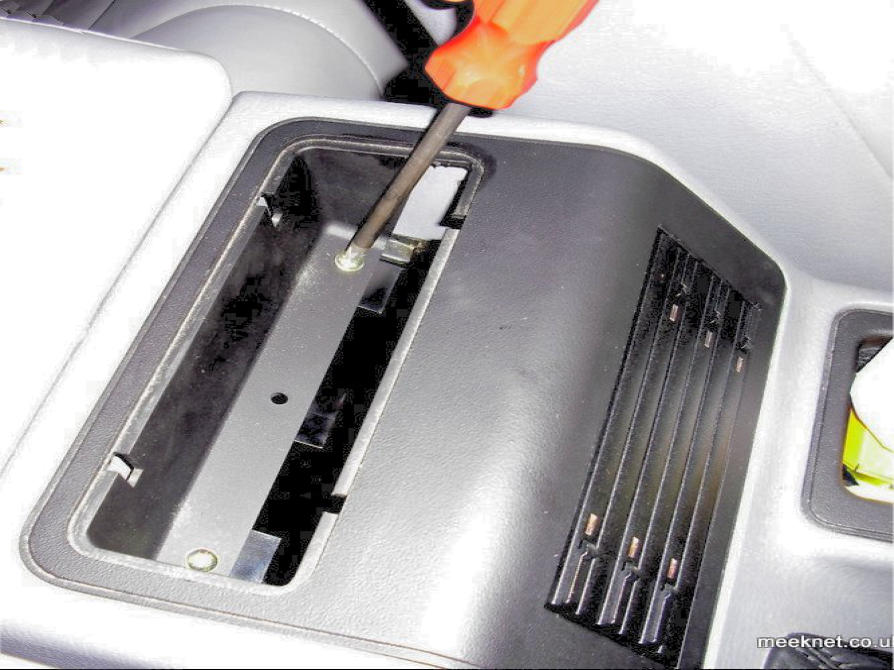
The cover can now be lifted forwards and out, the forward cubby-hole then replaced with the CD storage unit. Replace the forward end of
the unit first and then refit the
two Phillips screws and push the top cubby-hole in place.
All done, time for a cup of tea......