Timm's BMW
E31 Heater Valves and Auxiliary Water Pump Replacement
Including Replacing the famous 'Exploding Hose' on the V8's
Updated 2017 to include more info on the heater valves
If the BMW E31 has a weak spot, it's the cooling system. In particular, the heater valves get stuck or blocked, hoses explode, the auxiliary
pump seizes up, leaks, and then the end drops off. This feature is shared with the E32 and E38, but one thing that isn't is the restorative
heating, there's no 'REST' button in the E31 and the auxiliary water pump appears superfluous.
This 'How To' was instigated by the appearance of clouds of steam when pulling off the M5 into road-works on the A30. If there's one thing
that makes you sweat, it's knowing you have only a few seconds to get to the side of the road before the head gaskets start complaining. In this
case, the hose connection on the auxiliary pump failed:
The plastic on the auxiliary pump gets brittle after a few years, the constant tugging from the coolant pipe that runs to the back of the
engine eventually snaps off the connection. To get the car home I bypassed the auxiliary pump, this made absolutely no difference to the heater
operation, so I will not be re-fitting it, but this is just a personal choice. The routine shows how to replace the complete heater system located
behind the engine.
Right, start by removing the upper engine cover (10mm nuts under plastic covers) and acoustic material:
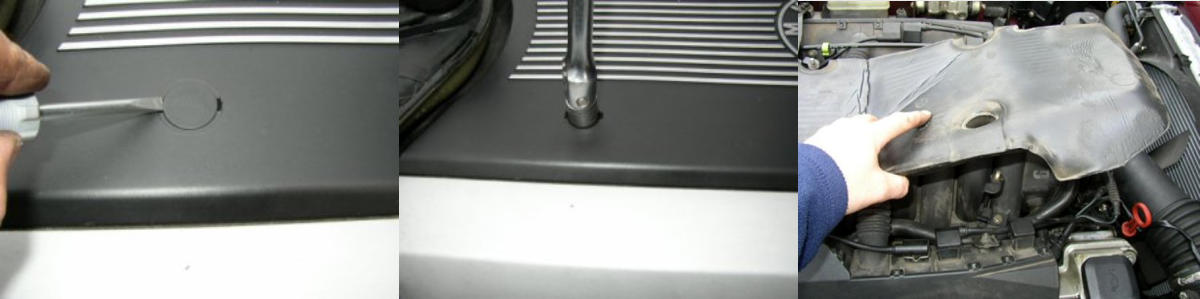
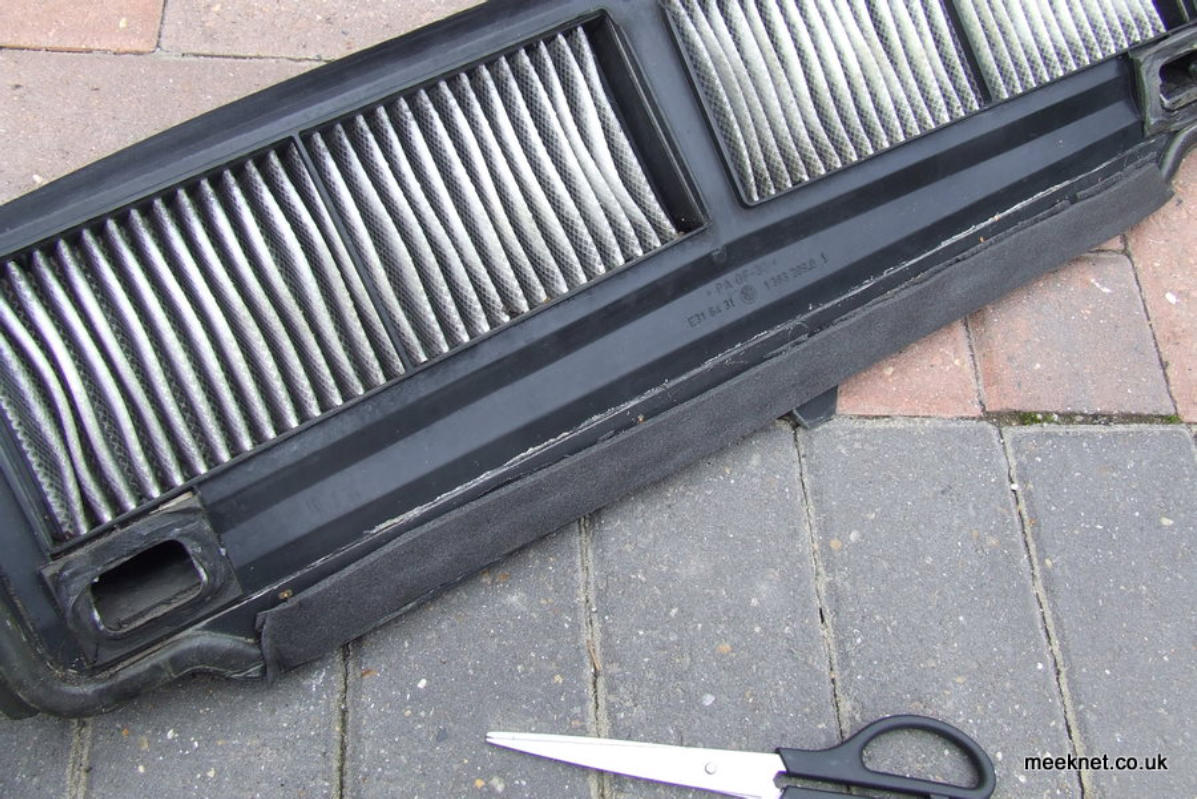
I took the chance to replace the torn seal at the bottom of the housing with self-adhesive foam
Next, remove the microfilter housing, this can be removed without disassembly by parking the windscreen
wipers in the centre of the screen and then removing the centre cone-shaped nut (9mm) which is just in front of
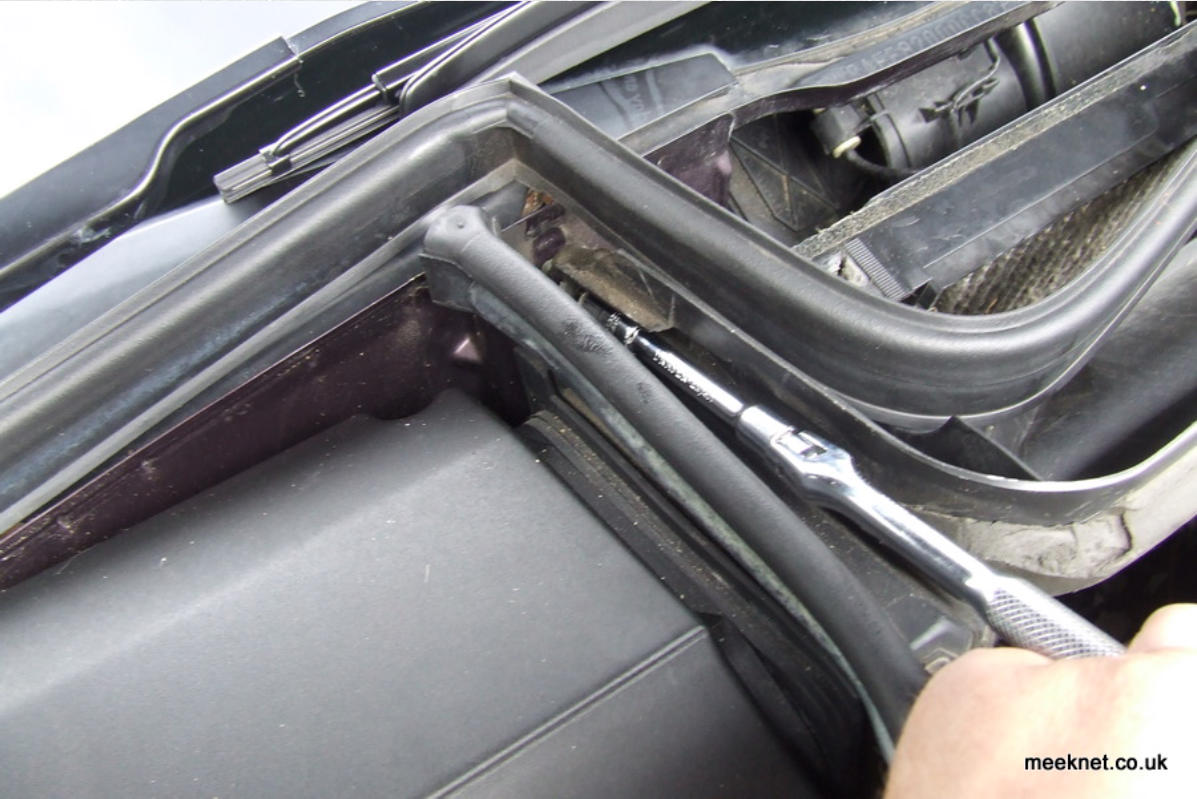
the passenger (RHD) wiper pivot. Now remove the two 7mm self-tapping screws each side of the housing:
Although the picture above shows the cover removed, there is no need to do this, also, partially remove the
rubber seal shown just to the left of the socket wrench and the one above the microfilter housing. The complete
housing can now be lifted upwards and slightly forwards and removed from the engine bay:
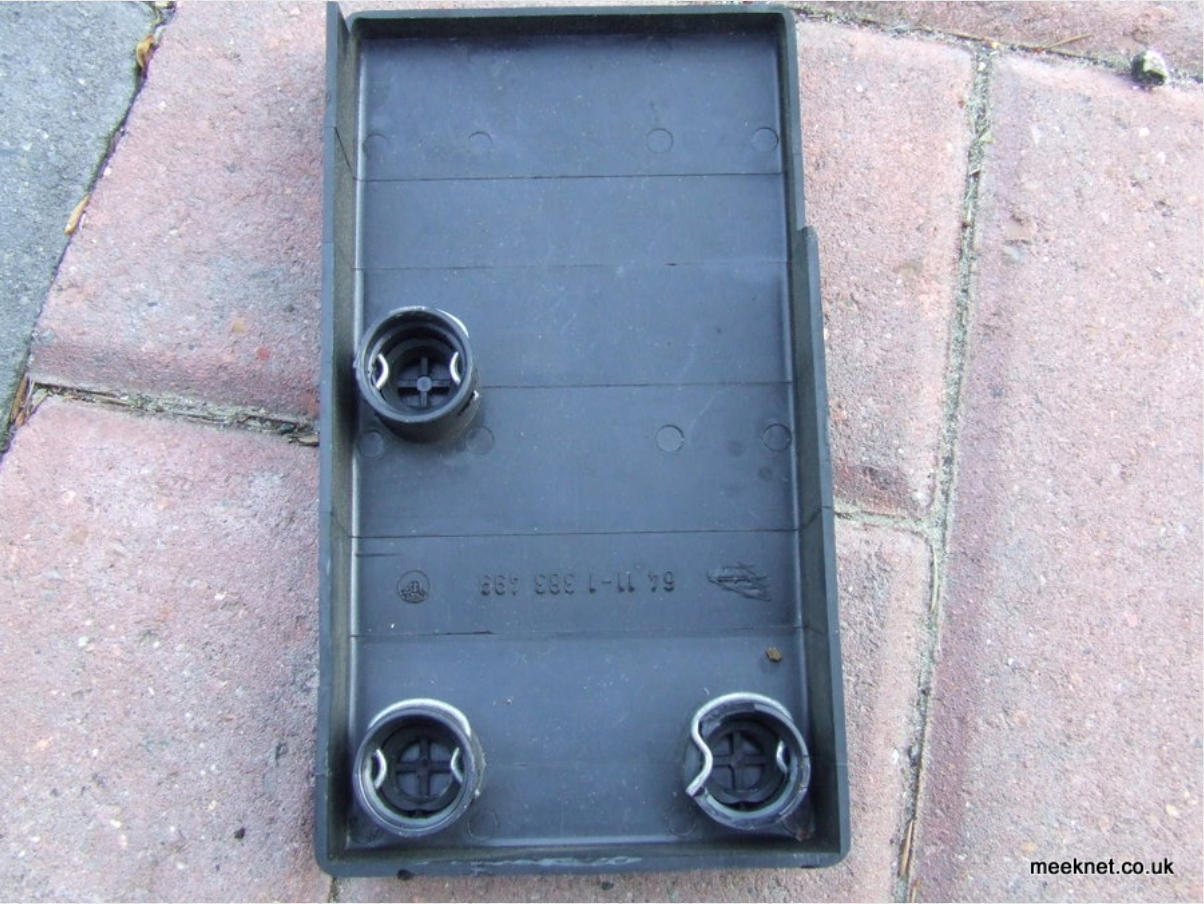
Next, remove the cover over the heater valves, I have found the best way to do this is to use two large
screwdrivers in a 'V' shape on each clip.
NOTE: Make sure you are levering against the valve body and NOT the body bracket - give that a go and the
rubber buffers will tear and separate
Here's what the clips look like on the underside of the cover (as normal, one is broken):
And here is what the mating parts look like on top of the heater valves:
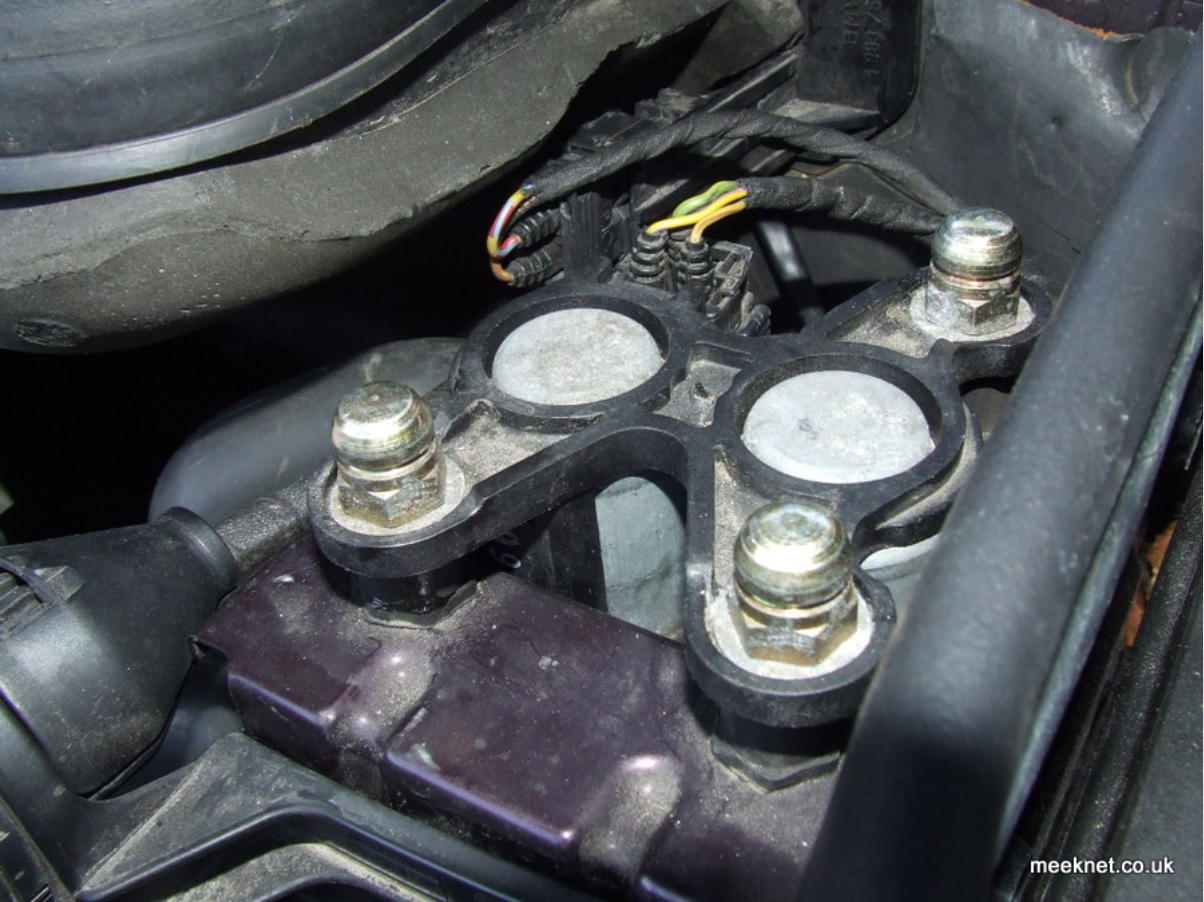
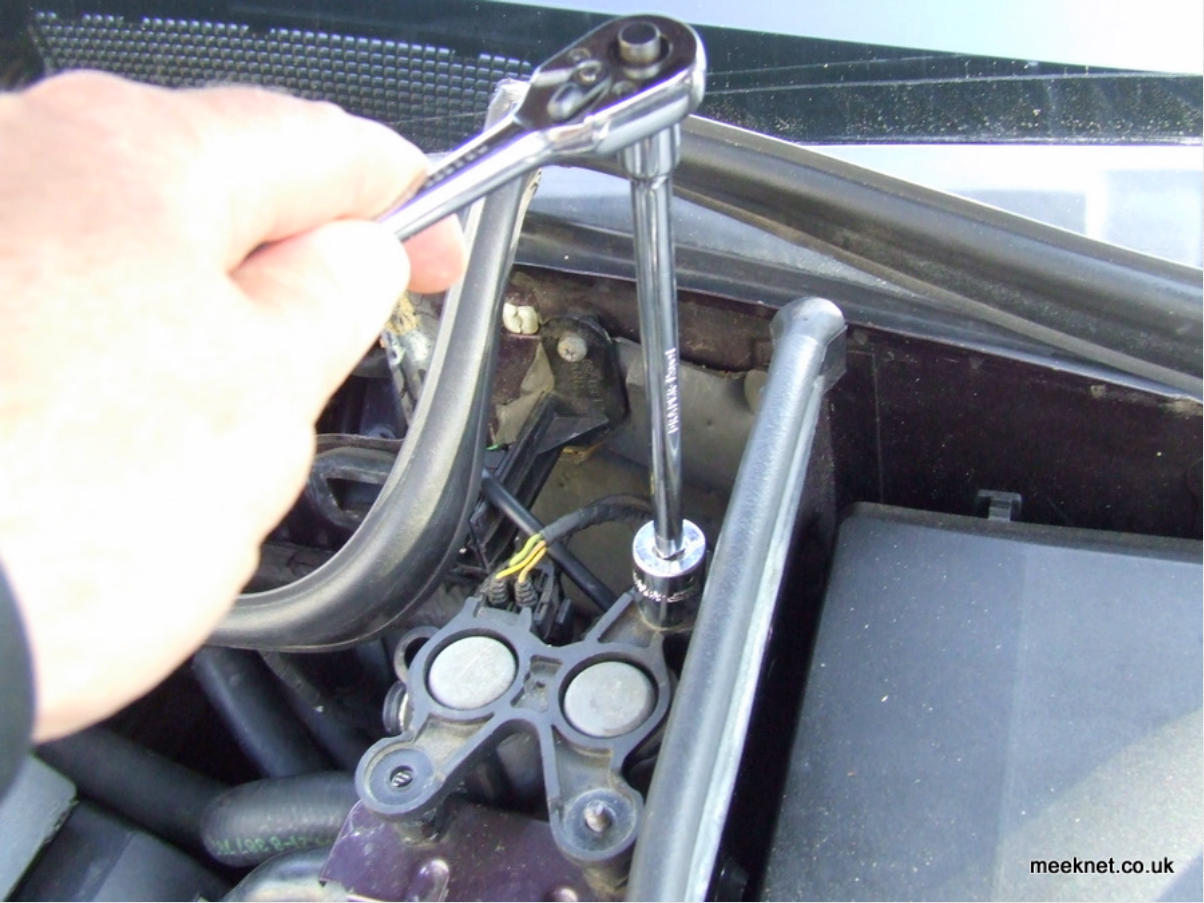
Next, remove the three coned-nuts as seen above and shown below:
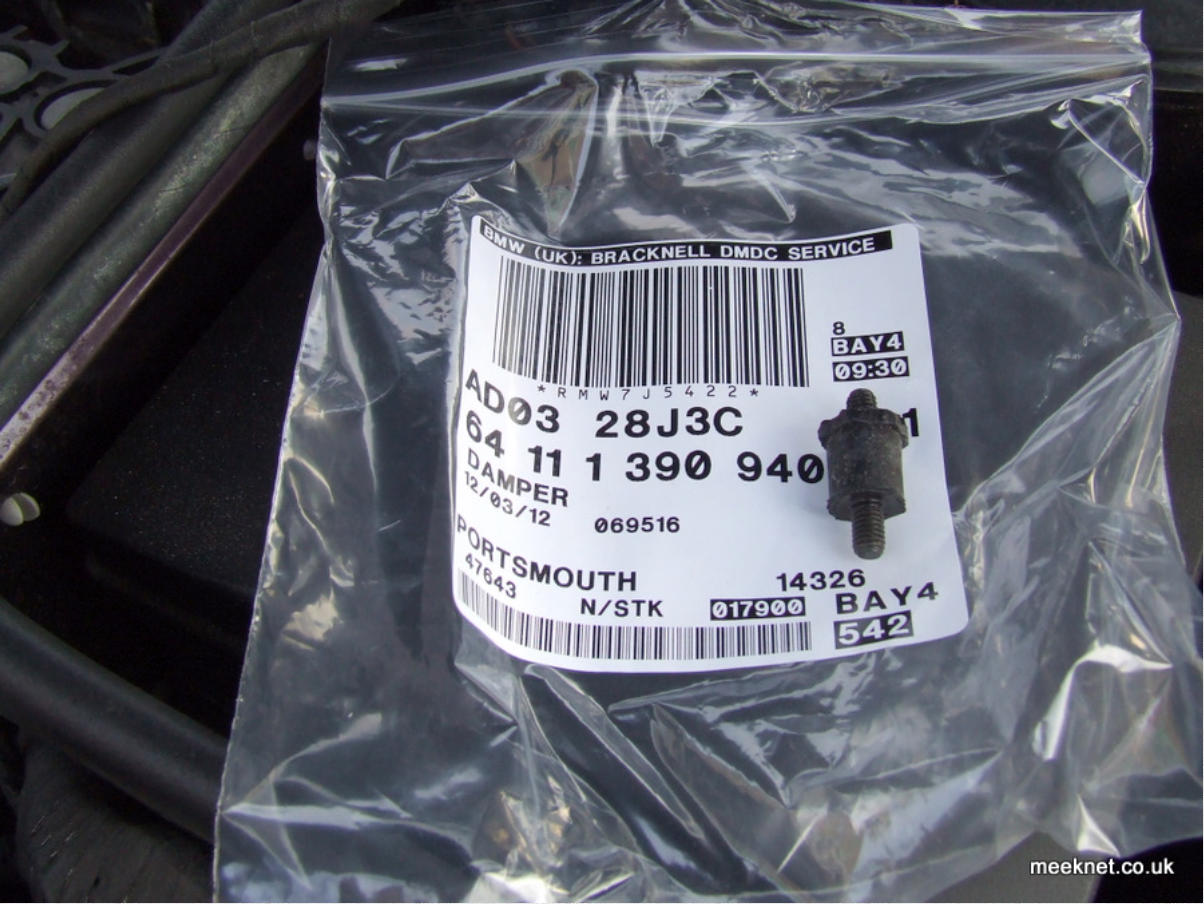
Often, the rubber body of the fixings fail, these are available from BMW but the rubber can
usually be repaired successfully with Superglue:
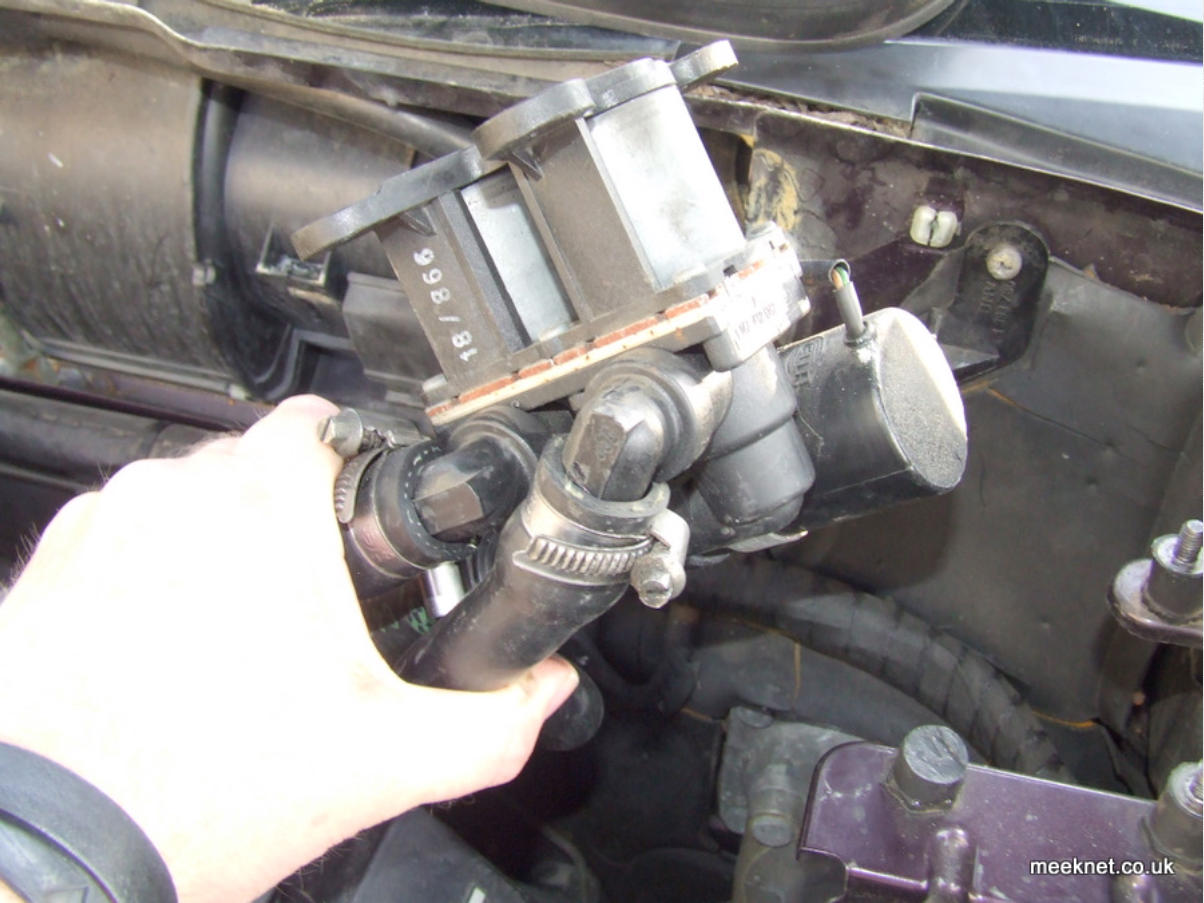
The heater valves complete with the auxiliary water pump can now be wiggled out:
Before removing the hoses, run water under the car to dilute any coolant that is lost, it is highly poisonous to
animals and cats in particular are attracted to the sweet smell. If you are just replacing the heater valves,
keeping the assembly raised as shown above will reduce the coolant loss to a couple of drops:
The heater valves can be removed by fully loosening the jubilee clips and wiggling the pipes from the valves
and the auxiliary pump. It is important not to put too much stress on the unions as they can break, or cause
enough damage to fail when under pressure.
NOTE: To make refitting the Jubilee clips easier oil the worm screws with a light oil (engine oil
works well) - this really helps getting the tension right, it is impossible to do if you are fighting
against a lot of friction!
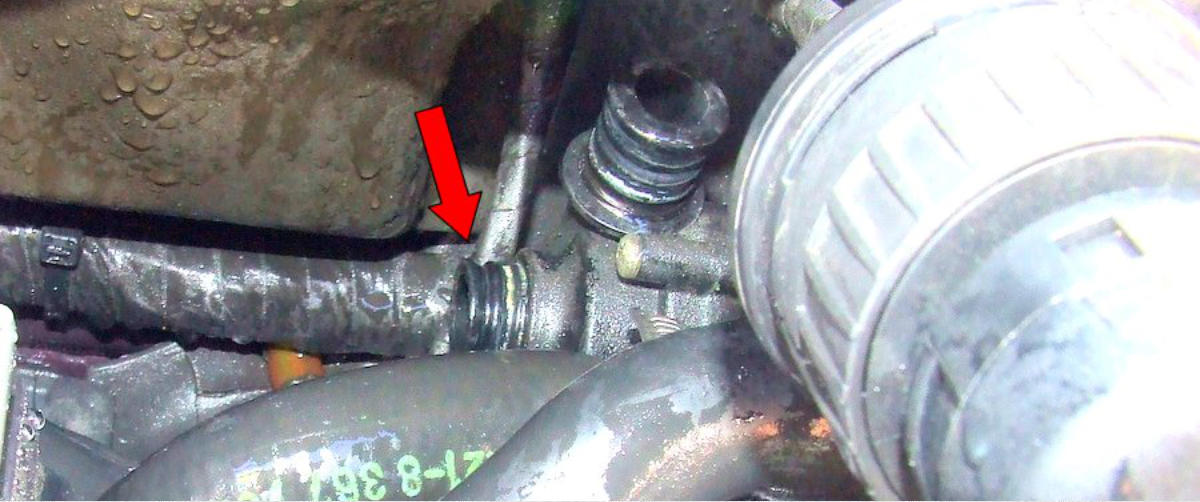
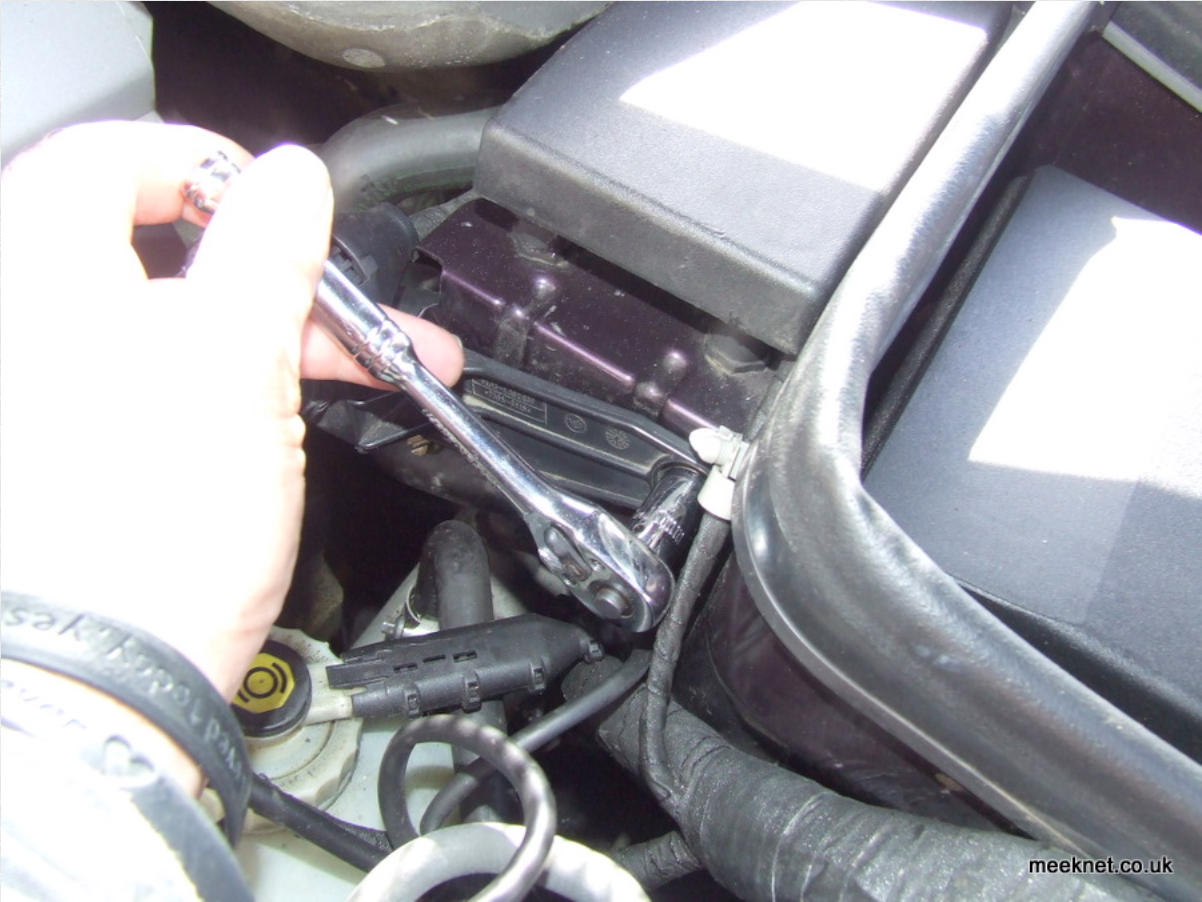
The same is true for the heater matrix connections, if the pipes don't pull off after fully loosening the Jubilee
clip, slit the pipe along the length using a sharp knife. Although there is loads of room for removing the coolant
pipes, some will face directions that a screwdriver can't get to - so use a ratchet and socket, here's one on the
rear of the engine showing how awkward it can be:
Right, once all the coolant pipes have been removed and the heater valves have been removed from the
engine bay, the new parts can be fitted. I have decided not to replace the auxiliary water pump, this is held
on the heater valves by a single Torx screw:
NOTE: It’s been around 5 years since I removed the auxiliary water pump and I haven’t missed it
at all. The cabin remains warm even when the idle speed is at 550 RPM (A/C off)

TESTING and information on the heater valves
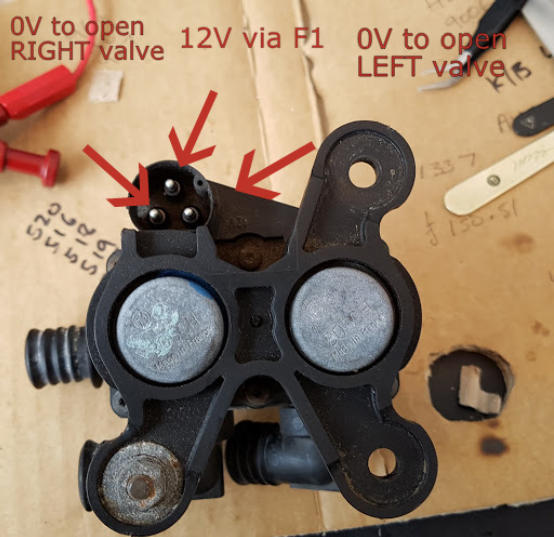
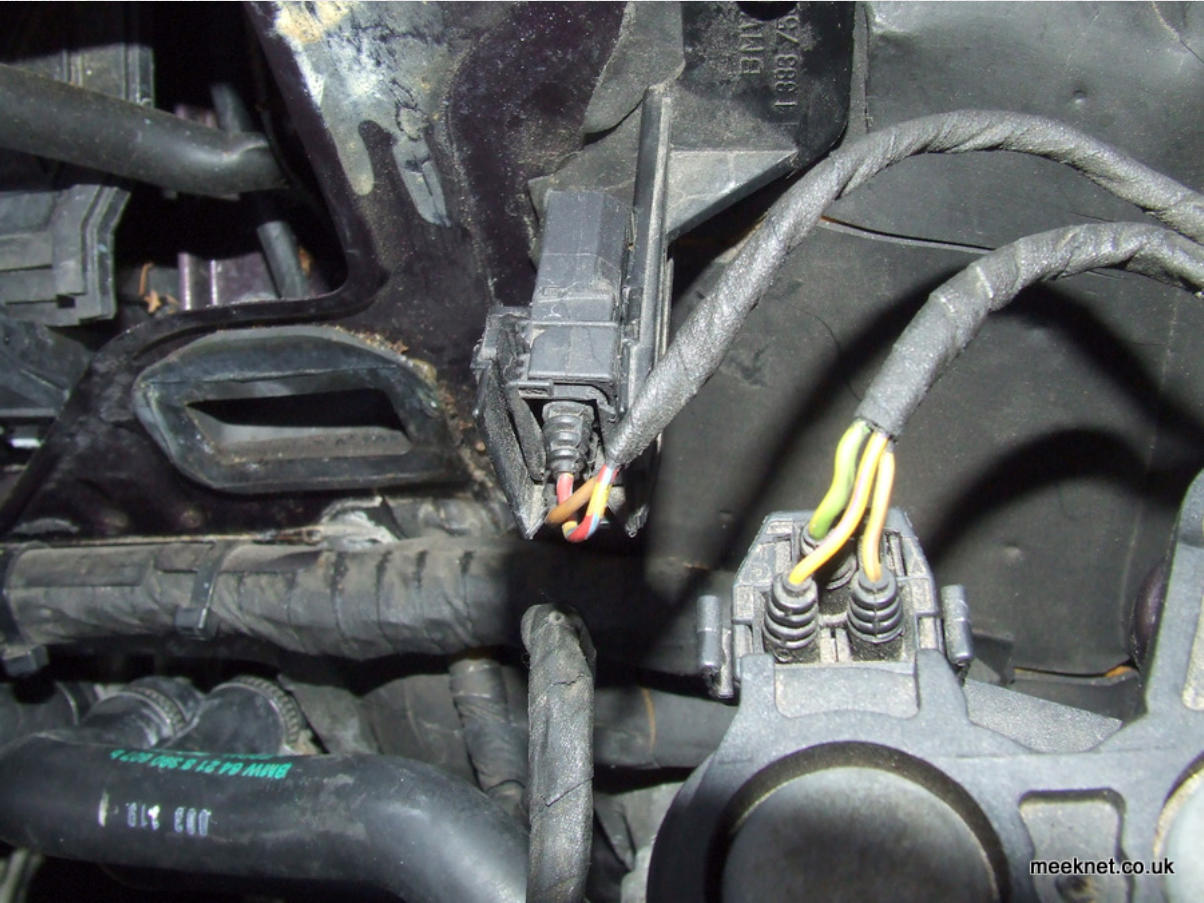
The valves have three electrical connections as shown below (wire colours shown for information only):
PIN 1 = GREEN/YELLOW = 12V - Both Valves
PIN 2 = YELLOW/BROWN = 0V - Right Valve
PIN 3 = YELLOW/VIOLET = 0V - Left Valve
Connecting a 12V supply between Pin 1 and Pin 2 or 3
should fully close that valve (the current demand is
around 1A per valve at 12V - but disconnect the loom
first or you may damage the IHKA) - if the valve fails to
open then it has failed and requires the replacement of
the assembly. There are replacement parts available, but
quite often the coil itself fails, and this is not a separate
item.
How to operate the valves when
fitted to the car
The heater system in the E31 (and E32/E34) allows direct
operation of the water valves that over-rides other
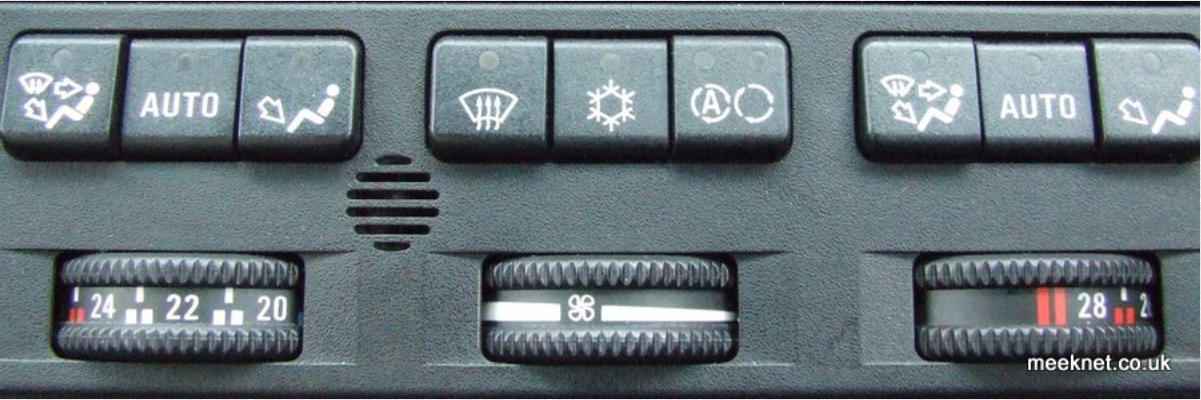
settings - the DRIVERS temperature control (the right-
hand control as shown below on a RHD model - and the
left-hand control on LHD models) has two detent
positions:
Fully to the RIGHT (past the click to the hottest setting) will OPEN BOTH VALVES
Fully to the LEFT (past the click to the coldest setting) will CLOSE BOTH VALVES
As long as the fan speed is above zero (zero switches off the complete A/C system) the settings above over-
ride any other setting and the valves can be forced open and closed - you can actually feel the thump of the
valves opening and closing if you get a helper to twiddle the control - the engine does not need to be running
but the ignition must be in position II (ignition ON)
Measuring voltages when the heater valves are connected to the car
Measuring the 12V supply on the GREEN/YELLOW is easy enough - connect one end of a meter to a good ground
point (one of the nuts on the strut tower will do) and then use a sharp probe to pierce the wire and you should find
~12V
Measuring the other valve pins is slightly harder as these are pulled to 0V by a transistor within the IHKA module.
With the valves OPEN (temperature set to hottest), piercing the YELLOW/BROWN or YELLOW/VIOLET
should find ~12V - but this is only true if the valve coils are intact - if the coils have failed you will
find an indeterminate voltage (the measurement is meaningless)
With the valves CLOSED (temperature set to coldest), piercing the YELLOW/BROWN or YELLOW/VIOLET
should find ~0V
The picture below (on my RHD model) shows the drivers temperature control fully to the right, this will have
opened both heater valves:
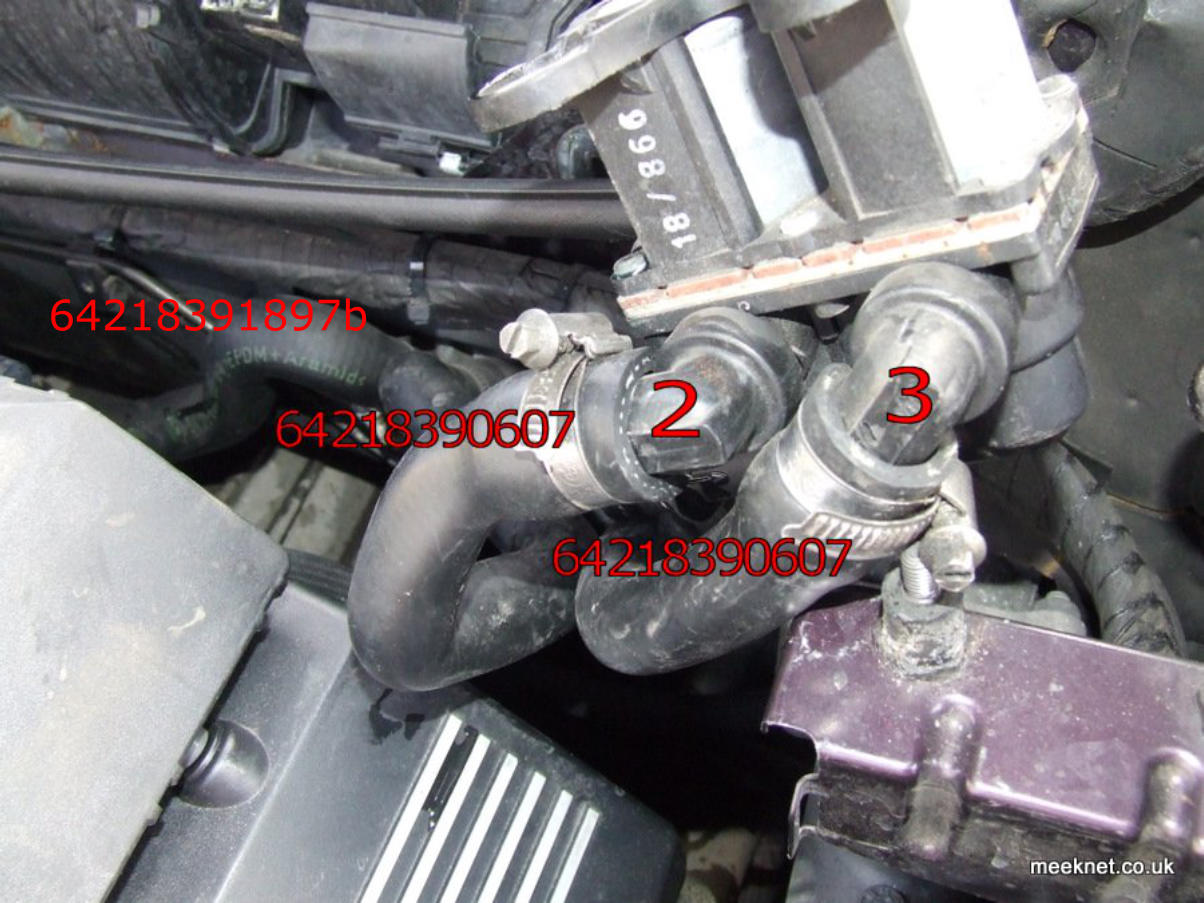
This short pipe (64218391897b) is one of two that can fail spectacularly (number 4 as shown below), the
'b' shows it has been updated

NOTE ON BLEEDING:
The standard bleeding procedure as shown here is not sufficient when all the heater pipes have no coolant in
them. At stage 4, the engine needs to be revved to around 4000RPM to get the coolant circulating. With the
heater set to 32C, check that heat is available from the vents once the temperature gauge is in the centre.
Rev the engine again if there is no heat - sometimes it takes a few goes to get the coolant circulating the
heater matrix.
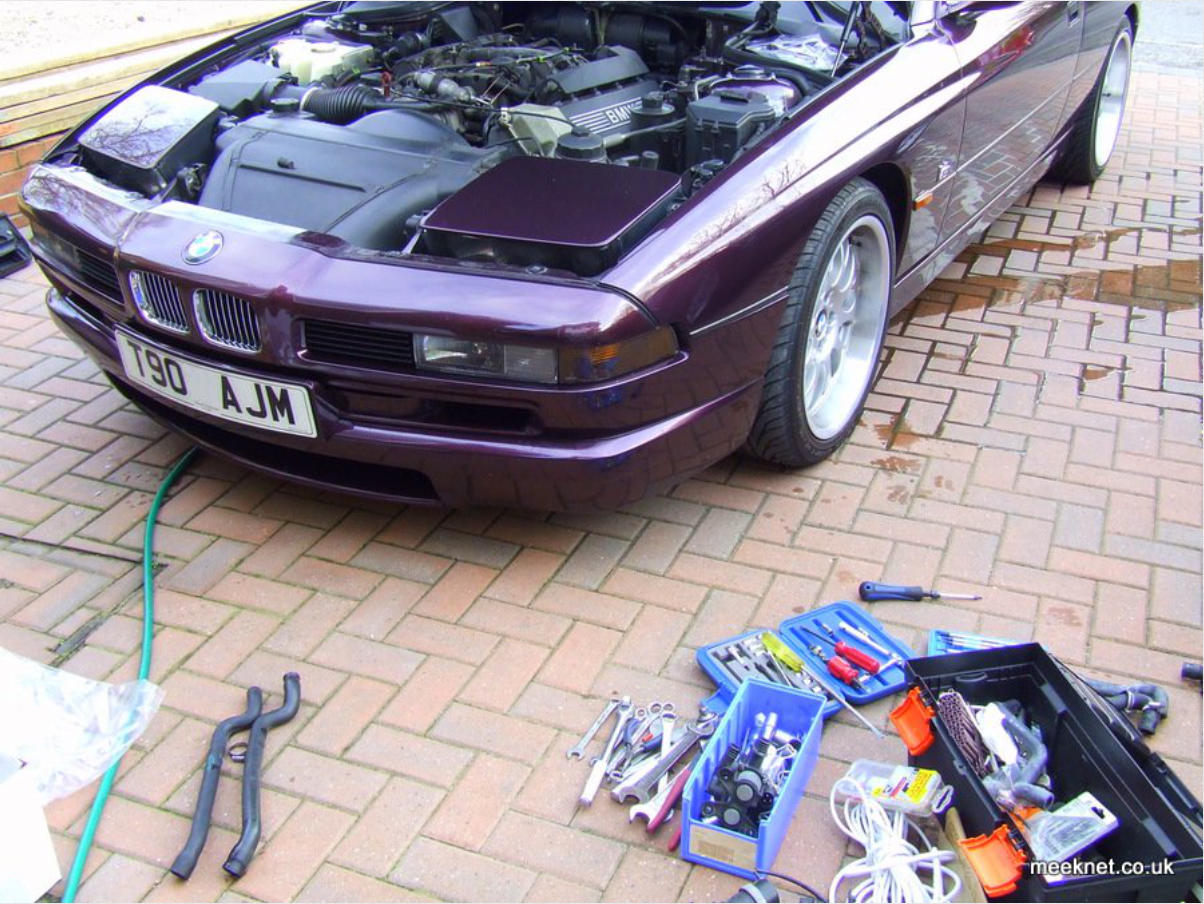
All done, time for a cup of tea
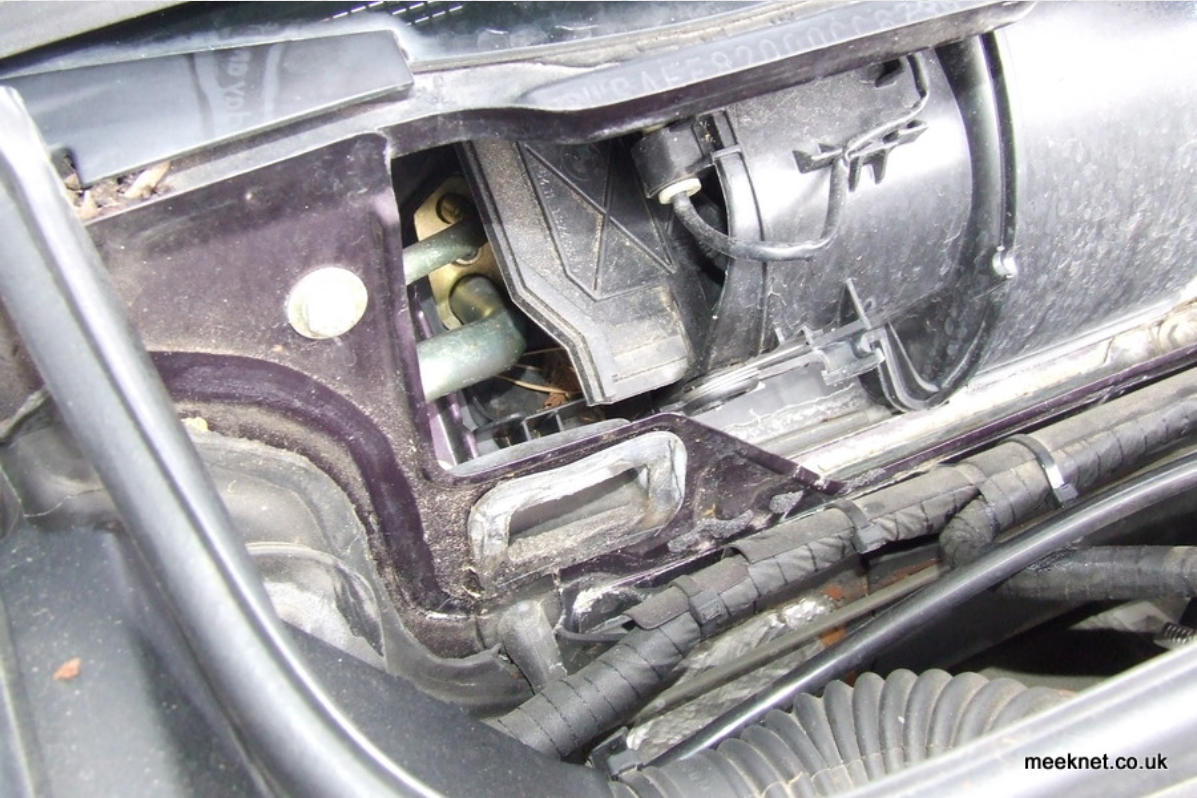
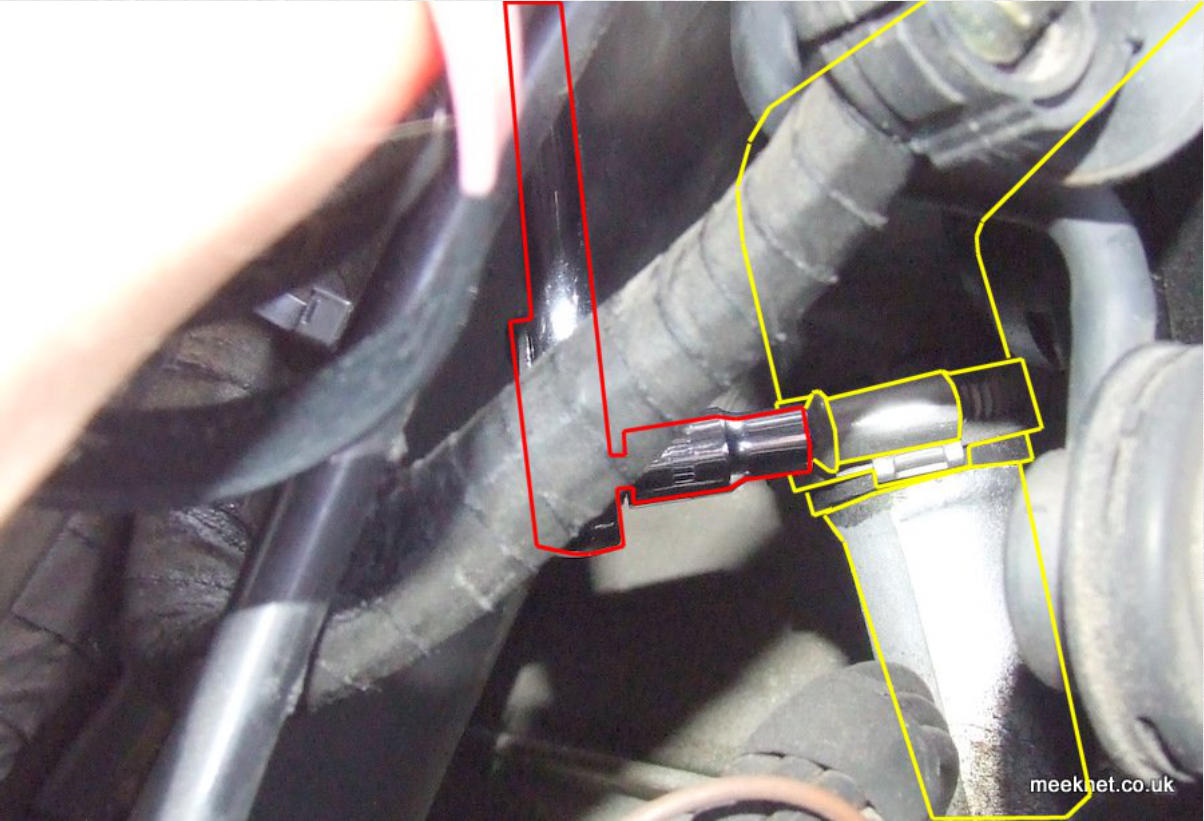
Separate the connector pair in front of the heater valves and remove the housing:
To help removing the cover next time I have removed the clips and glued three 15mm x 3mm Neodymium
magnets (Eclipse N814 - available from Farnell) into the apertures:
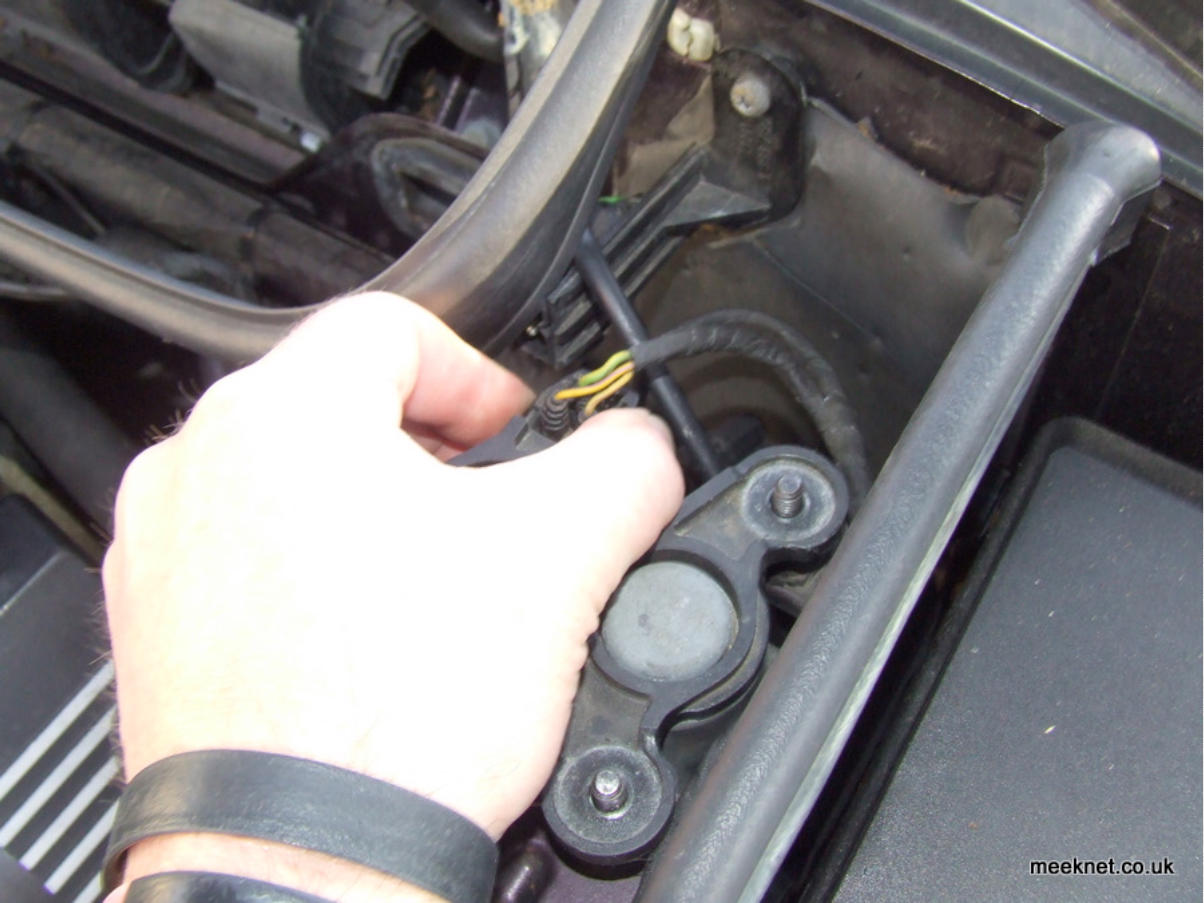
Disconnect the loom to the heater valves (shown below) and the loom to the auxiliary pump (the bracket seen
behind the valves normally holds the connector pair, but is missing in the picture below):
Right, back to pulling hoses off:
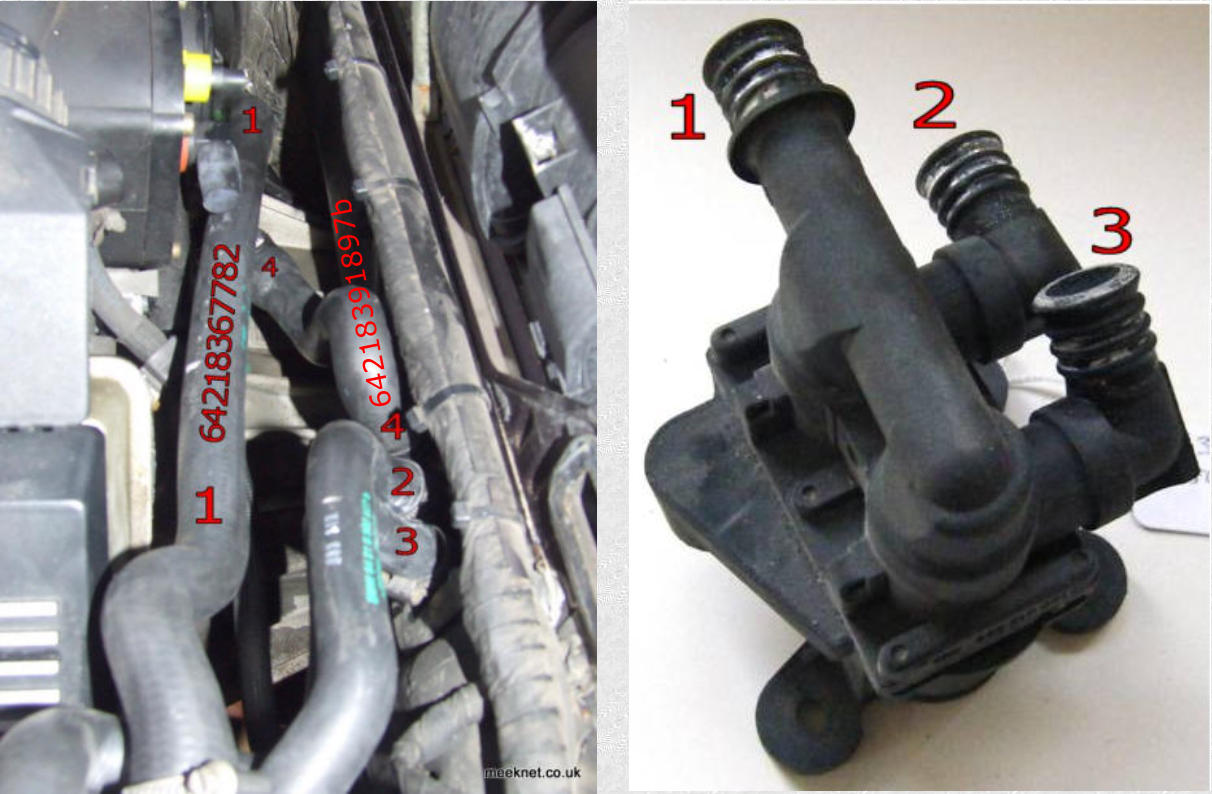
These two pipes (64218390607) run to the left and right sides of the heater matrix and rarely fail
The long pipe (64218367782b) can also be fatigued by the movement of the engine and tear at the unions
Note that the pipe designations above assume the auxiliary water pump is not fitted, where it is fitted, pipe 1
connects to the end of the pump, and a short pipe (64211383407) connects between position 1 on the heater
valves and the side connection on the auxiliary pump. Below is a diagram with hose numbers for the complete
system:
Start replacement of the heater pipes with 64218391897b which is the short pipe that runs from the back of the
engine to the left-hand heater-matrix connection, then the two heater-matrix supply pipes 64218390607 that
run from the heater valves. Note that the ETK shows one of the pipes as 64218390608, however, both types are
identical, they are also now supplied as 'b' versions. Finally replace the long pipe (64218367782b) that runs
from the rear of the engine to the auxiliary pump or connection 1 on the heater valves if the pump is not
replaced.
As I am not replacing the pump, I have fitted the auxiliary pump electrical connector to the bracket to stop it
flopping about: