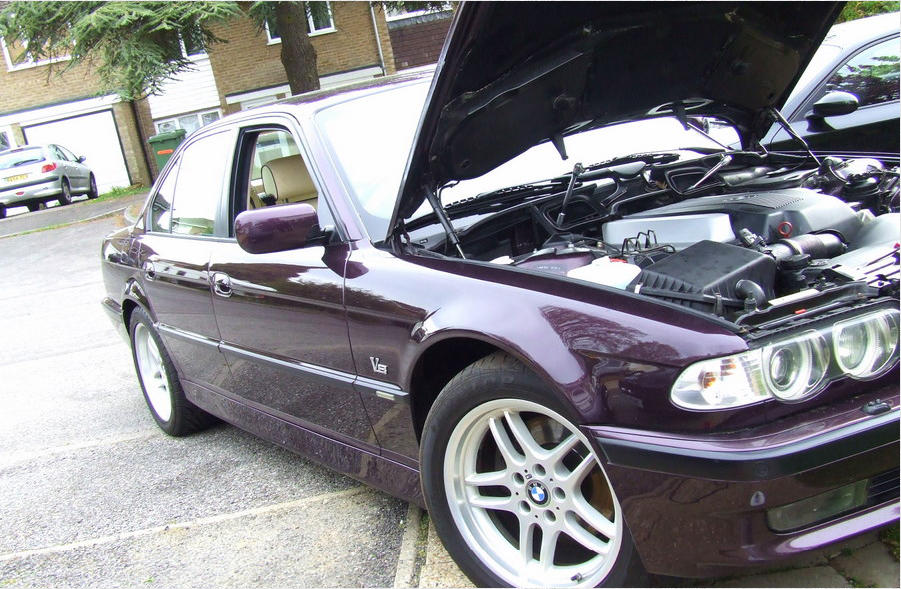
Timm’s BMW E38, E39 and E53 M62TUB44 ENGINE
WATER-COOLED ALTERNATOR REPLACEMENT
For Alternator Repair Click Here
The water-cooled alternators fitted to the facelift E38's are usually quite reliable electronically, but just like any other alternator, the
bearings can become noisy and eventually seize. The first signs of failure is normally a low growling noise that is noticeable at tick-over,
the noise gets louder over time until the alternator seizes causing the serpentine belt to burn and fall off!
The replacement routine is quite simple, the only unusual tool required is a 32mm open-ended spanner. Some procedures are a bit
awkward and it does your back no good, but overall quite satisfying. The alternator can be repaired if a bearing has failed. The repair
procedure is detailed here
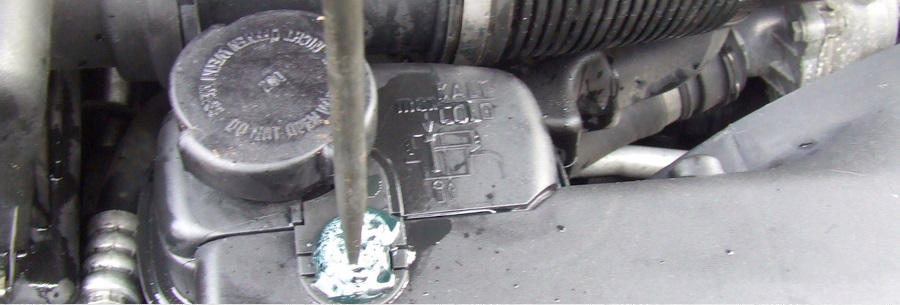
Coolant draining
If you want to reuse the coolant, it is best to remove the coolant from underneath the car. To do this, drive the front of the car up on
ramps, remove the under-body shield and access the drain-plug (similar to the vent plug on the expansion bottle). Place a suitable
container under the drain that has a capacity of 8 Litres and fully unscrew. If you do not drain the coolant most will be lost when the
alternator is removed.
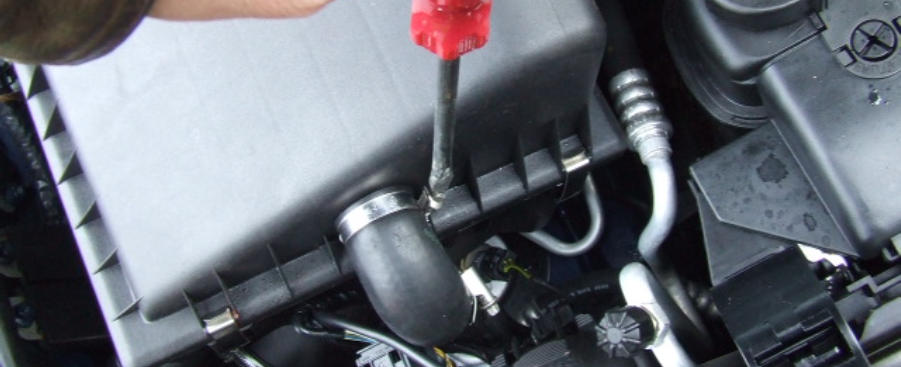
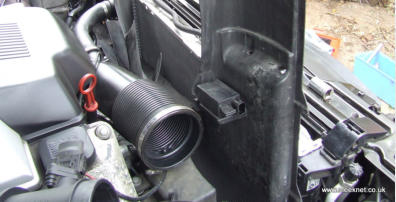
Airbox and MAF removal
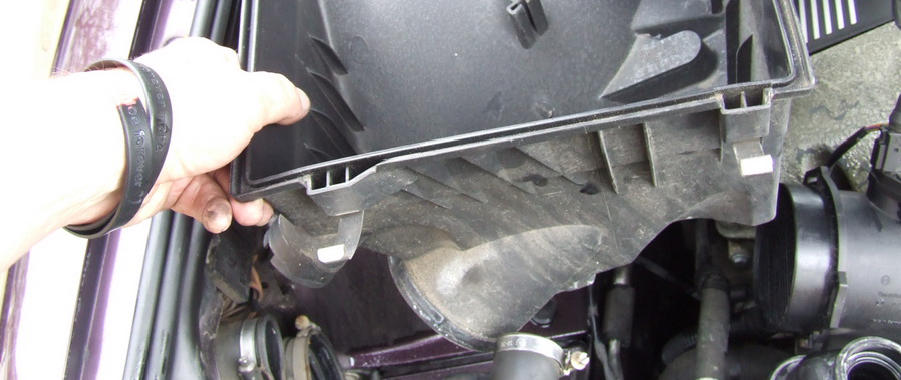
Start by removing the air-filter box, disconnect this pipe and then undo the clips, lift away the lid and remove the filter element:
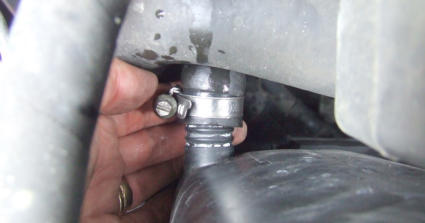
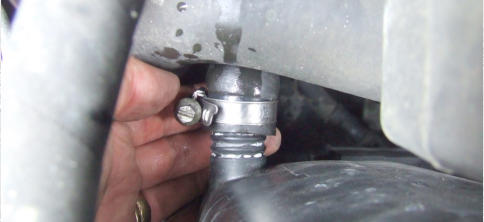
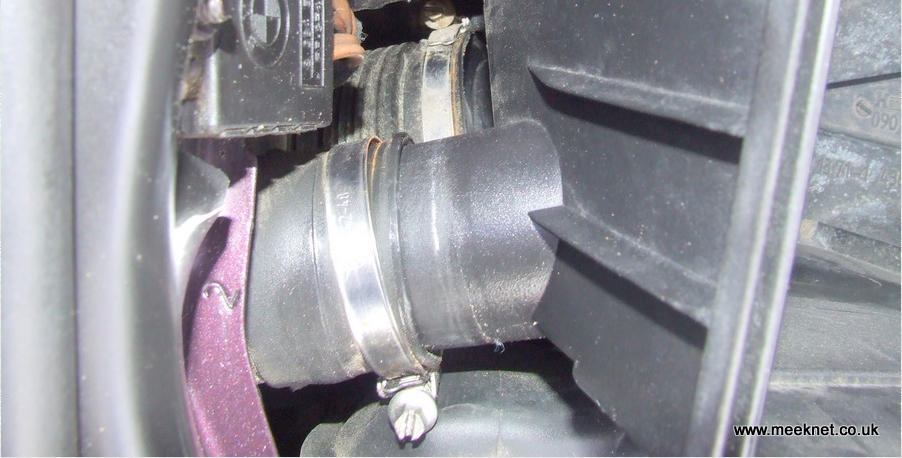
The lower half of the filter box is attached by a single bolt and two pipes. Undo the bolt and use a long, flat-bladed screwdriver to loosen
the Jubilee-clips:
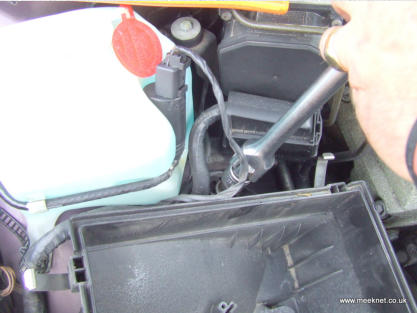
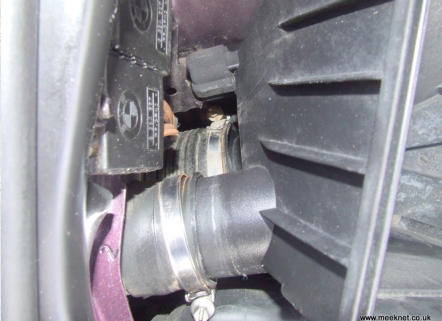
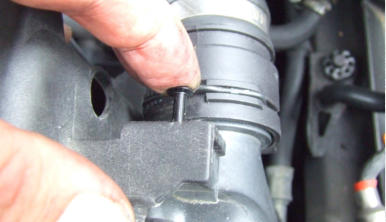
Disconnect the plug from the MAF (Mass Air-Flow meter), loosen the large Jubilee-clip and remove.
Expansion bottle and fan shroud removal
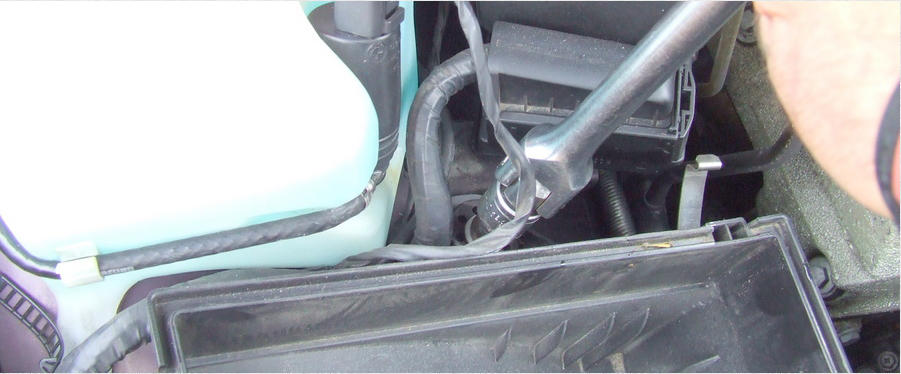
With the MAF and airbox removed access to the expansion tank can be made disconnect the coolant hose:
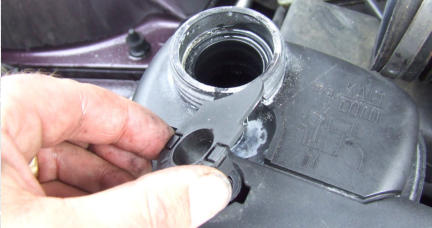
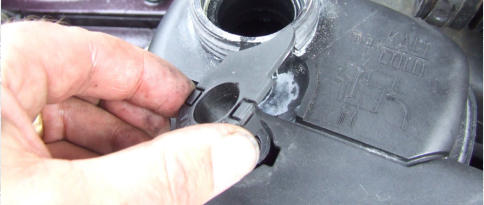
Remove the expansion bottle cap, remove the vent plug and then prise this piece of plastic from around the bottle:
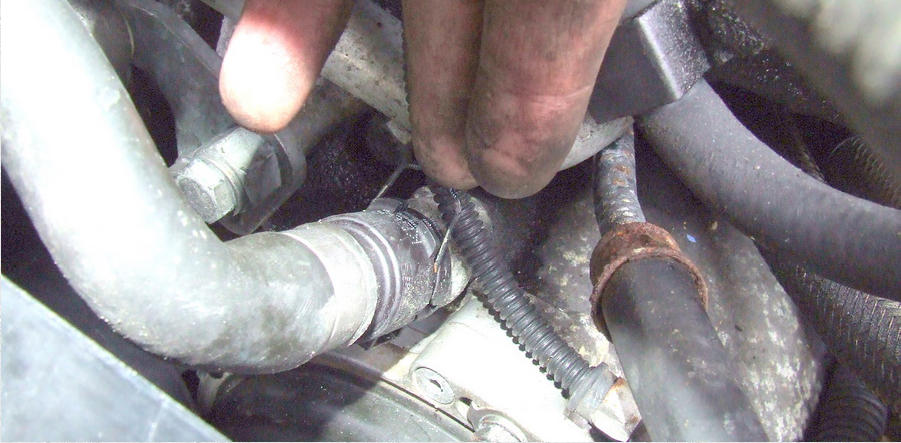
If this is the first time the expansion bottle has been removed, the return pipe will be fastened with a one-time use clip. The clip has to be
cut off using end-cutters. On my car there is a Jubilee clip, disconnect the top pipe from the expansion bottle:
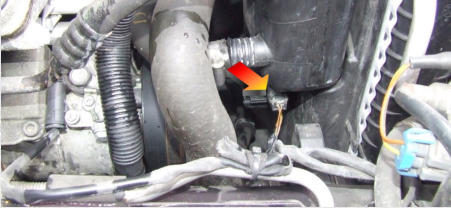
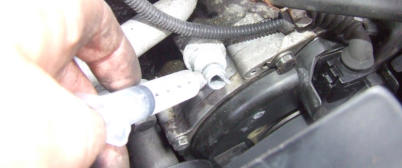
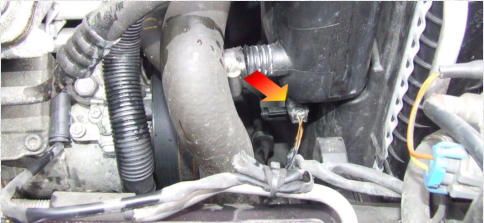
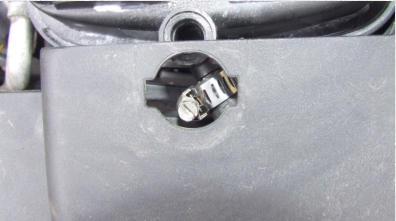
Disconnect the plug from the coolant-level switch:
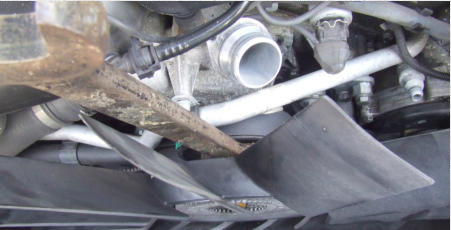
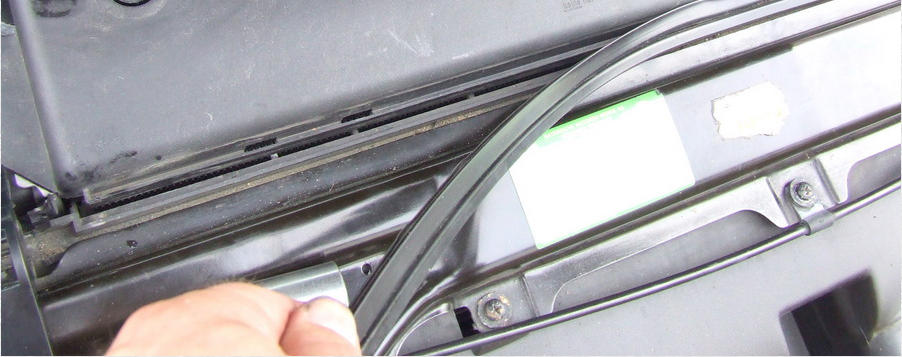
The cowling is held in place by two expanding rivets, pull the centre out and remove both rivets:
Remove the weather strip:
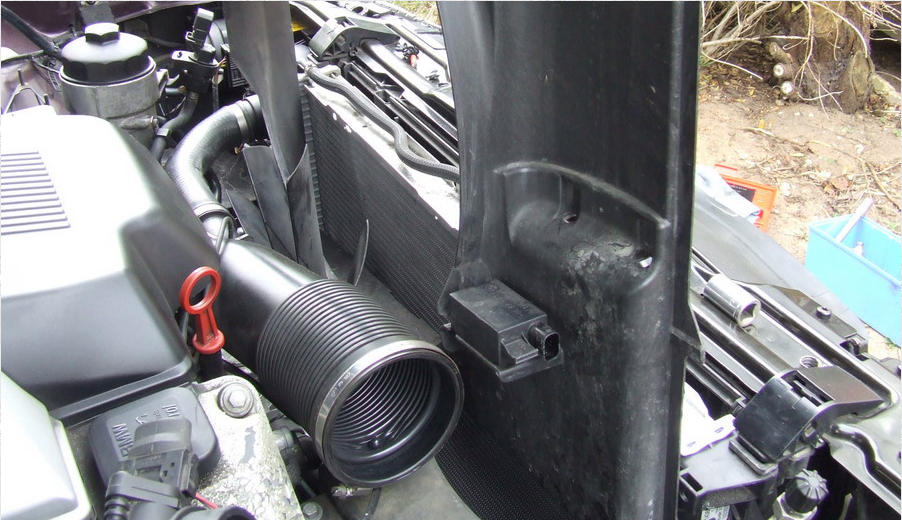
Lift the cowling, pull the expansion bottle up and out, disconnect the plug from the AUC controller:
Viscous-coupled fan removal
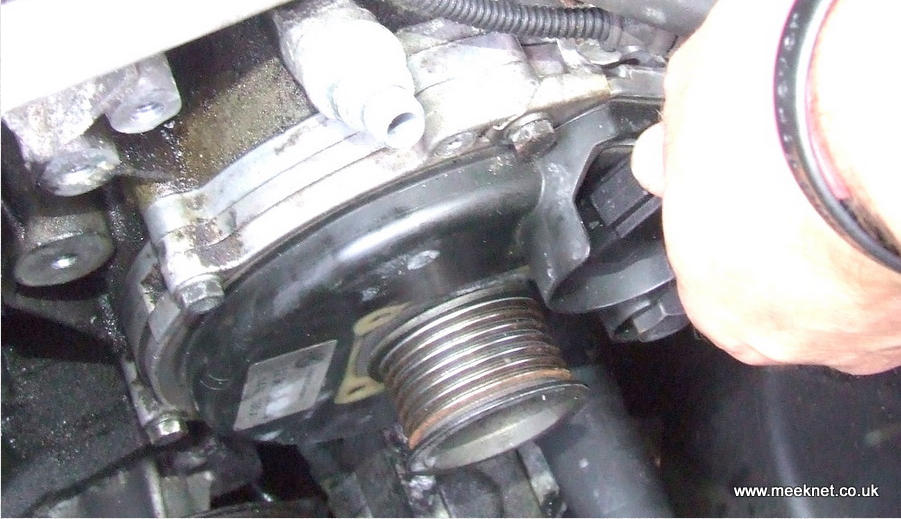
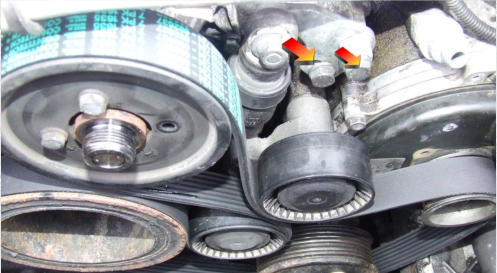
The viscous-coupled fan can be removed with the top-hose in place, however the alternator cannot fit past the hose so we will remove it now.
It has three connections, to the radiator, water pump and alternator housing. Each connection is a quick-fit type, they have a wire clip which is
lifted away from the connector, the hose can then be pulled off:
It takes a couple of good clouts with a metal hammer but comes off quite easily.
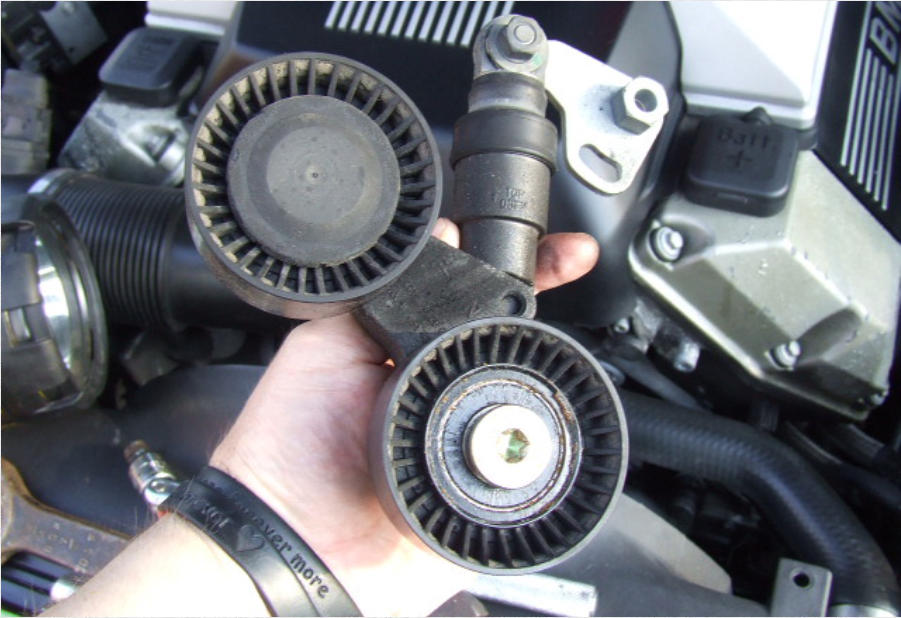
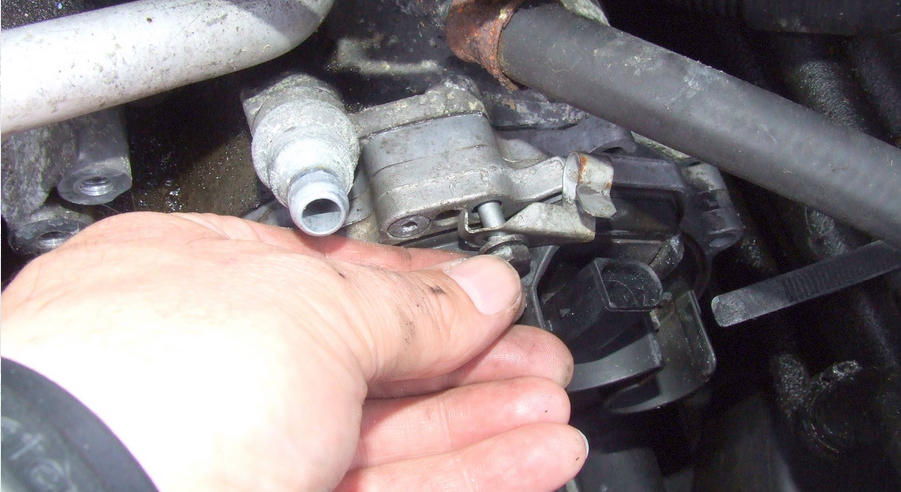
Serpentine belt and tensioner removal
The serpentine belt is kept at the correct tension with a spring-loaded pulley-pair. The unit shown below has had the cover removed from the
pulley on the right and this exposes the securing bolt (Torx head). The picture shows that there is a captive hex fitting, this is used to tension
the spring when replacing the unit. The unit is secured in place with the Torx fitting through the centre of the pulley, a bolt through the hex
fitting and the adjusting bolt which is fitted to the enlongated hole shown below.
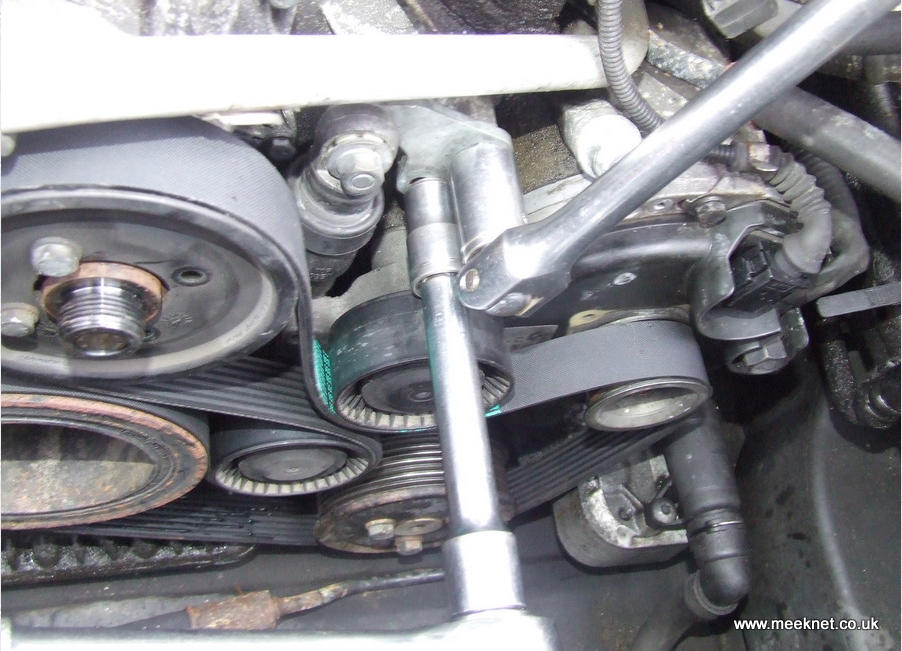
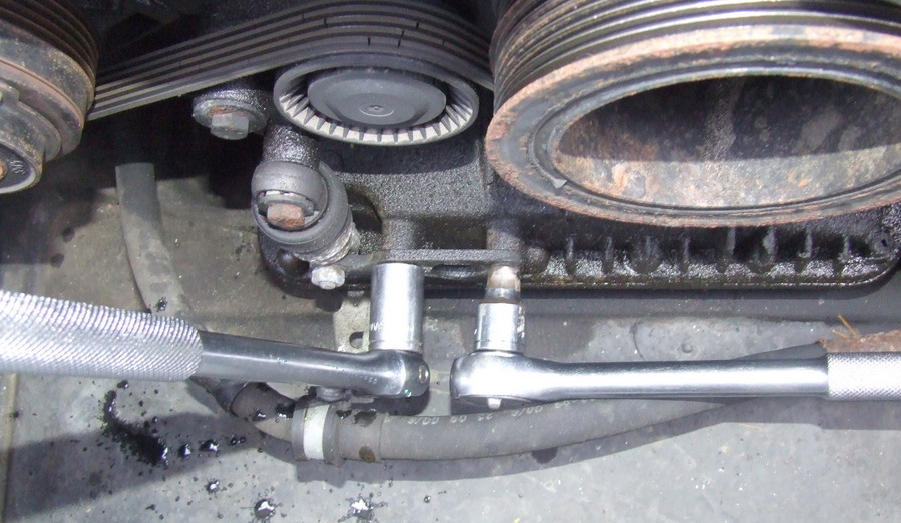
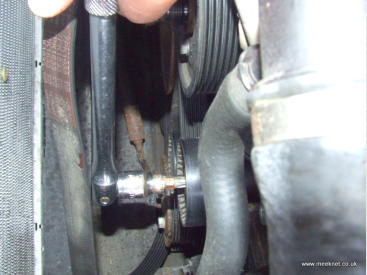
Start by slightly loosening the bolt that goes through the captive hex fitting
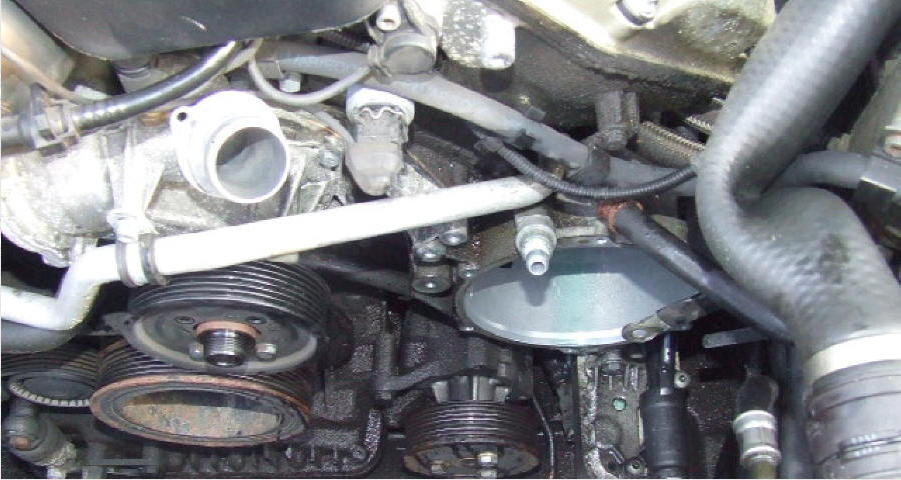
Then use two sockets as shown below, use the right socket to stop the adjuster snapping back and damaging the adjustment bolt, and hen
loosen the adjuster using the left socket and relieve the pressure from the spring:
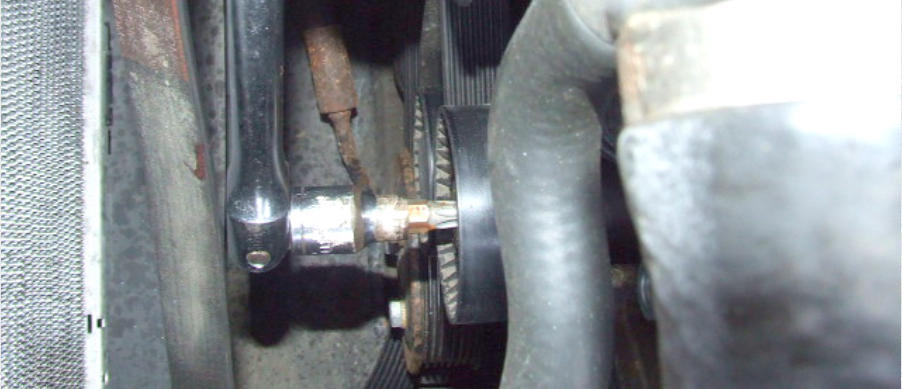
Remove both bolts from the adjuster plate:
Remove the cap from the upper pulley using a flat-bladed screwdriver and then undo the centre bolt using a Torx bit in the socket drive.
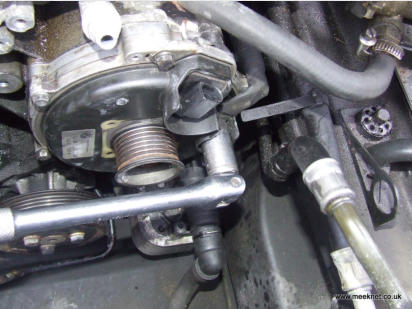
Remove both the belt and the tensioner unit, the tensioner has to be removed as access to two of the alternator fixings cannot be
accessed:
Compressor belt replacement
At this stage it is simple to replace the compressor belt, if yours has been replaced recently skip this step. The belt has a similar tensioner to
the serpentine belt but there is no need to remove the unit. Loosen the bolt that goes through the captive hex fixing and then release the
Spring pressure as before:
Once the tension is released the belt can be removed. Replace the belt and re-apply the tension using the left-hand socket, tighten the
adjusting bolt and then tighten the bolt that passes through the captive hex fixing.
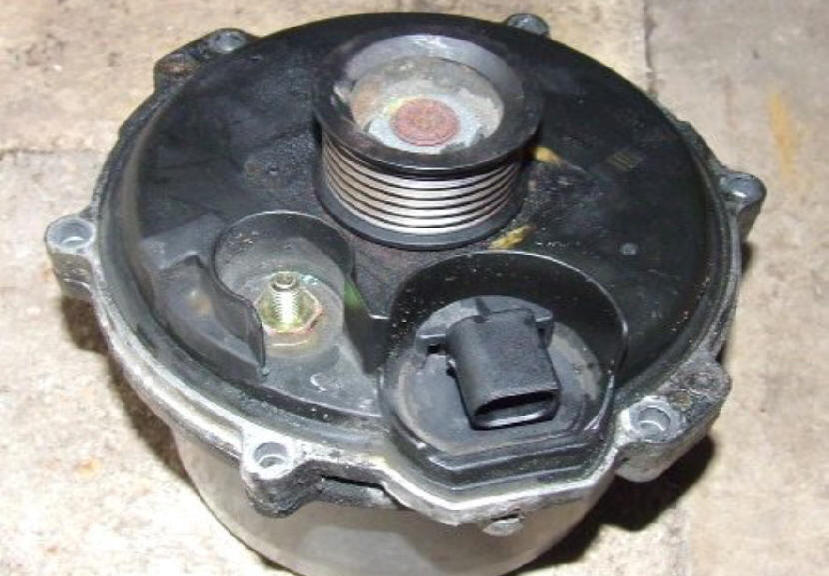
Alternator removal
EXTREMELY IMPORTANT - DISCONNECT THE BATTERY
It is imperative that the battery is disconnected by removing the negative lead (furthest back connection) before proceeding any further.
Failure to do this will damage the car's wiring.
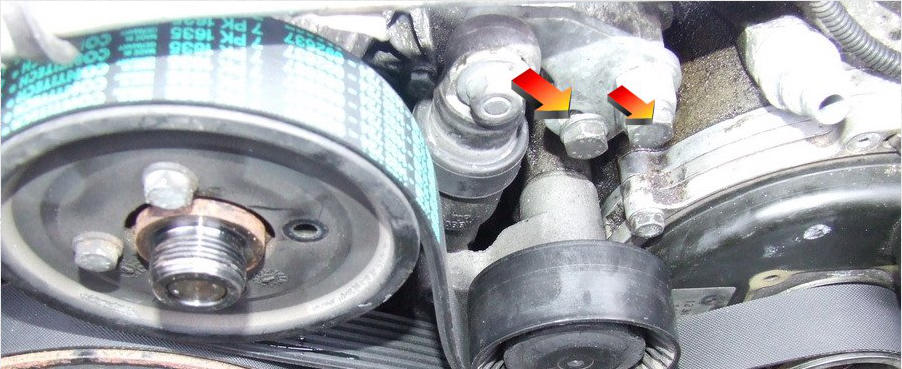
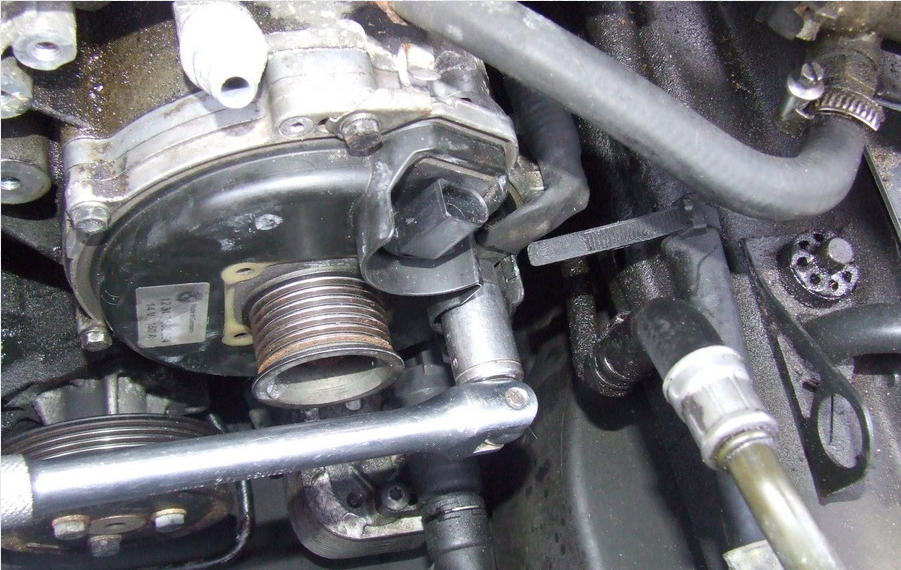
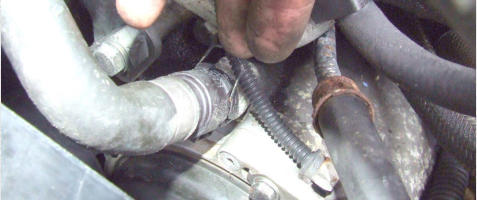
Remove the loom from the cable clamp:
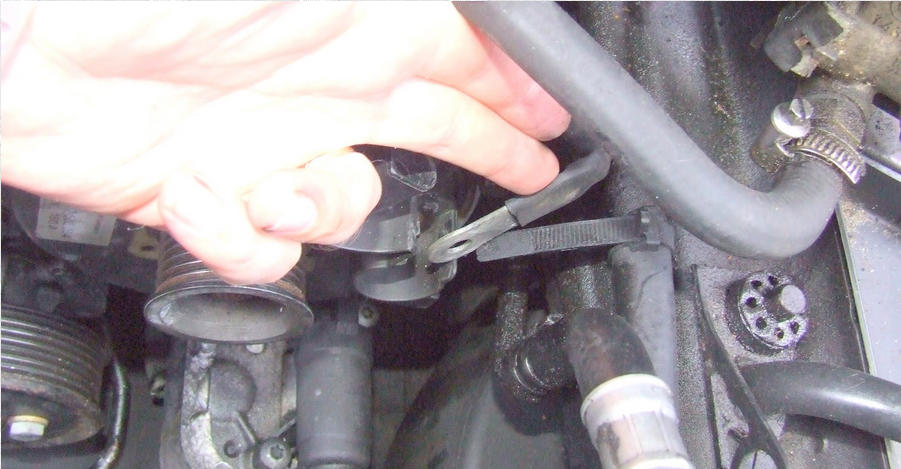
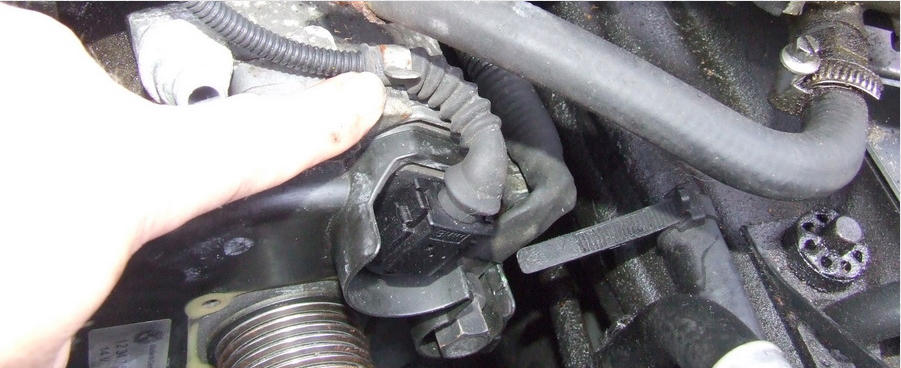
Disconnect the upper connector to the alternator by pressing the sides of the plug and pulling upwards:
Remove the B+ terminal nut from the alternator:
Move the B+ cable to one side and then cover it with a jiffy bag:
Remove the top bolt and the cable clamp:
Remove the remaining 5 bolts that secure the alternator. If a sealing compound has been used the alternator will not release (sealing compound
should NOT be used, there is a profiled ring for sealing purposes). If there is no sealant the alternator can be removed by pulling on the pulley,
be ready to catch the alternator, it is very heavy.
If the alternator is stuck fast, use a 3-foot length of 3/4" dowel and strike the alternator flange from behind. do not lever the alternator
out using metal tools, or the flange and sealing surface will be damaged. Once the seal is broken, the remaining coolant will come out and the
alternator can be lifted upwards past the top-hose connections:
Replacing the alternator
When replacing the alternator, make sure that the rear seal is intact, although shown as a separate part on realoem, it is not available and
you will get a bag of three smaller seals instead! Carefully remove the seal, lubricate it with silicone grease and then replace it. Practice this on
the faulty alternator first, if you cannot remove the seal without damaging it just lubricate the seal on the new alternator:
Carefully lower the new alternator into position, fit the top fixing and cable clamp:
Use Loctite 222 on all bolts and replace the five remaining fixings:
Fit the B+ terminal, top connector and push cable into the clamp:
Fitting the tensioner and serpentine belt
Fit the tensioner using the central pulley Torx bolt:
Fit the cap on the pulley and loosely refit the two top bolts (note that the TIS shows the tensioner plate reversed). Fit a new serpentine belt
and re-tension the belt as shown below. It is imperative that the belt is fitted correctly on all the pulleys before tension is applied:
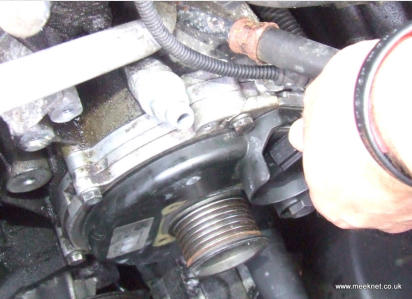
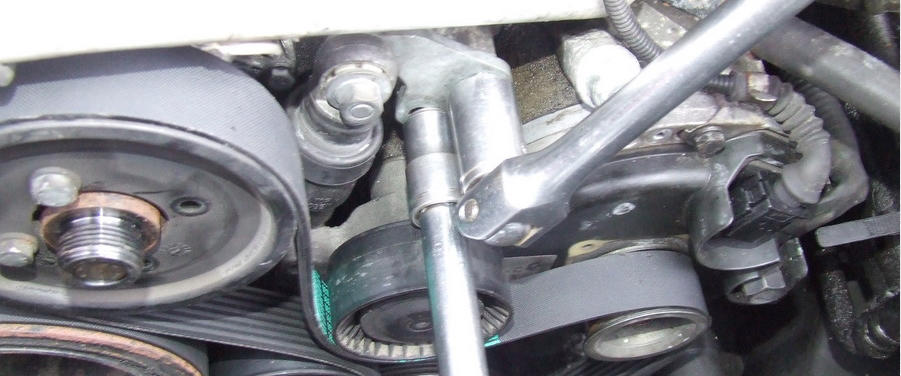
Refit the viscous-coupled fan
Spin the fan (anti-clockwise) onto the water-pump pulley and then use a 32mm spanner to tighten the nut using a short, sharp clout in an
anti-clockwise direction:
Because my 32mm spanner is too wide I had to remove a couple of pulley bolts, these were difficult to replace until I used a magnet to
hold the bolt in position on the spanner:
Coolant system re-connection
Use silicone grease to lubricate the top-hose connections:
Refit the top-hose connections and push down the metal clips:
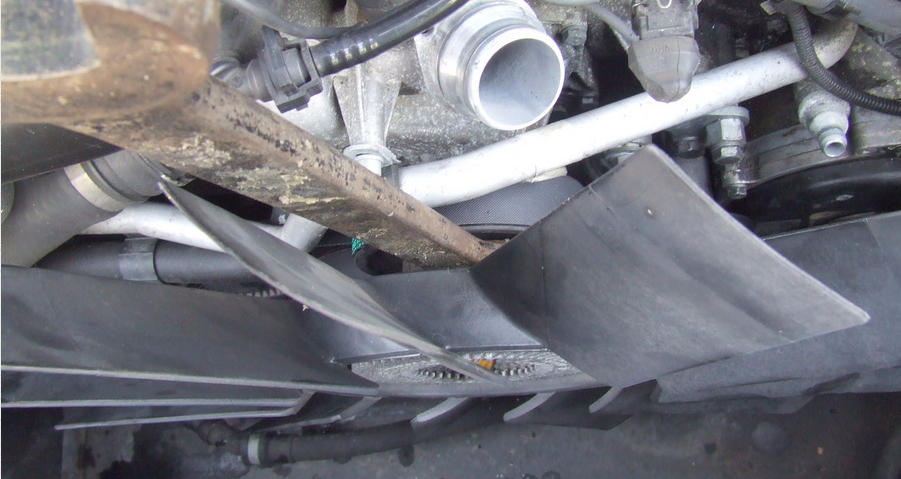
Slide the radiator cowl half-way in and re-connect the AUC sensor:
Slot the lower part of the expansion bottle into the cowl, lower the cowl further and re-connect the coolant-level sensor:
I found the next bit awkward, it might have been easier to disconnect the small-bore coolant pipe at the radiator, but this is how I did
it: Lower the cowling almost fully down and push the small pipe through the aperture in the cowl towards the expansion bottle. Push the pipe
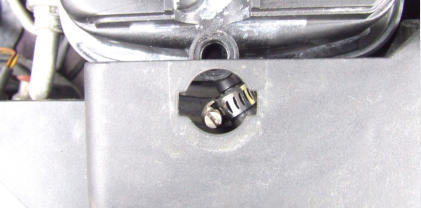
fully on to the bottle and tighten the Jubilee-clip through the vent hole:
Push the cowl fully down, push the expansion bottle in place and refit the plastic catch:
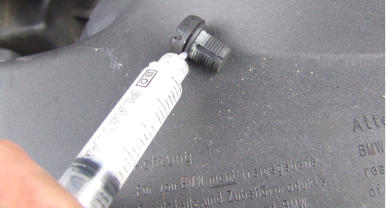
Lubricate the vent-screw seal with silicone grease:
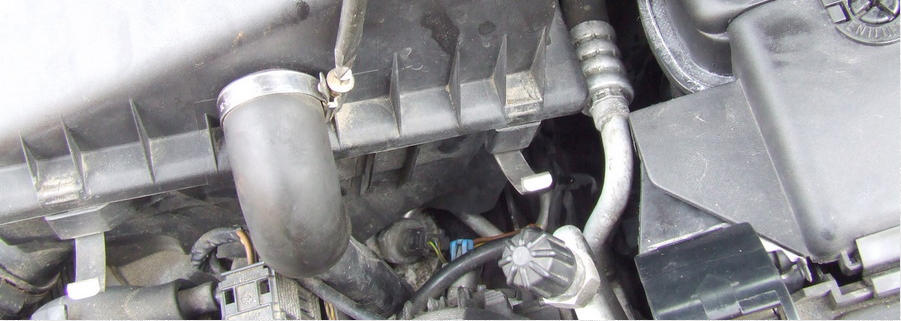
Fit the lower pipe:
Refit the expanding rivets and the weather strip:
Refitting MAF and airbox
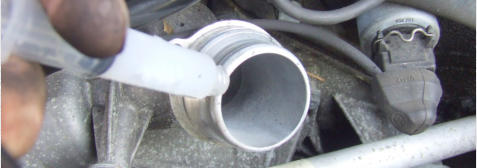
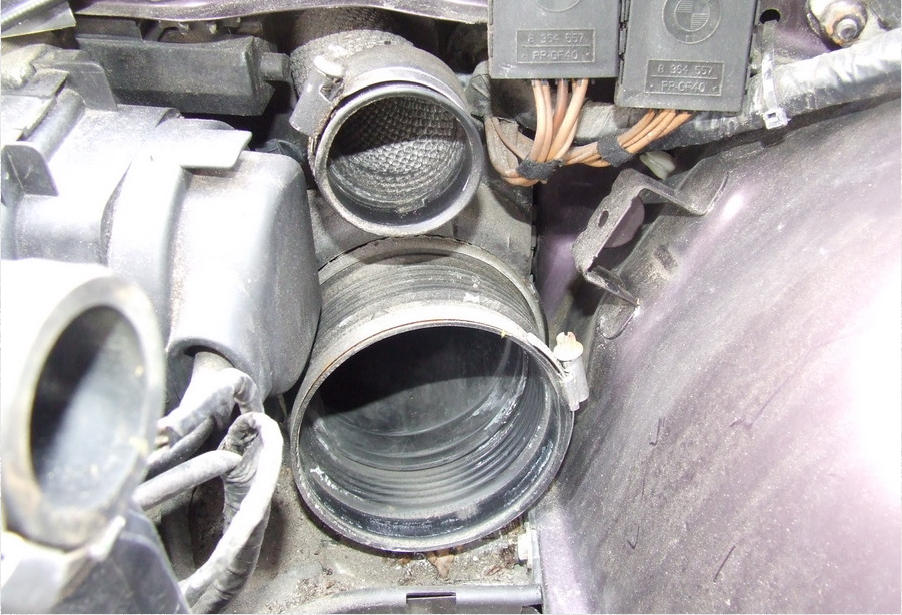
Lubricate the inside of the large-bore air pipes with silicone grease, this makes it easier to get the airbox in place:
Refit the MAF and reconnect the plug, use silicone grease on the large o-ring seal. Refit the lower part of the air-box, ensure the rubber
mount mates with the aperture in the bodywork, thighten the Jubilee clips and replace the mounting bolt:
Replace the filter element and clip the air-box lid in place, refit the air pipe at the front.:
All done, time for a cup of tea


The viscous-coupled fan is fixed to the water pump pulley by a left-hand threaded blind nut. The nut is 32mm and it is best to loosen the
nut by a sharp clout of the spanner with a hammer. Knock the spanner to your right:
Filling and bleeding coolant
Use a 50/50 mix of BMW coolant and ionised (or distilled) water to refill the system. As the alternator has been removed, the full 7-
litres of coolant will be required. Follow this procedure for re-filling.
•
Re-connect the battery
•
Switch the ignition to position II, do NOT start the engine
•
Set the heater to 32C on both sides, fan at lowest speed (but not OFF)
•
Loosen the bleed-screw two turns
•
Pour the coolant into the expansion tank, if the coolant reaches the neck of the bottle fit the cap and tighten the bleed-screw,
squeeze the top hose a few times, remove the cap and loosen the bleed-screw
•
Once you have at least 6 litres in the system, start the engine and position the car facing up an incline (or drive on to a pair of
ramps)
•
Stop the engine, then return the ignition to position II, re-fill the expansion tank fully (up to the neck). Squeeze the top hose a
few times, at this point the coolant should be circulating via the auxiliary pump and coolant should be seen entering the
expansion bottle from the small-bore pipe into the neck of the expansion bottle. If the coolant is not circulating, squeeze the top-
hose and while squashed fill the expansion tank right up to the brim, release the top-hose. Repeat until the coolant circulates.
•
Refit the cap, tighten the bleed-screw and start the engine, loosen the vent-screw at regular intervals to release any air:
•
Allow the engine to reach operating temperature while ensuring the 'Low coolant' warning does not show on the instrument cluster.
Only top up the fluid if the warning is shown, stop the engine when re-filling.
•
Once the engine has reached operating temperature, switch the engine off and check for any leaks. Only attempt to get the coolant
level exactly right when the engine is fully cool (at least 8-hours).
•
If you follow the procedure above there should be no problems with over-heating. Do not attempt to add coolant when the engine is
running, it will only introduce more air into the system. Only adjust the level when the engine is cold. Only use BMW anti-freeze at a
50/50 mix