TIMM'S BMW E38 SEAT-BASE REPAIR
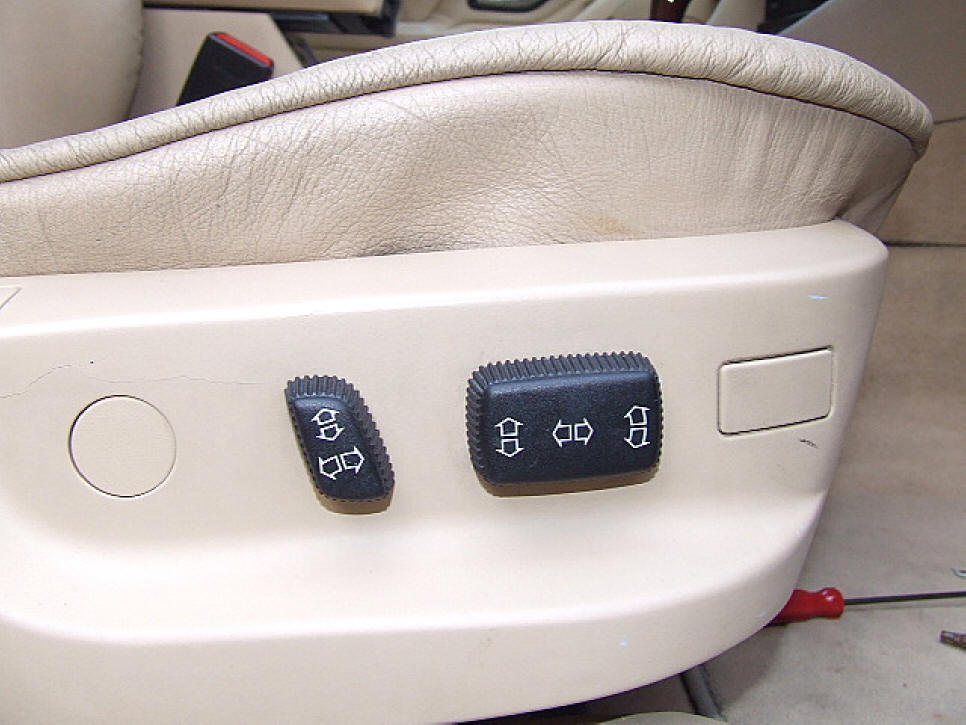
Have you got a seat base that looks like
this?
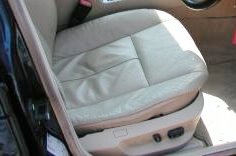
Not only was the base floppy and not fitting snugly against the leather, the
switches didn't operate correctly....a slight poke on the recline button and the
seat would keep reclining until it hit the end-stop. The big switch was
decidedly floppy as well.
We need to release the remaining fastener at the front of the seat base. There
is a small expanding collet around the front of the seat base.....ping this out
with a flat-bladed screwdriver:
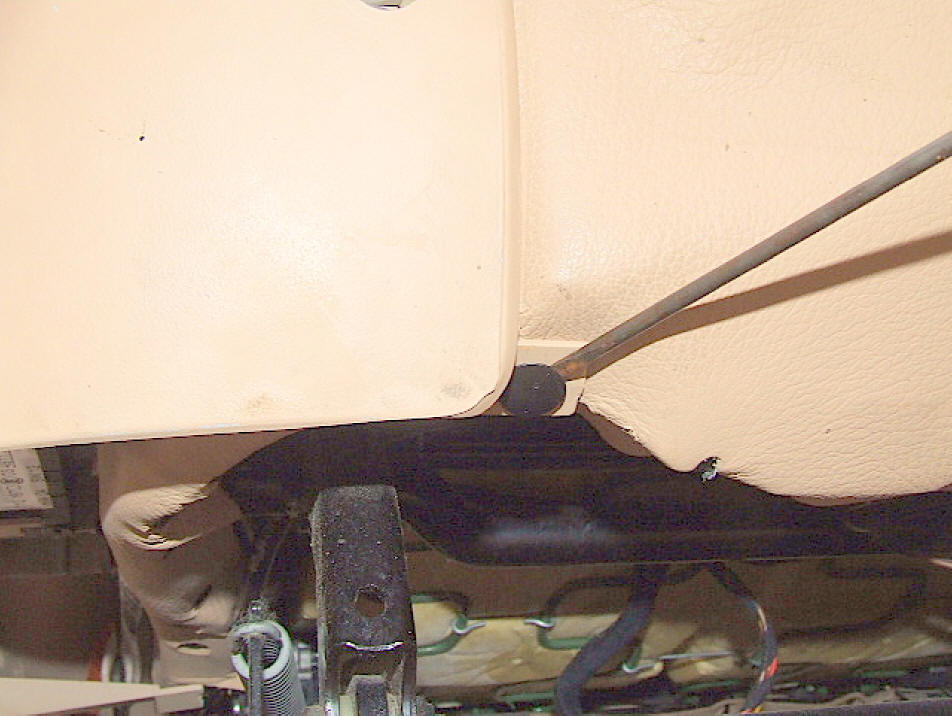
The seat base can now be moved away from the front of the seat so that access
can be made to the switch assembly. The switch assembly is held onto the plastic
base with four clips. If you have a floppy switch assembly, remove the two
control knobs, these pull away from the base, use two flat-bladed screwdrivers
if the knobs are too tight to remove by hand.
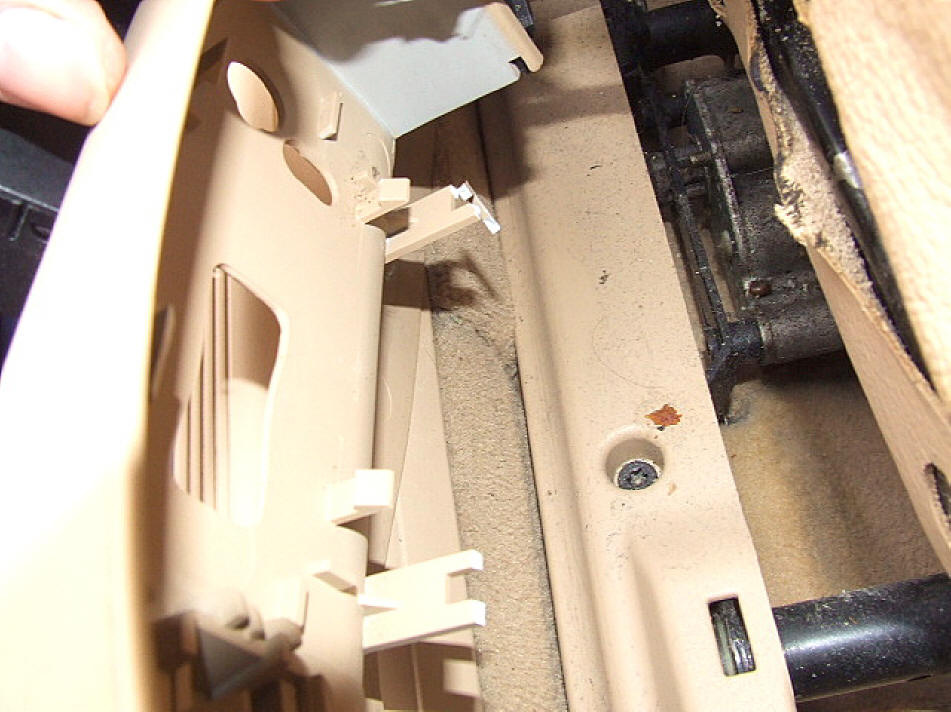
Once the knobs are off, the switch assembly can be detached from the clips, two
at the top, two at the bottom. The reason for the floppy switches are
immediately obvious, although the top clips are OK, the bottom ones have broken
at the ends:
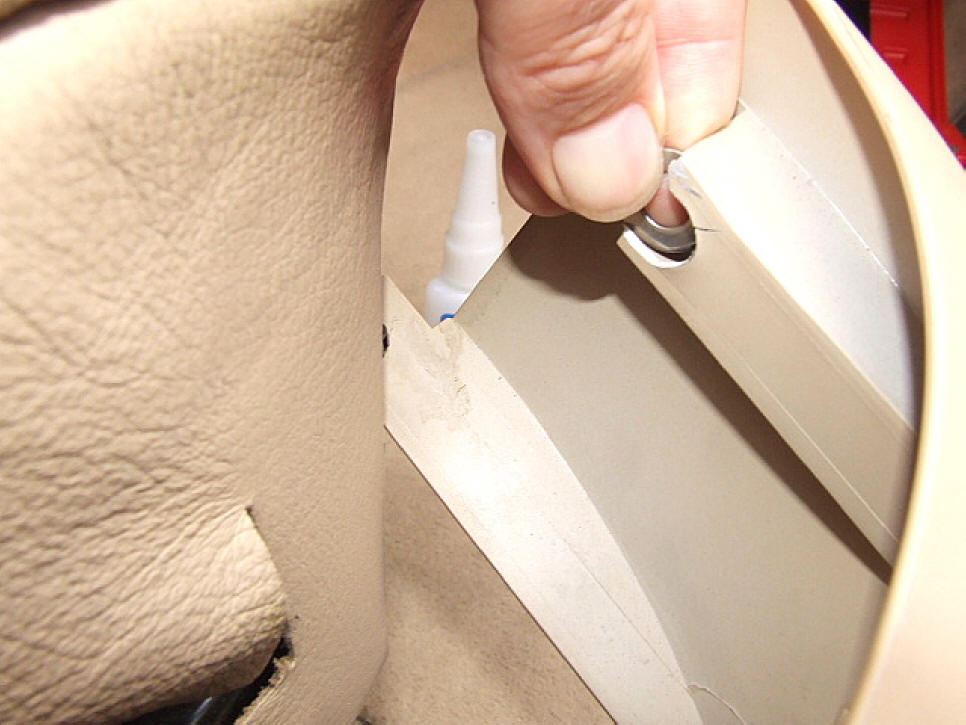
The easiest way to get around the broken clip problem is to draw a thin bead of
Superglue along the clips and then push the switch assembly back onto the clips.
The plastic of the base and the switch assembly work well with Superglue and it
was as firm as you like in a few seconds. Push the knobs back on while holding
the switch assembly from behind and it is all lovely again.

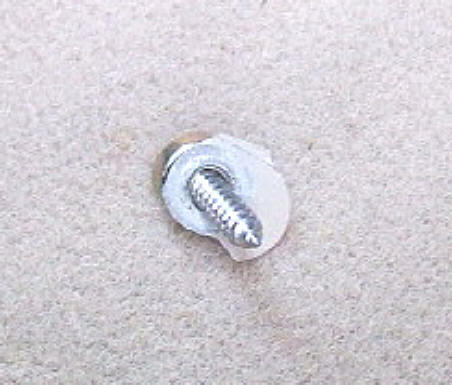
The seat base wobblyness was due to the upper fixing, this seems a bit weak, and
in this case the screw still had a bit of seat base on it when it was removed:
There are a number of ways to fix this, I started with gluing a large washer
into the remains of the fixing point:
That was a bit fiddly, especially because a reasonable amount of pressure is put
on the fixing. The washer needs to be clamped by the fixing screw to be
effective, the problem is getting it into the right place and tightening the
screw without putting side pressure on the washer.
I found a better plan was to use one of the 'U' shaped fixings with a
self-tapping screw-hole in the middle that are normally used for fixing trim to
sheet metal. I glued this in place with two-part Epoxy (Araldite Rapid) also
filling up the spaces where the plastic had snapped off and allowed it to set
for 30 minutes.
Fit the screw a single turn into the 'U' fixing, clip the 'U' fixing into the
broken channel in the seat base and align the seat base in the correct position.
Once the seat base is screwed back in place and the lower collet is pushed back
in place, the 'U' fixing clamps quite successfully onto the base and all is
lovely again:
All done.....time for a cup of tea

![]()
