Timm's E63 and E64 Fit White Halo (Angel Eye) Lights
For pre-facelift 6-Series
This is the question that comes up just about every day on the Forums - How can I get the white Halo lights like the Facelift models? The
answer is, you can't! Well, not without swapping over the complete headlight units - but you can make the Halo's whiter and a bit
brighter.
The pre-facelift 6-Series uses a 5W tungsten bulb for the halo's, so don't go for a bulb that demands any more current than the original -
the LKM (lamp control module) can be damaged by constant high currents as demanded by some aftermarket halo LED's. The post-
facelift (LCI) models use a 35W halogen for the halo's and the light-pipe that runs from the bulb is a completely different design. This is
the reason you can bung as much light as you like in the pre-facelift models - the light all goes in the wrong direction and the light-pipe
will not accept the light.

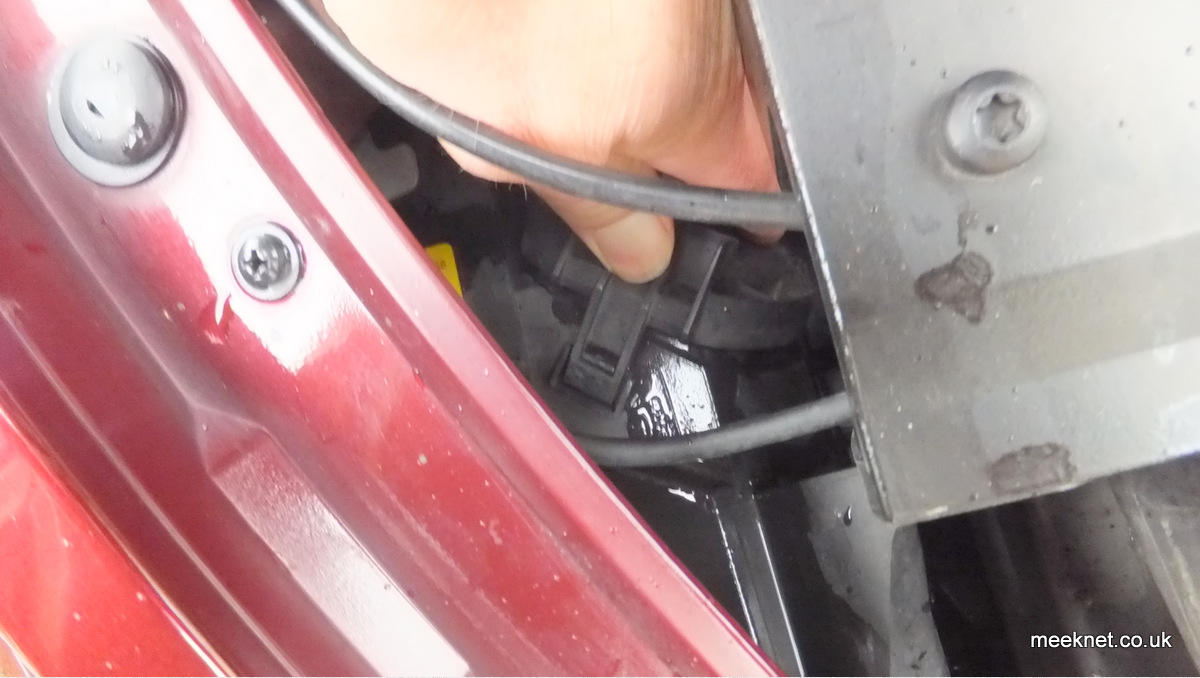
Right, lets get on with it, we are working on the RHS to start with (drivers side in the UK) - but note that there are some pictures of the
LHS unit where I failed to get a decent picture of the RHS. It makes life a lot easier to remove the main-beam bulb cover - Getting the
cover off is fiddly, you press down on the clip as shown below:
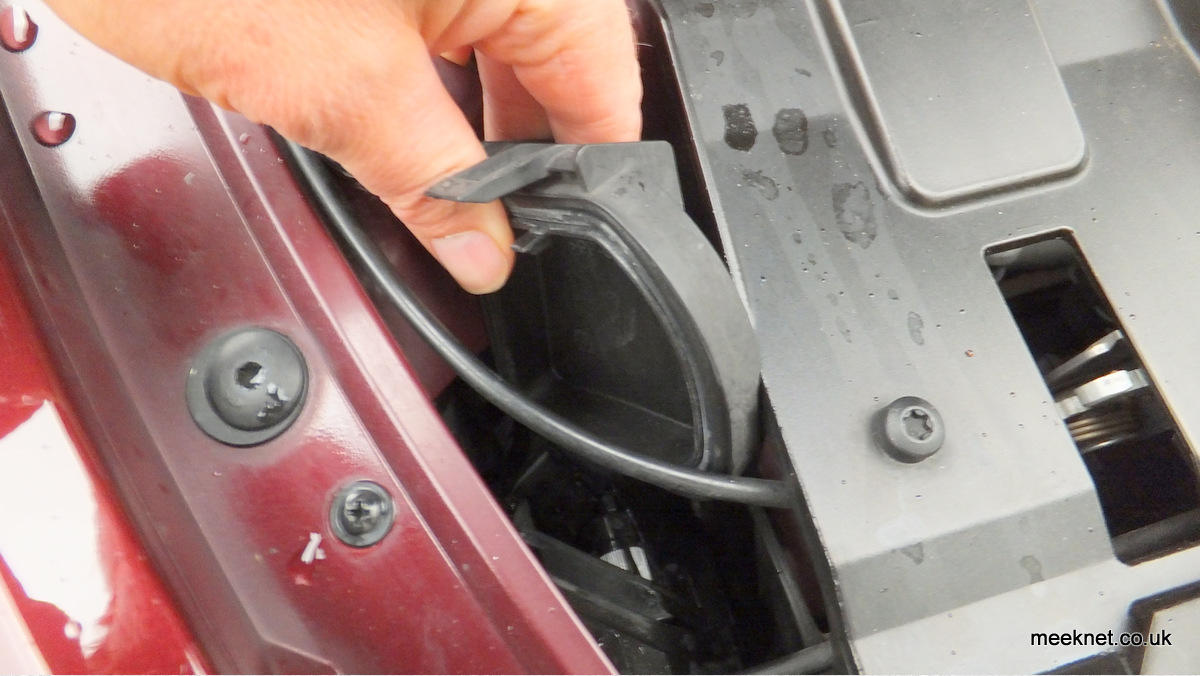
...and then lift the front end with your other hand and the top of the cover will move backwards at the top and is hinged at the bottom on
two tangs that insert into holes - just lift it upwards and it will come out (easier than it goes back on again):
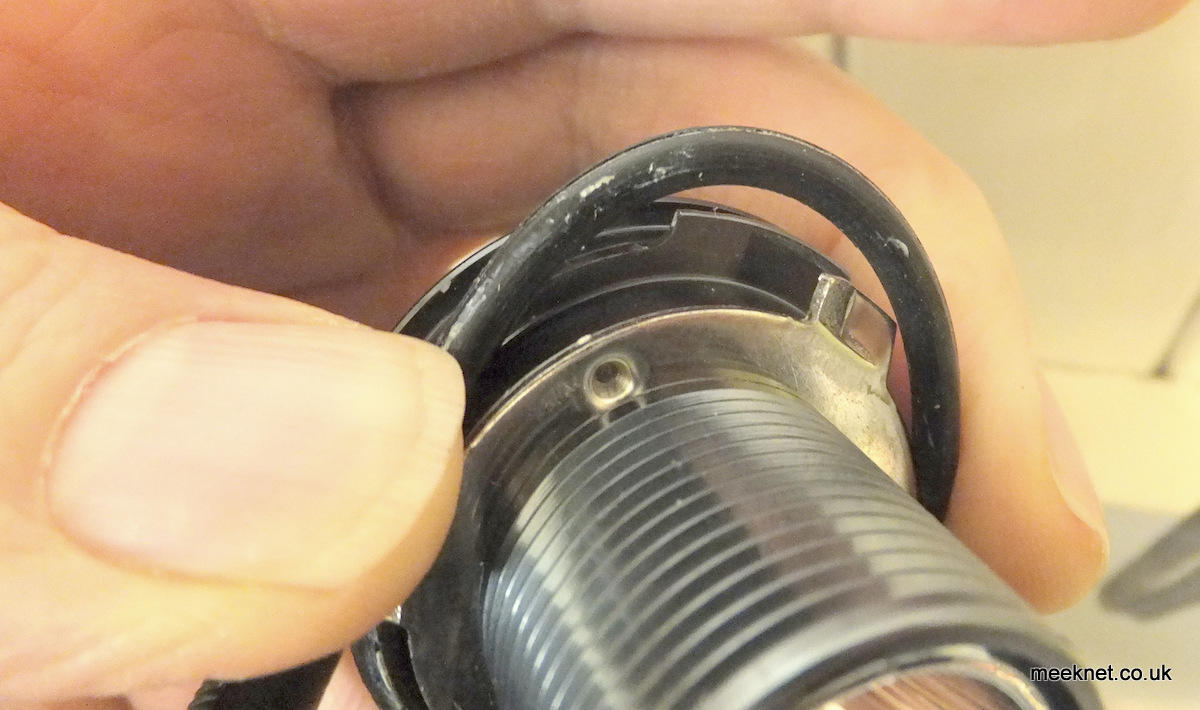
The bulb assembly has three tangs on the body, two are angled, one is straight - this has to be fitted upwards. You won't be able to see this as
you fit it, so mark the outer body behind the major tang with an indelible pen.
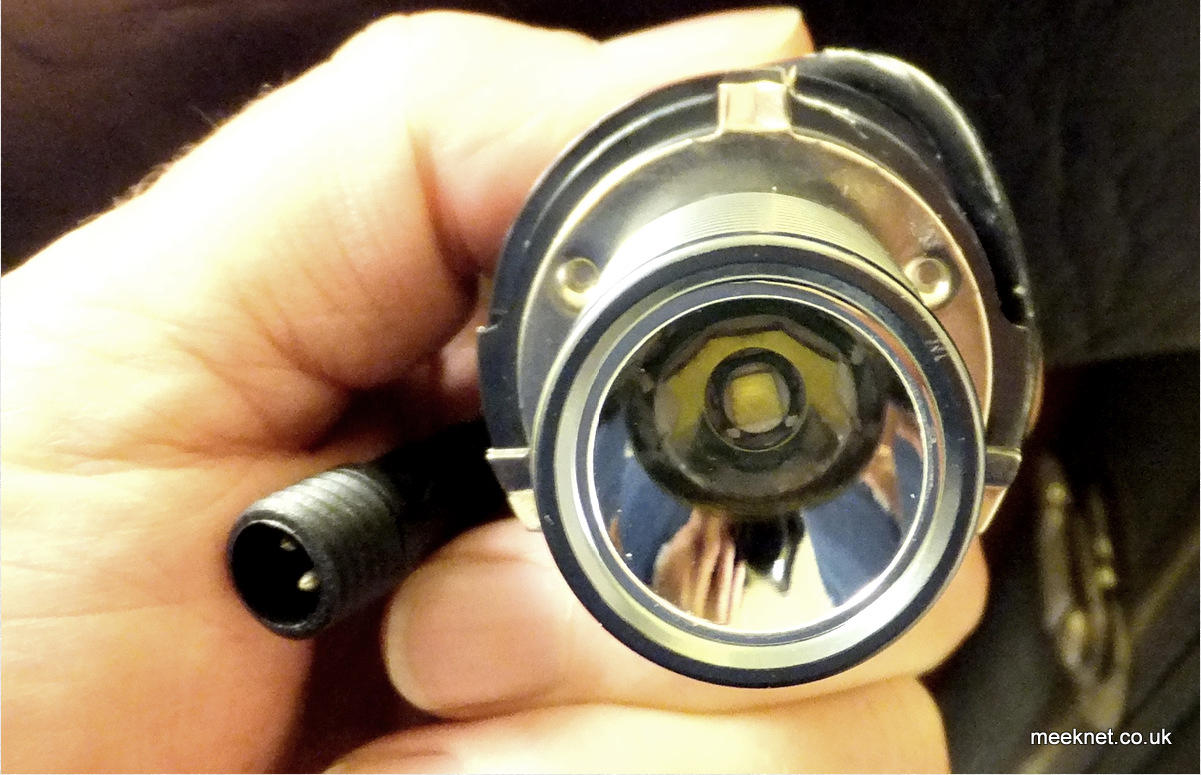
These bulb photographs are of the inferior '50W' bulbs.
Lubricate the large o-ring with silicone grease, or Vaseline, or even engine oil - but it helps to have some lubrication!
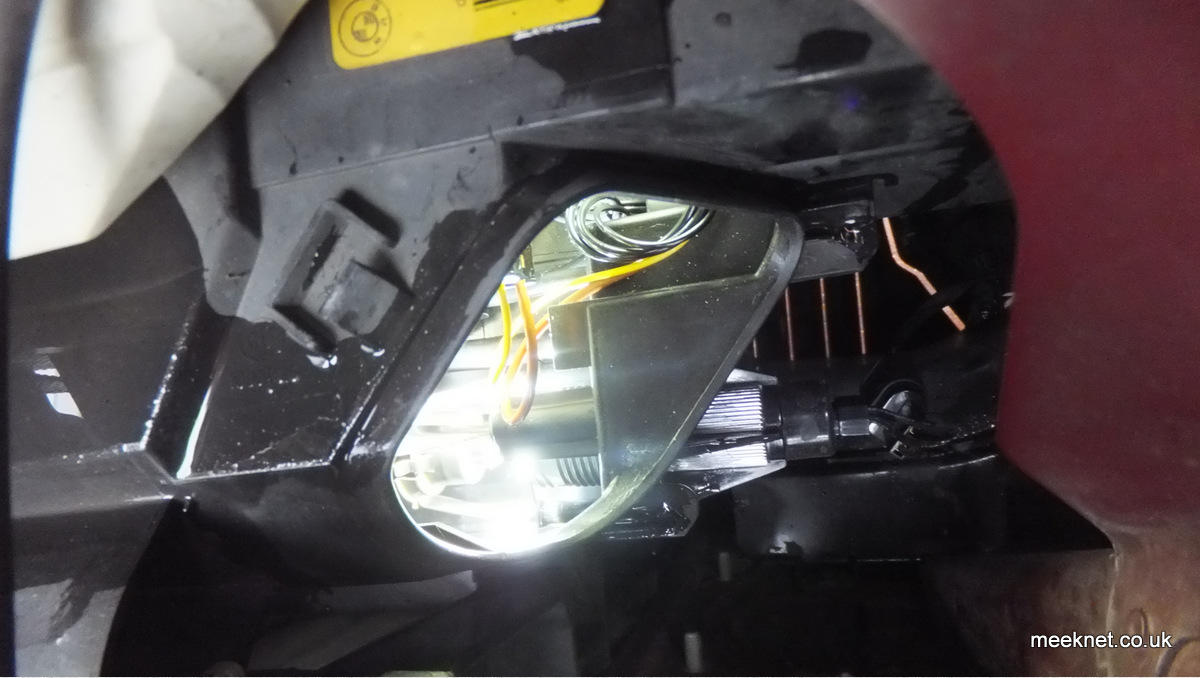
You next need to remove the original bulb holder - have a good feel of how the holder is removed from the headlight, it is just a few degrees of
turn anti-clockwise and it will pop out. Disconnect the loom from the original bulb holder and connect it to the new 3W assembly.
And here's the trick - switch your lights on! It makes it so much easier to get the bulb in the right place. At 3W, the bulb holder is not going
to get hot enough to worry you in the slightest:
It will take a bit of fiddling about to get it right - but with the indelible pen mark at the top of the assembly it is just a matter of slightly
rotating anti-clockwise until all three tangs drop into the headlight - and then a few degrees clockwise to lock it in place.
Don't force it clockwise too far as it will pop out again - it takes a surprisingly small amount of torque to lock it in position - the 3W units
are pretty light and they have stayed in place for the last 6 months or so without problems:
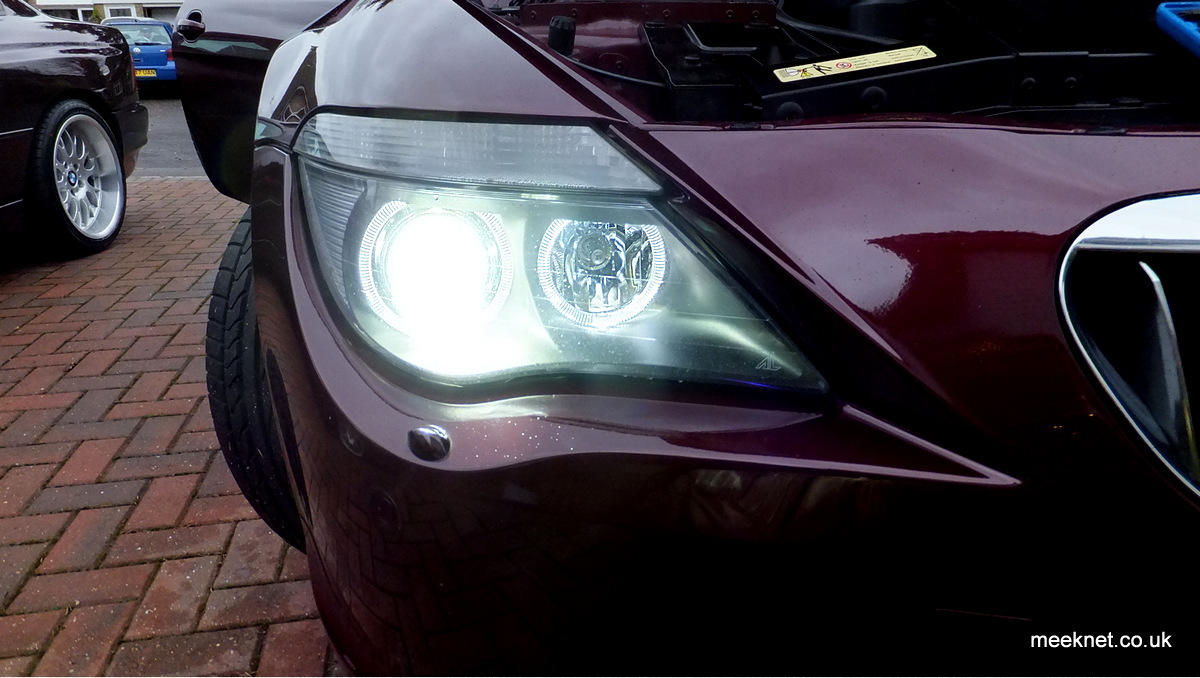
All done, time for a cup of tea
Tools and parts listed below:
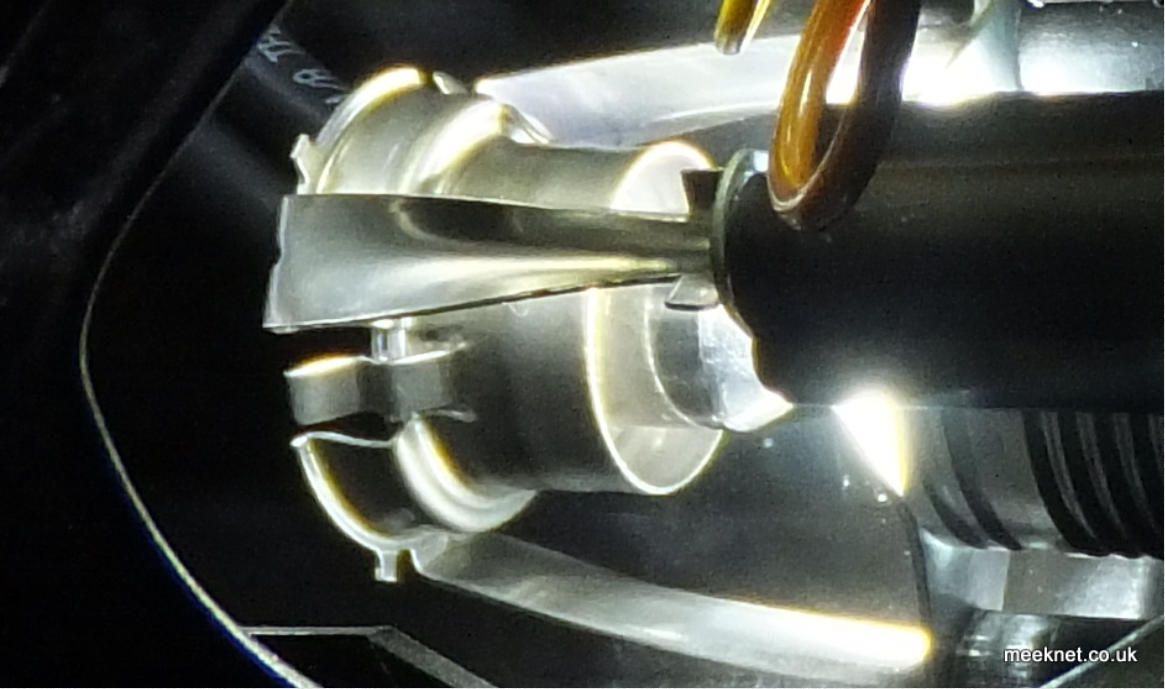
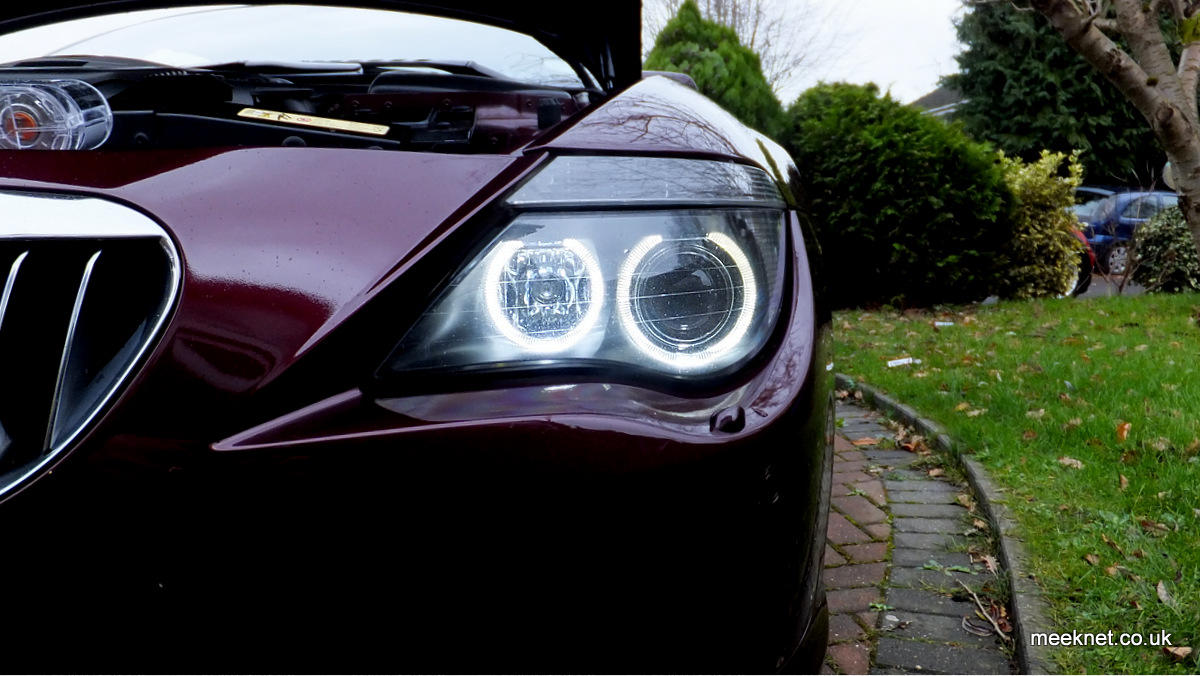
The photograph above shows the interior of the headlight where the halo bulb focuses its light on the halo light-pipeThere are
hundreds of adverts claiming ridiculous wattage outputs for replacement Halo lights - Don't believe a word of it. Some of them are
certainly bright - but direct the light in the wrong direction - some come with all sorts of boxes strapped to them - but the best I
found were simply 3W units that didn't need any additional hardware, gave out a lot of light and didn't throw up warnings on the
dash.