It would have been nice to fit a new condenser - but it is not a good idea to leave the connections open to the air as this would soon
saturate the receiver/drier. The A/C is working fine at the moment but I will update this if it fizzles out again.
Update 2 weeks later - still working fine
All done, time for a Cup Of Tea!

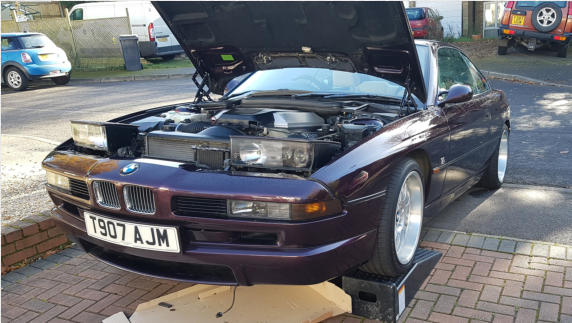
Timm's BMW E31 8-Series Air Conditioning Condenser Replacement
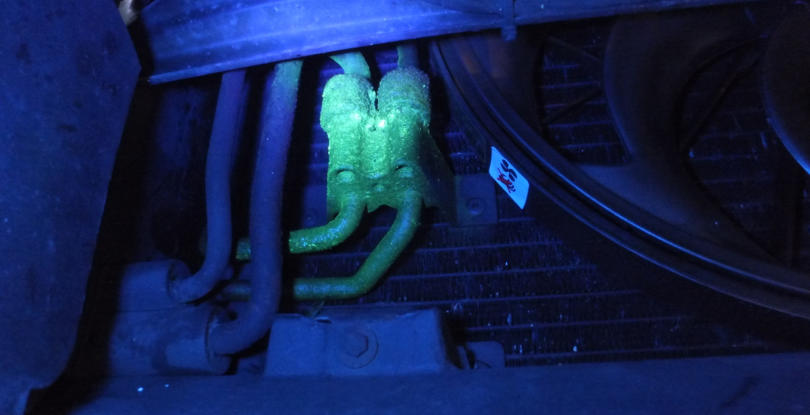
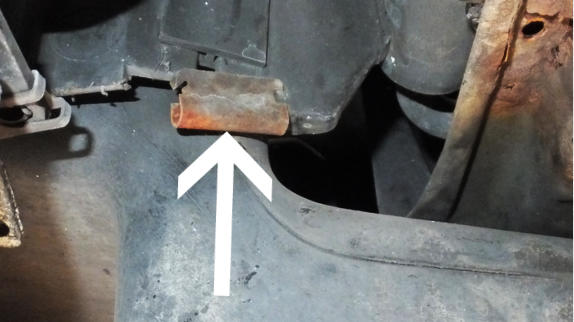
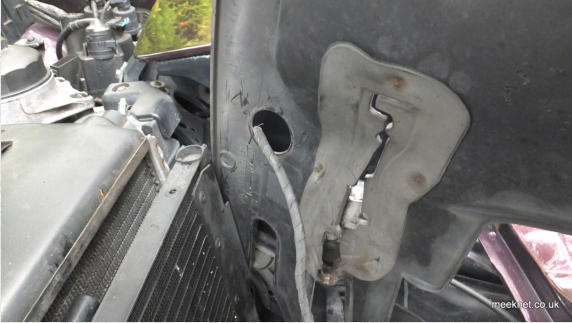
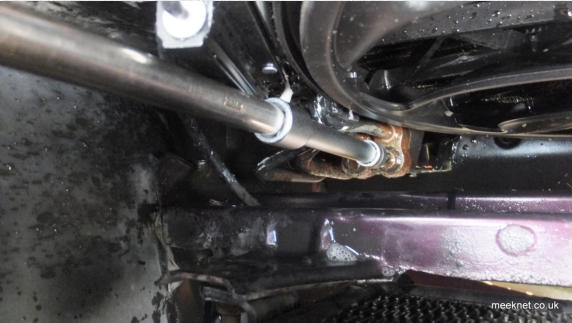
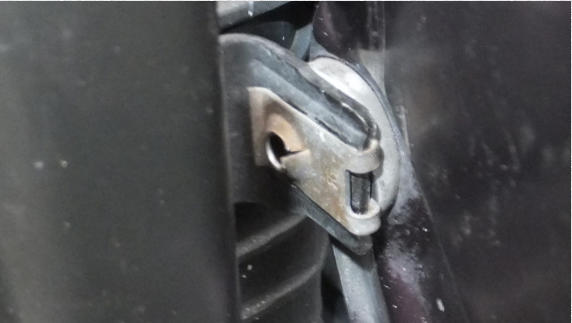
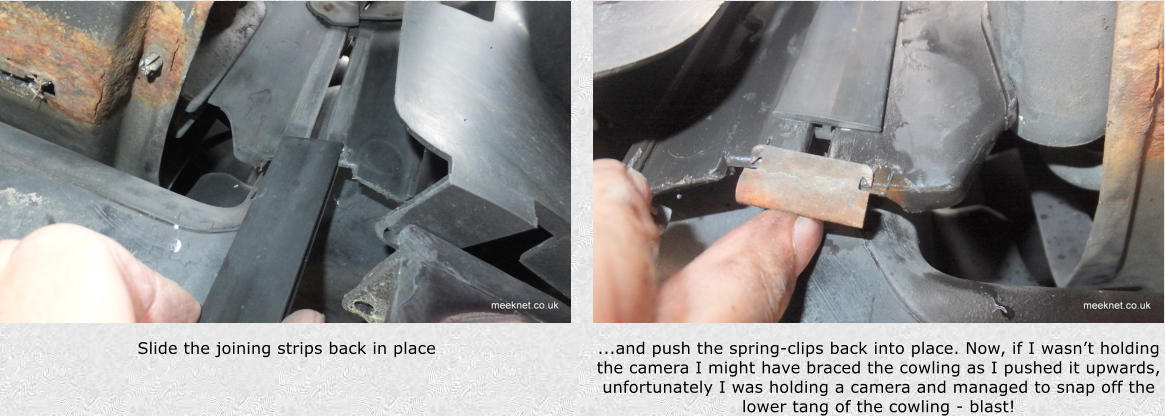
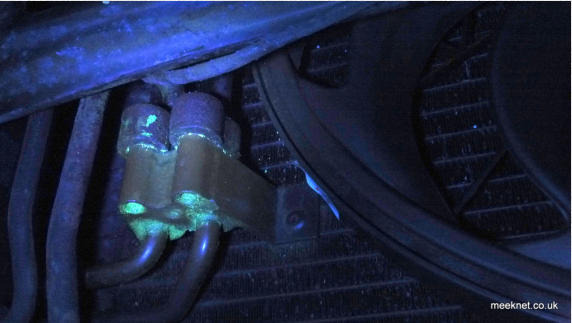
Oh for goodness sake, I’ve just replaced the auxiliary fan and the A/C has warmed up again - and take a look at that
That’s what I saw when I pointed a UV torch into the scoop at the front of the car - the green stuff is UV dye that was added to the
refrigerant when it was last re-gassed. The lump that the dye has stained is the connector pair between the condenser (the A/C radiator)
and the rest of the A/C system. This is often the source of a slow loss of refrigerant pressure and cooling efficiency.
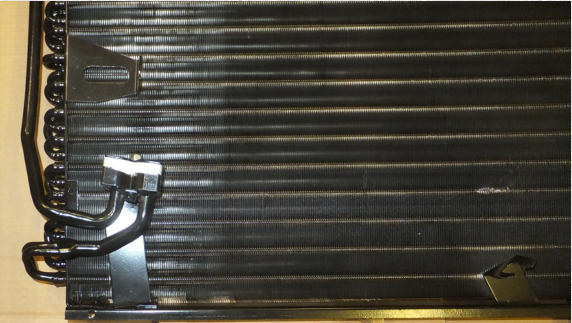
I have a choice here - I could try just replacing the o-rings within the connector, or I could replace the entire condenser. As the condenser is
not too expensive (£110 or so from Advanced Radiators in the UK - tell them you want the HELLA one, not the poxy black one) I have
decided to replace the condenser complete rather than fiddle around trying to clean up the connector pair. You will also need new plastic
rivets for the lower baffle and (more importantly) two new o-rings (see below for part numbers)
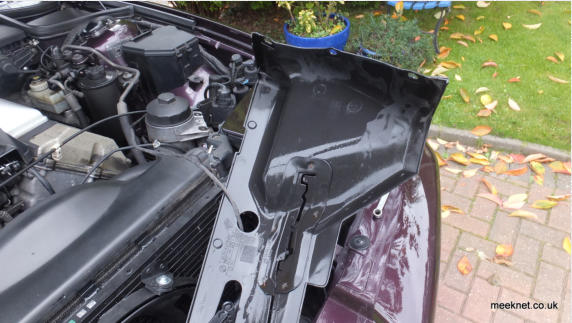
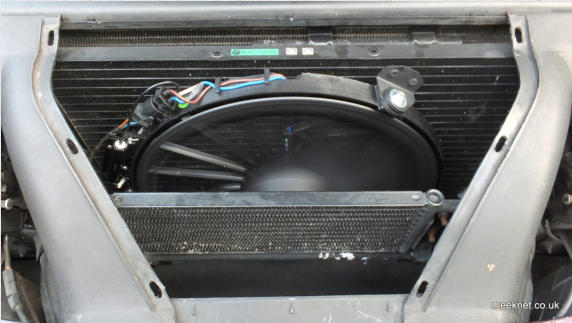
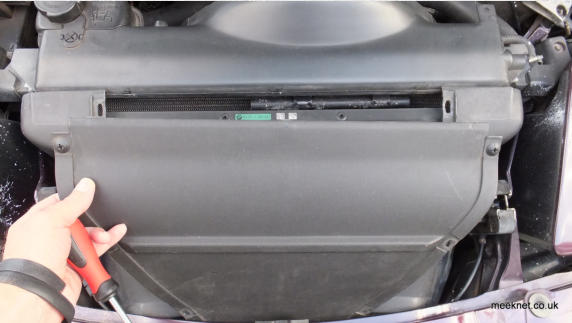
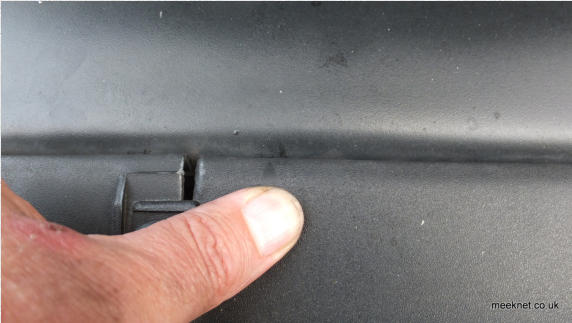
Start by removing the cover over the radiators - this is easy as long as you know where to poke a screwdriver:
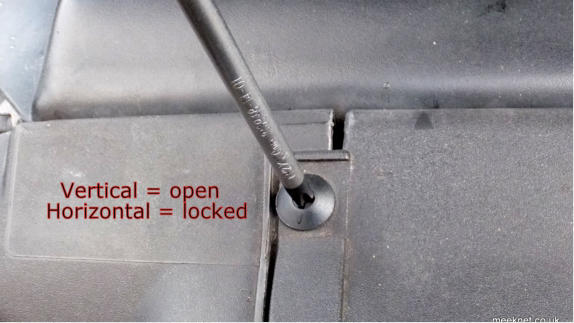
Twiddle each of the six fixings so that the markings are vertical,
these often fizzle out - BMW 51718123354
There are three arrows on the cover - poke a flat-bladed screwdriver
between the radiator cowling and the radiator cover, this will release
the three clips that hold the covers together
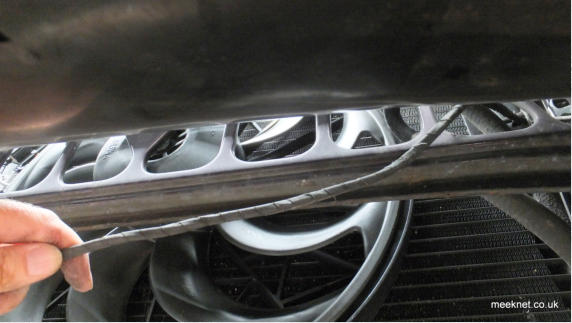
...that will do, a block-paving wire-brush-on-a-stick. A bit of
scrubbing and liberal squirts of WD40 and it comes up nicely.
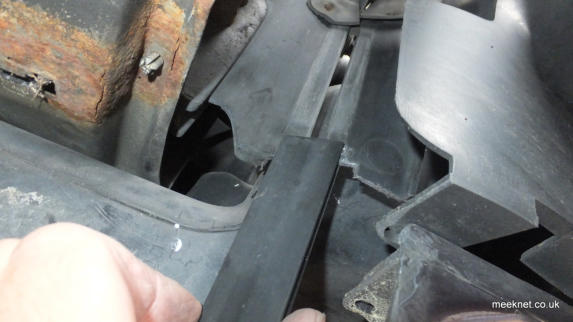
But it’s not time to separate the connectors yet, just check that the
bolts can be moved and then tighten them back up again. If this
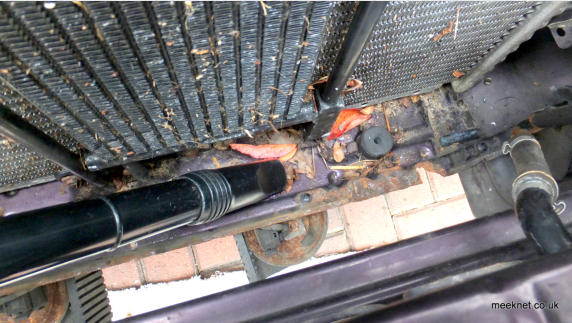
area is full of leaves, clean them out as described here

And off comes the cover by moving it backwards and up. Some of
the fixings may fail - possibly a plan to have replacements ready
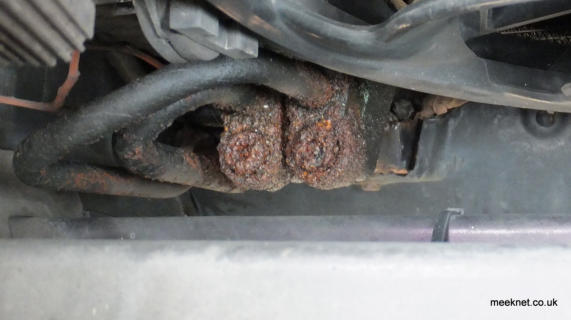
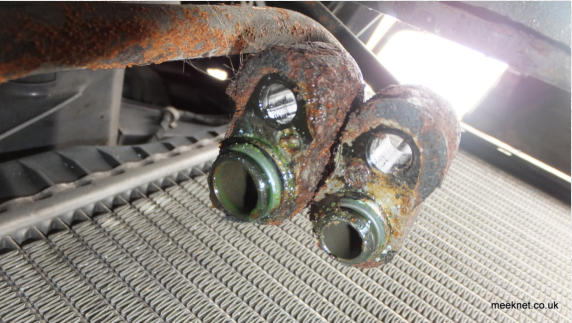
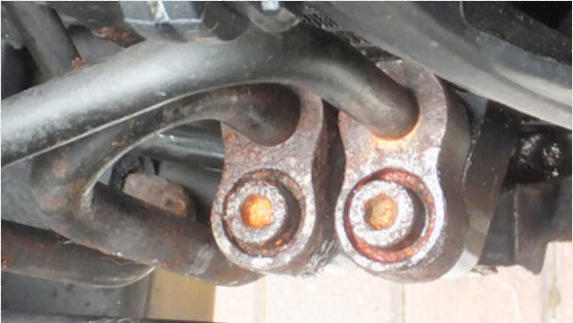
That’s not pretty. A certain amount of corrosion seems to have
affected the connectors! Not to worry, it’s only surface rust. so off to
the shed to see what will fix it...
Time to get the front of the car up on ramps - and this is the only way I have found to do it, use the slope of the drive to get the ramps up
to the front wheels as they won’t fit under the nose on the flat. On the non-sport versions this shouldn’t be a problem. We need to remove
the other plastic parts of the radiator cowling - and they are fixed underneath.
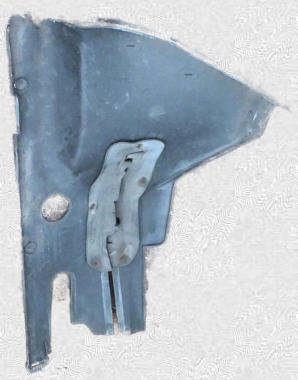
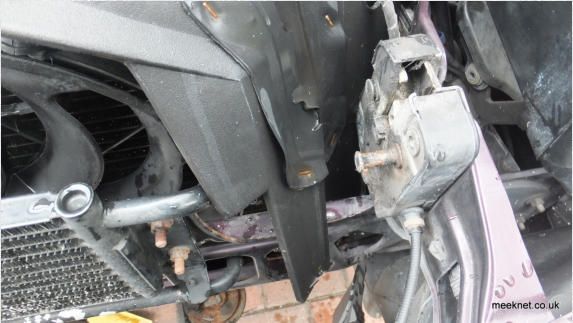
This is looking through the air scoop at the front of the car - this
plastic shelf is the baffle that steers air towards the radiators. It is
held on by two self-tapping screws (one seen above) and five plastic
rivets. The rivets need to cut off from below
This is the view from under the radiator frame with the front of the
car to the top of the page. At the front of the frame can be seen one
of the plastic rivets - chop these off with a pair of cutters. You could
try to save the rivets, but the middle one is trapped by the frame of
the fan - and it’s a lot easier to replace them later.
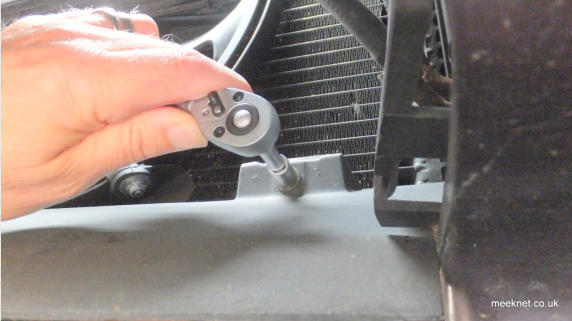
With all five plastic rivets snipped off, undo both 10mm self-tappers
and the baffle is free to come out. This isn’t quite as easy as it
sounds as it won’t fit out of the scoop. To get it out, lift up the back
edge until the front clears the back of the scoop and you can drop
the baffle downwards.
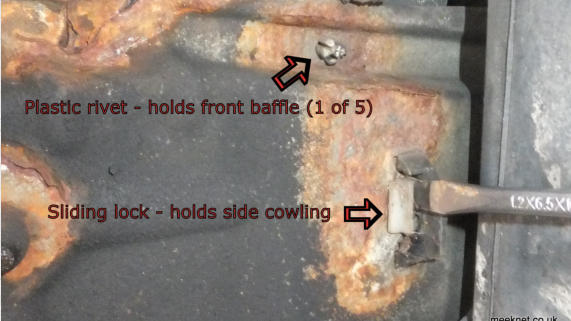
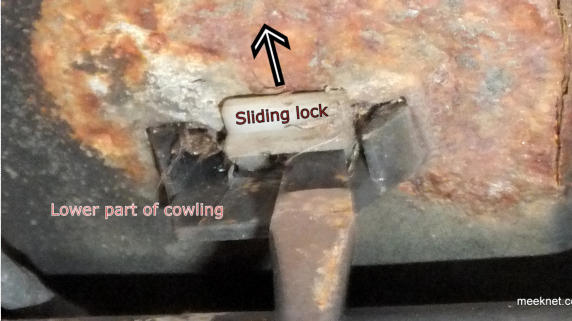
Here is the bottom end of the right-hand side cowling. The white bit
is a sliding lock that can be tweaked out with a flat-bladed
screwdriver - do this on both sides and keep hold of the locks, they
are easy to lose.
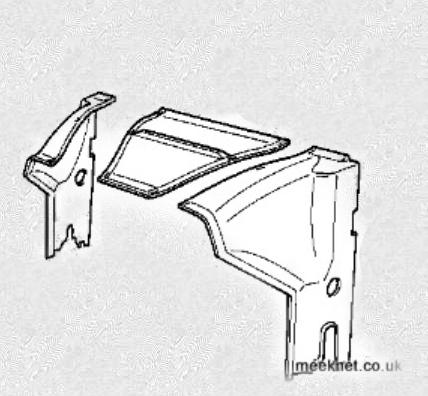
Here are the bits we are trying to get off, the middle part is already
off - the left and the right hand cowlings are a bit harder as they
wrap around a few bits and bobs
This is the left-hand side cowling showing a split that goes from the
bottom to the middle, this goes around the vertical radiator
bulkhead. Once over the bulkhead the split has a cover strip and is
clipped to lock it in position.
Here’s the clip, pull this down and off
Then pull down the cover strip

From the top pull up on the cowling and it will come out easier than
expected. There is a small clip where the cowling secures to the
radiator shroud - but that pops out without screwdriver intervention
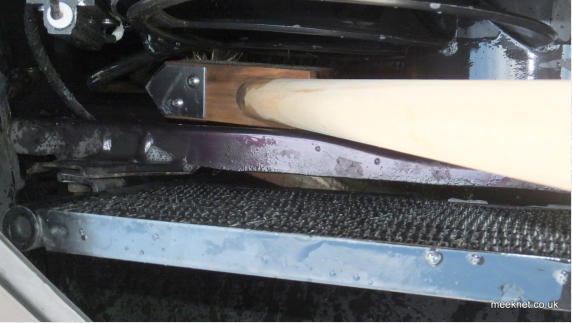
The other side is just the same except the auxiliary fan loom passes
through it complete with a large grommet. So disconnect the loom at
the fan and trace the loom downwards
The loom is tie-wrapped to the radiator bulkhead so snip those off
..and lift up the cowling while threading the loom through the hole.
Thank goodness that bit’s done - it gets slightly less fiddly now.
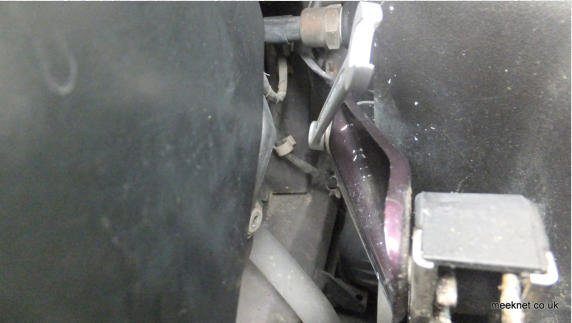
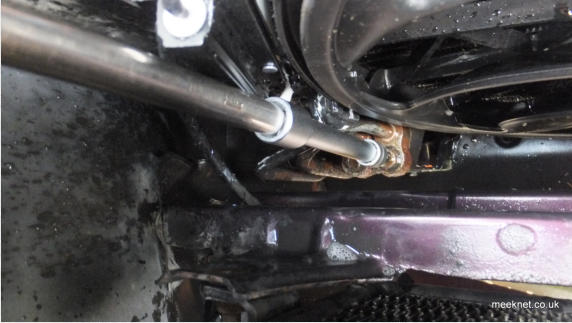
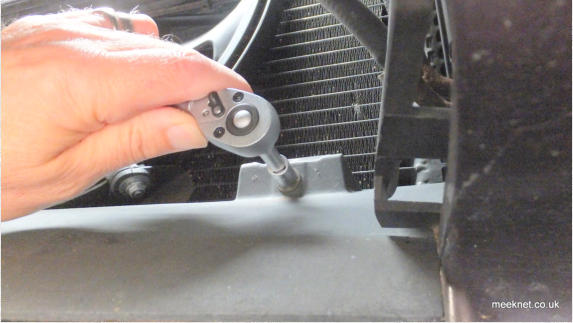
...well, apart from removing the two bolts that secure the condenser
to the bodywork. I used a ring spanner to remove these, I also
found that popping the headlights up helped access to the bolts
which go through the bodywork...
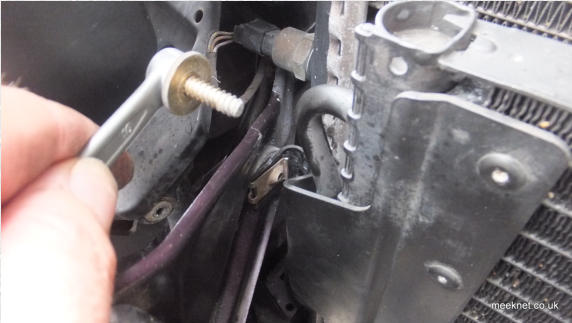
...and onto the radiator which has a U fixing fitted to the bent-metal
bracket. Undo both sides and remove the U fixings (the paintwork
will be scratched if these are left on) so the condenser is loose and
ready to be removed when the connector is separated.
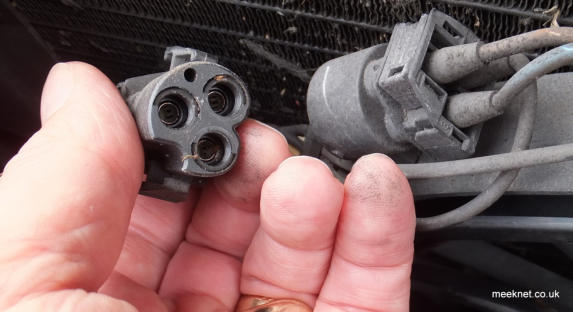
Make sure the connector pair is as clean and dry as possible - you
don’t want dirt or air in the pipework. Use a few extensions and
completely remove the two Allen bolts
Then pull the top half of the connectors upwards. You will find that
these can be moved enough to get the radiator past them. The
picture above is actually of the new radiator being fitted with the
blanking plate still fitted to the condenser connectors.
With the condenser out clean the area as it will have all sorts of stuff
hanging around - put a small bag around the connectors to keep dirt
out while you tidy up the area - don’t get any moisture near them.
Then clean up the connectors with an old microfibre cloth. There are
two o-rings which are 11.1mm x 1.75 section and 14mm a 1.75
section. Part numbers 64508390602 and 64508390603. I used
those numbers and bought them singly from Ebay at £4.75 each!
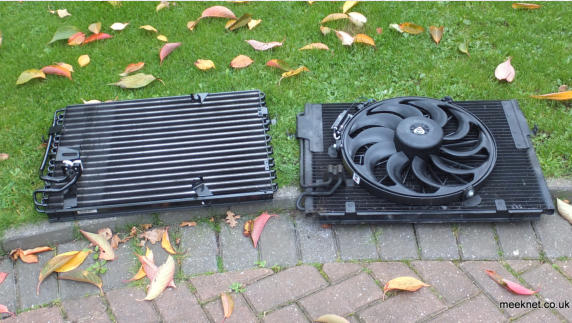
Here’s the new condenser with the original to the right. At this point
it would be a straight-forward swap of the auxiliary fan (extremely
easy with the condenser out of the car) and fitting the new
condenser. As usual things didn’t go quite right as the connector on
the new condenser wasn’t upright and would not mate correctly.
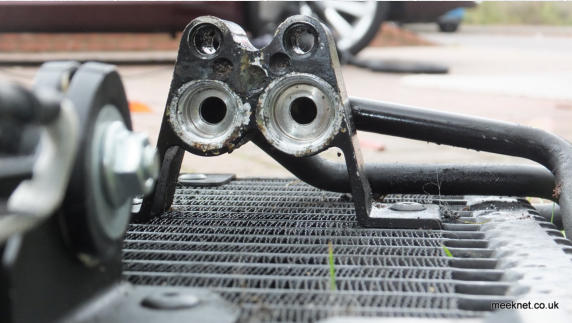
Here’s the problem, the connector is at an angle - and those pipes
don’t bend - well not without breaking something. At that angle
there is no way the connector pair is going to mate without seriously
damaging something - let alone getting the o-rings to seal
So, while the condenser is replaced by AdRad (a proper one turned
up in a few days) I cleaned up the old condenser’s connectors - the
o-ring seats look fine so I’m going to try just replacing the o-rings
adding just a slight smear of clear silicone sealant
When fitting the new condenser be very careful of the
connector pairs - cover the car-side pipes with bubblewrap for
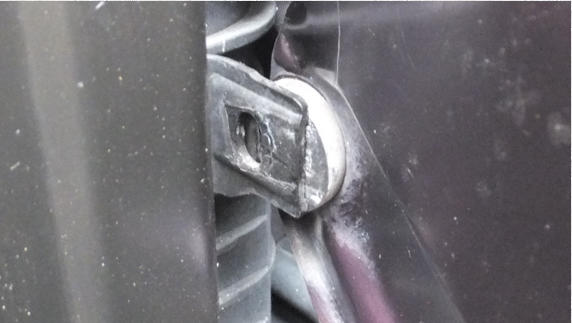
safety. So, old condenser back in AGAIN and line up the brackets
with the rubber bushes - be careful - there is a brass sleeve inside
them that can drop out
Then fit the U fixing and bolt both sides up, not too tight as they are
only feeble bent-metal fixings. re-fitting the connector pairs is next
so double-check that both sides are perfectly clean and dry.
As I’m refitting the old condenser I’ve used a smear of silicone
sealant on the o-rings. If this was the new condenser I would have
used a smear of silicone GREASE. Either way, push each side of the
connector into place and feel for the ‘pop’ as they mate and
immediately nip up the bolt (they don’t need to be tightened
excessively) and move onto the second one.
Time to refit the side cowlings. It is probably harder trying to explain
the process than actually doing it, especially as I seem to have failed
to take a couple of explanatory pictures! Thread the auxiliary fan
loom through and then slide the slotted part over the radiator
bulkhead..
...and slide it down outside of the front air duct. At this point I
thought I was going to be spending hours under the car trying to get
the end of the cowling through the radiator hanger - but there they
were, through the hanger of their own accord. Quick, fit the locks
back in place before they come out again!

Tie-wrap the auxiliary fan loom back to the radiator bulkhead and
re-connect the connector pair - make sure the loom isn’t routed over
any sharp edges.
While you are under the car refit the baffle. Lift it upwards behind
the radiator hanger until the front of the baffle can be poked through
the air scoop - slide forwards and into place. Refit the two bolts and
then fit four new plastic rivets (51161881149) - the middle one can
only be fitted with the auxiliary fan removed.
Back at the top of the car press the side cowlings into the groove in
the main radiator cowling - they click into place
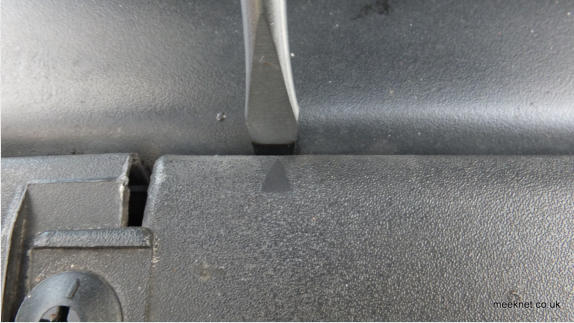
Refit the top of the cowling by sliding it forwards under the car body
and then clicking it into the main radiator cowling where it is marked
with arrows:
Make sure they give a good click and then refit the six 90-degree
fasteners (BMW 51718123354) so that the markings are horizontal -
all done!
I’ve had the system re-gassed AGAIN, £45 for 1550 grams isn’t bad
at all - they must be getting fed up of losing money on my E31. This
is the photo I took two days later - and apart from the dye I failed to
wash off there are no signs of new dye.
Update Nov 2017 - It’s close to freezing and I’m under the car again
fiddling with the same old condenser - Since writing this I’ve had the
compressor changed and re-gassed for the 10th time but it lasted 2
months before everything warmed up again.
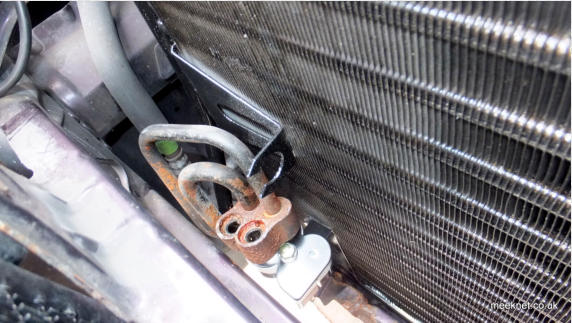
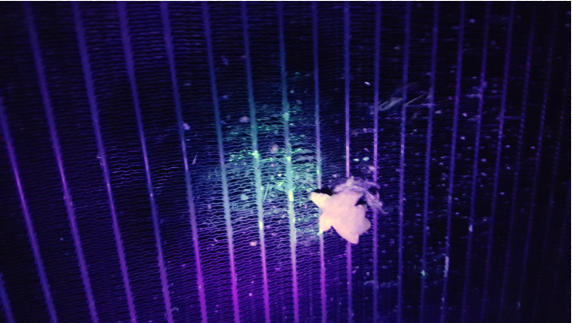
Here’s what the old condenser looked like under UV illumination -
there’s an oily patch and green dye that shows the leak was in front
of the auxiliary fan motor. So, new Behr condenser in (the one from
AdRad which actually fitted this time) in place and it will be re-
gassed next week - I’ll update when this is all done.
Update 2018 - 2 months later Re-gassed for the 20th time and all good so far


Links to parts used on this routine