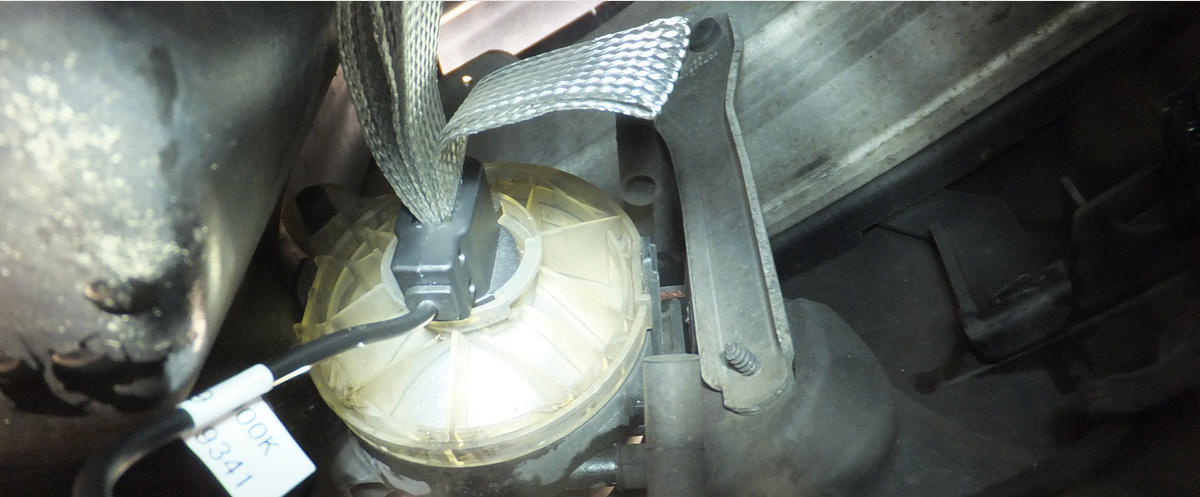
Fortunately there is a handy bracket that is part of the light assembly - so tie-wrap the supply securely as shown below:

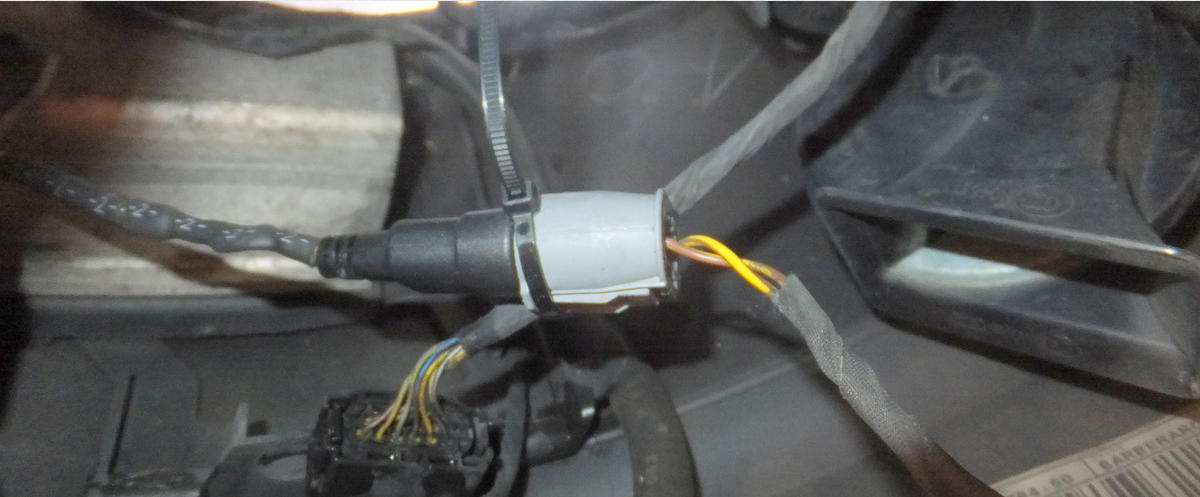
As the connector pair is reasonably heavy - tie wrap it to something more substantial - in the case of the RH light
there is a handy fat loom:
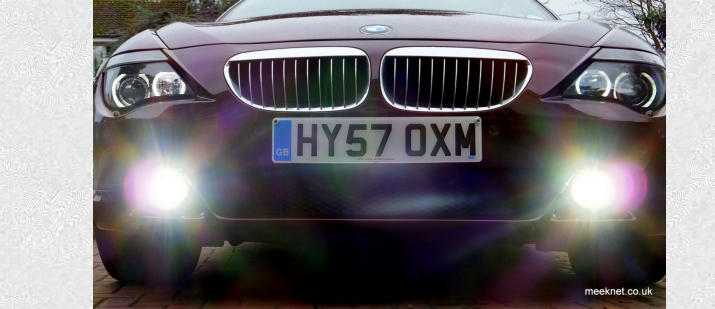
And that’s about it really - below is a fixed-exposure picture of the fog light beam pattern (dipped-beams OFF) - which isn’t too bad at all
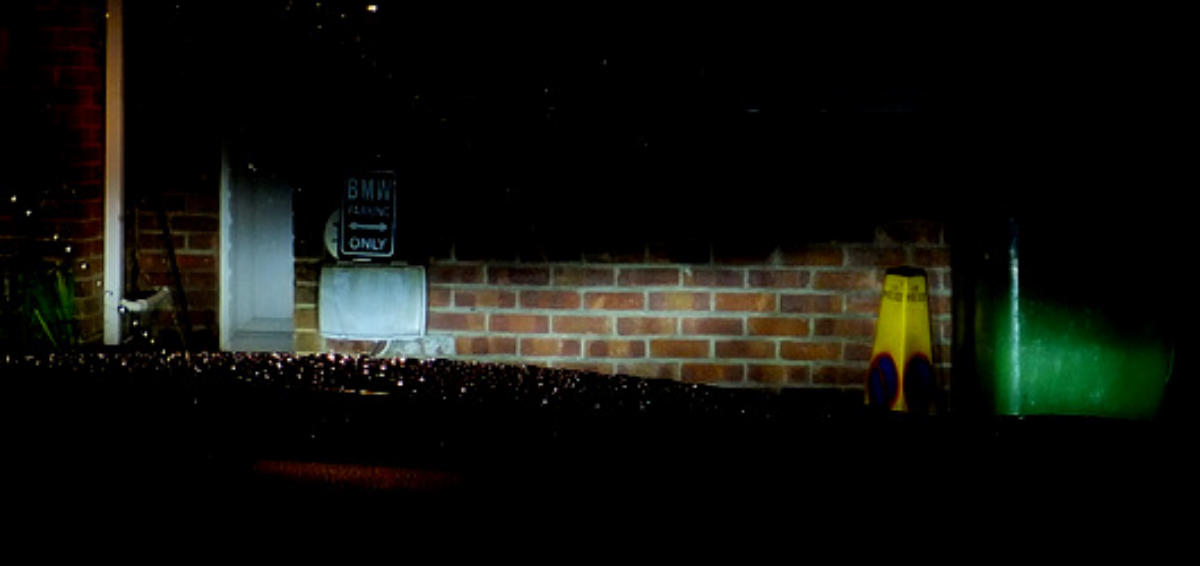
All done, time for a cup of tea
Parts and tools listed below:


Timm's E63 and E64 Fitting Error-Free LED Fog Lights
Changed your Halo’s to LED’s and now your fogs look yellow?
The fog lights on the E63/E64 are pretty feeble, even when refurbished (more information here). They also look yellow in comparison
with the Xenon low-beams and LED Halo lights - so the plan is to fit LED units instead of the Halogen, but as this will cause a ‘bulb
failure’ warning we must fit a device to the LED unit to fool the LKM (Lamp Control Module).
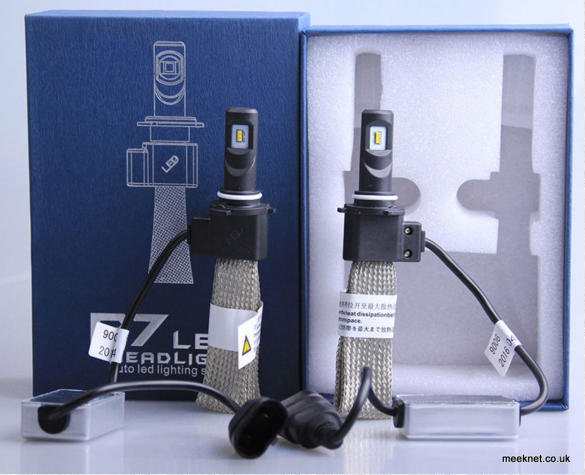
The Fog Light bulbs are HB4’s, also known as 9006 - there are quite a few available on the auction sites - I am using a model called P7,
advertised as 4800 Lumens (compared to 1500 Lumens from a
Halogen) but in reality around 2500 Lumens with the wind behind
them, but still brighter than the Halogens. They are passive-cooling
types with loops of heat-dissipating copper braid and include a
separate constant-current regulator to provide power to the LED die.
If we just fitted these in place of the Halogen bulbs they wouldn’t work for two reasons - firstly the polarity of the wiring is wrong, I
would guess that the standard HB4 connector was never designed with polarity in mind as Halogen bulbs don’t care. Secondly you will
get a ‘bulb failure’ message on the MID as the LED bulbs fail the cold-bulb test as they take no current at low voltages.
To get around this problem we are going to fit a PTC (Positive Temperature Coefficient) resistor and change the polarity at the same
time. Listed below are the parts used
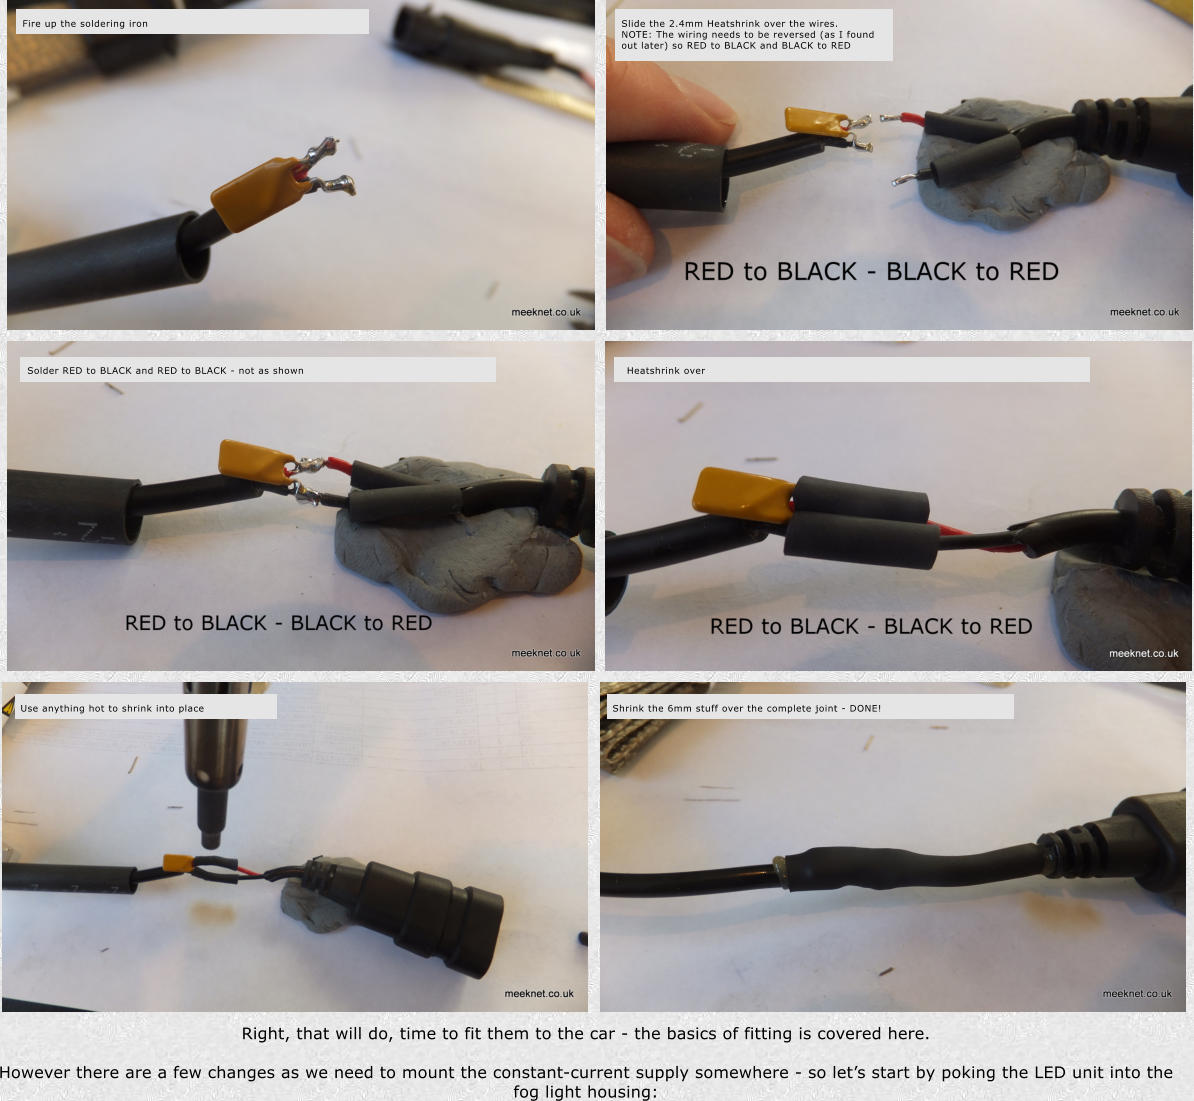
NOTE: When I took the photographs below I wasn’t aware that the polarity needed to be changed - hence the pictures don’t correctly
match the text that was added later - but follow the instructions in the text and you will be fine:
a few available on the auction sites - I am using a model called P7,
advertised as 4800 Lumens (compared to 1500 Lumens from a
Halogen) but in reality around 2500 Lumens with the wind behind
them, but still brighter than the Halogens. They are passive-cooling
types with loops of heat-dissipating copper braid and include a
separate constant-current regulator to provide power to the LED die.
If we just fitted these in place of the Halogen bulbs they wouldn’t work for two reasons - firstly the polarity of the wiring is wrong, I
would guess that the standard HB4 connector was never designed with polarity in mind as Halogen bulbs don’t care. Secondly you will
get a ‘bulb failure’ message on the MID as the LED bulbs fail the cold-bulb test as they take no current at low voltages.
To get around this problem we are going to fit a PTC (Positive Temperature Coefficient) resistor and change the polarity at the same
time. Listed below are the parts used
NOTE: When I took the photographs below I wasn’t aware that the polarity needed to be changed - hence the pictures don’t correctly
match the text that was added later - but follow the instructions in the text and you will be fine:
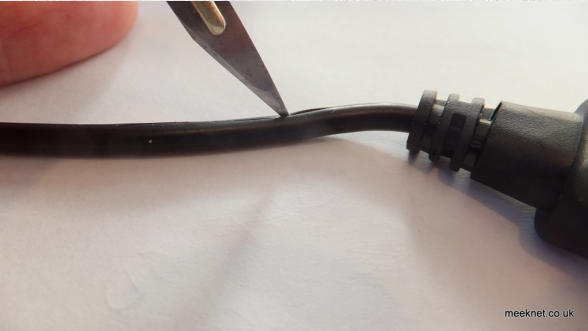
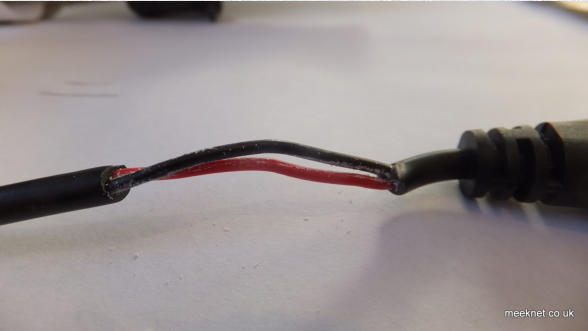
Slice into the outer jacket with a scalpel
Unpeel
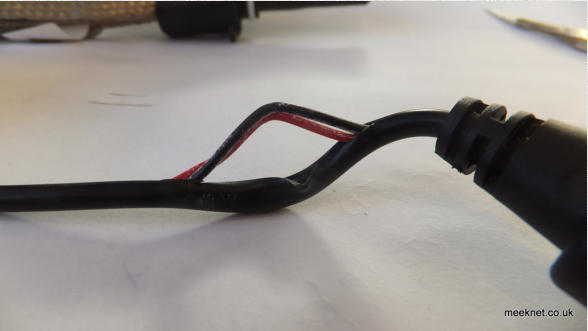
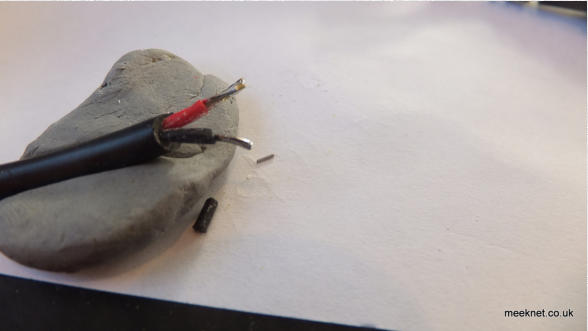
Cut, strip and tin
Slide over the 6mm heatshrink
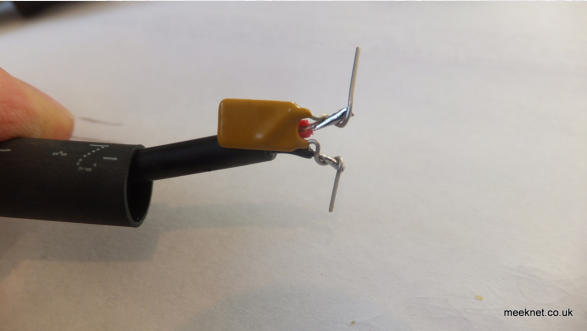
Twiddle on the PTC (non-polarised) in place
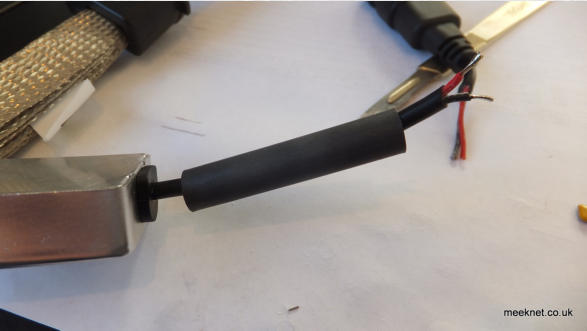
Trim off jacket