Timm’s E63 and E64 6-Series Fog Light Replacement and Refurbishment
This is a lot harder than it should be - Includes Restoring Front Lens
Also see using Error-Free LED units
Blimey, changing the bulbs on the fog lights is a real pain - unless they have popped just leave them alone! But, I’m having a stab at in
anyway, the fog lights are absolutely useless at the moment, dull, pitted and pointing the wrong way. So, no messing about - the car has to go
up on ramps - yes, really, just to change a couple of bulbs.
First job is to get three covers off, the big one under the engine and one each side just in front of the wheel arches
There are ten or so screws that need a 180-degree turn to release and the main engine tray will move slightly backwards and down. Next we
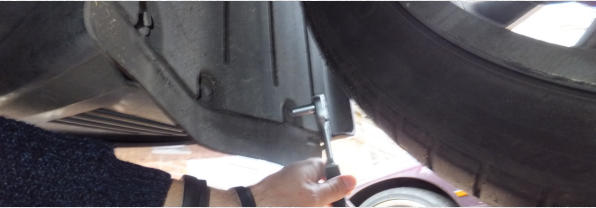
have to remove two covers that are just forward of the front wheel arches. These are screwed onto the wheel liners with three 8mm bolts
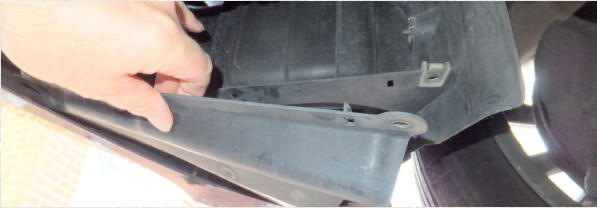
They are easy enough to get to while under the car - or the screws can be removed prior to getting under the car. Once the three 10mm
fixings are removed the plastic tray can be pulled down to remove a pair if clips (shown above) and then towards the centre of the car. At last
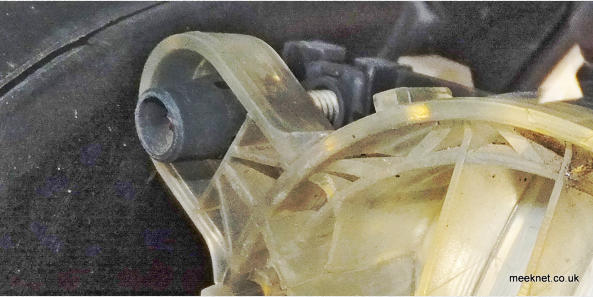
you can get access to the fog light bulb - here’s the right-hand one
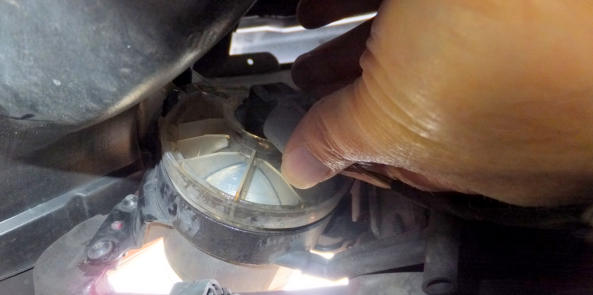
It’s simple once you get to this point, just a 30-degree turn anti-clockwise and out it pops. The photograph above also shows the catch that
holds the connector to the bulb-holder. The bulb holder has a pip on it that is held by the catch - a press on the serrated part of the catch and
the bulb holder will be released - but it is best to do this when the holder is removed from the fog light assembly.
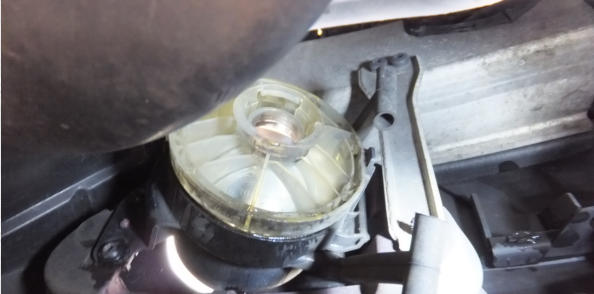
If you are going to adjust the height of the fog light then make life easier by squirting some WD40 into the black part (ball housing):
You can just make out the screw adjuster which can be accessed from the front of the car, the plastic head of which is turned with a
screwdriver. Without lubrication, the plastic head of the screw is not man enough for the job. Clockwise on the adjuster points the light further
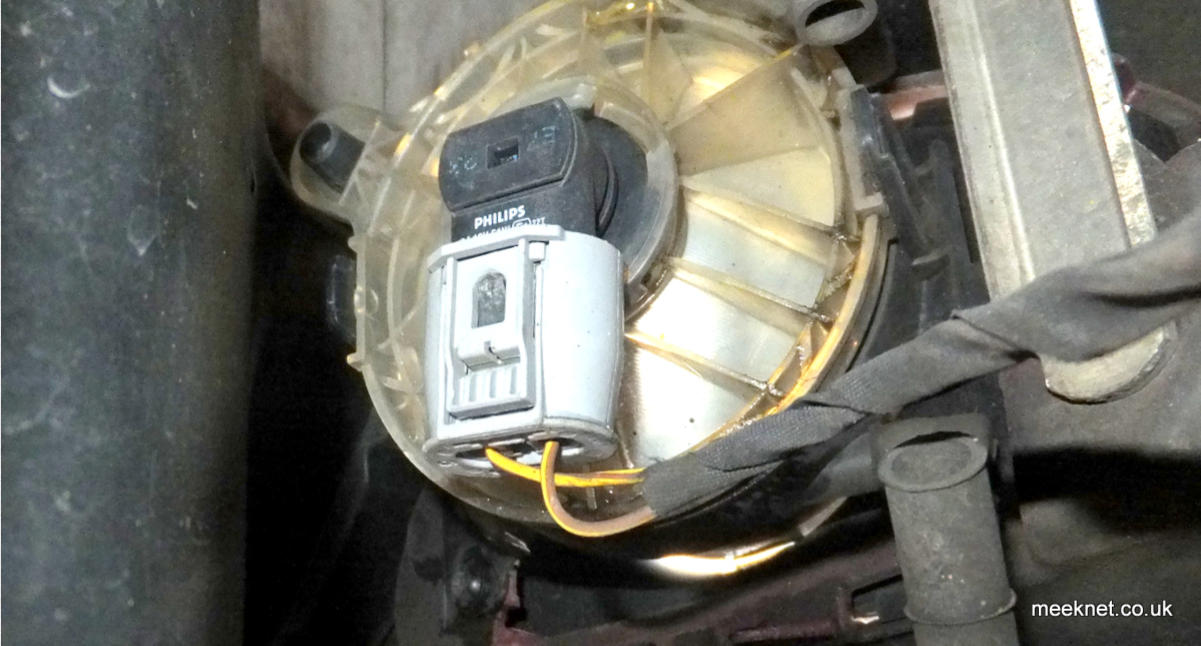
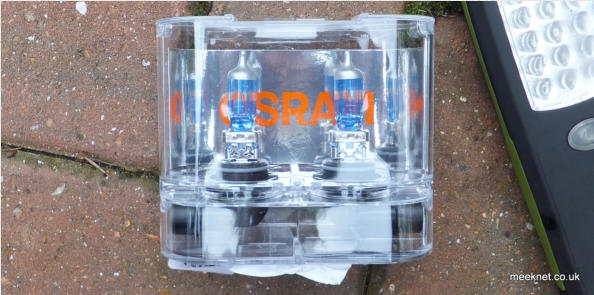
upwards. Replacement of the bulb is pretty straightforward, just a reverse of the removal procedure. Don’t touch the glass envelope, but if you
do give it a good wipe with a clean tissue. I’m using Osram Nightbreaker Unlimited bulbs as usual.
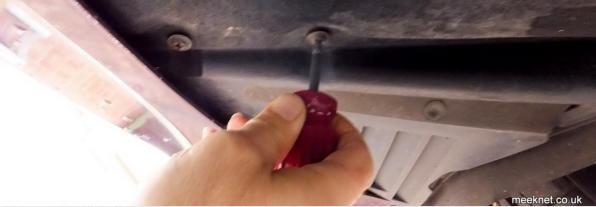
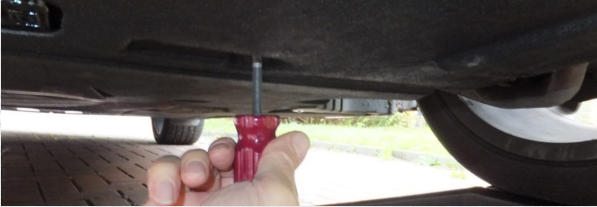
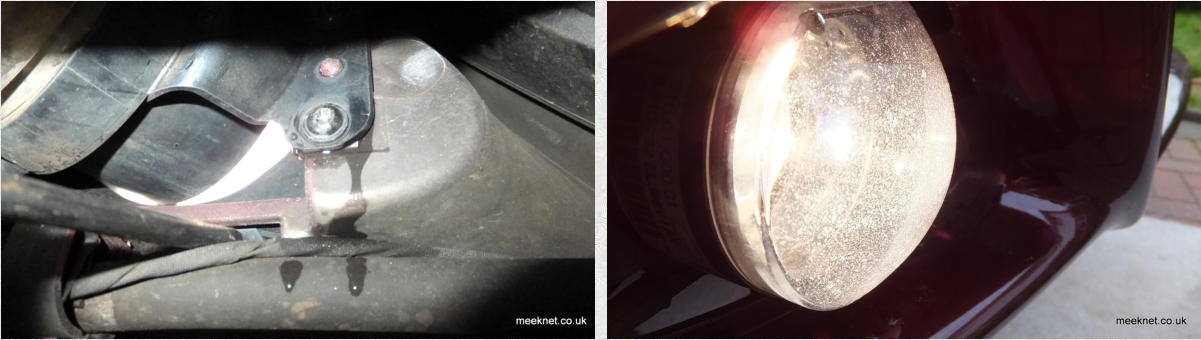
The plastic bit that I am poking with a screwdriver here is the tangs on the plastic trim piece that sits in front of the fog light - I need to
remove this because I want to refurbish the fog light lens - which, as can be seen here is awful - so a good poke and the trim piece and it will
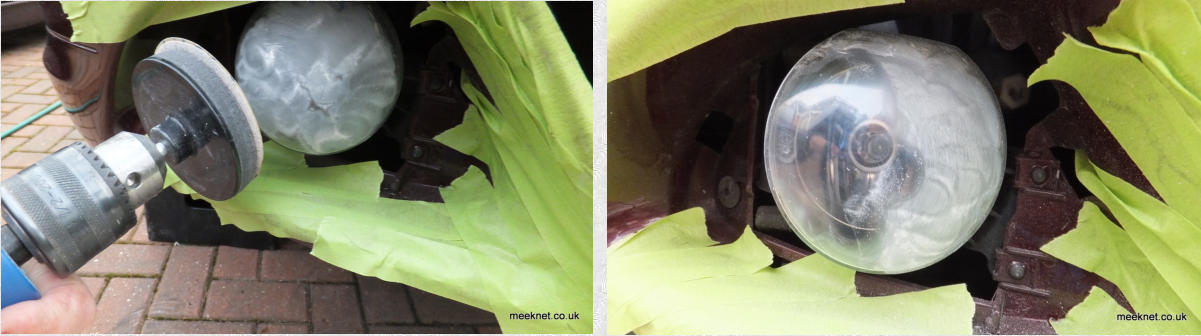
come flying off the from of the car. I’m using the same 3M kit as I always do - so start with the 300-grit pad on an electric drill.
...then the 800 followed by the 3000-grit Trizact pad which starts to make the lens less opaque. The final soft pad with the polishing compound
is almost exactly the same diameter of the lens and can be pushed onto the lens so it takes up the convex profile.
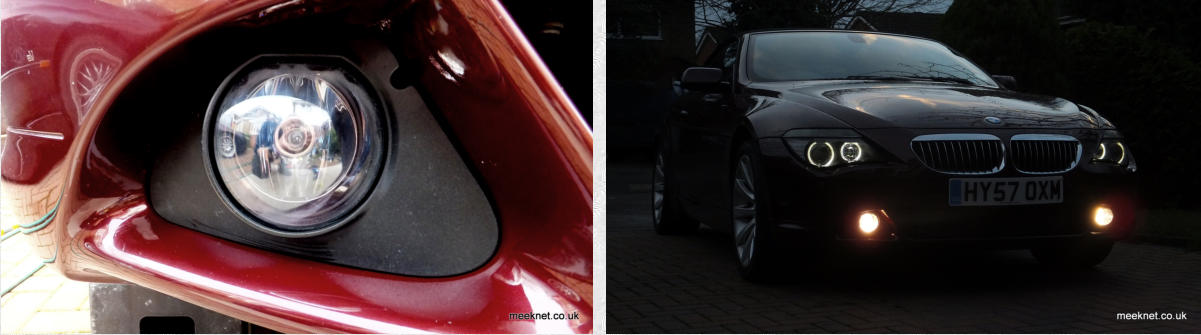
That will do - the plastic cover just pushes back on again - Much better results from the new bulbs. The small cut-out in the corner of the
plastic cover gives access to the adjuster - which has a size 2 pozi-drive head - clockwise for higher.
All done, time for a cup of tea
Parts and tools used on this article below: