Timm's BMW E31 Door Card Replacement
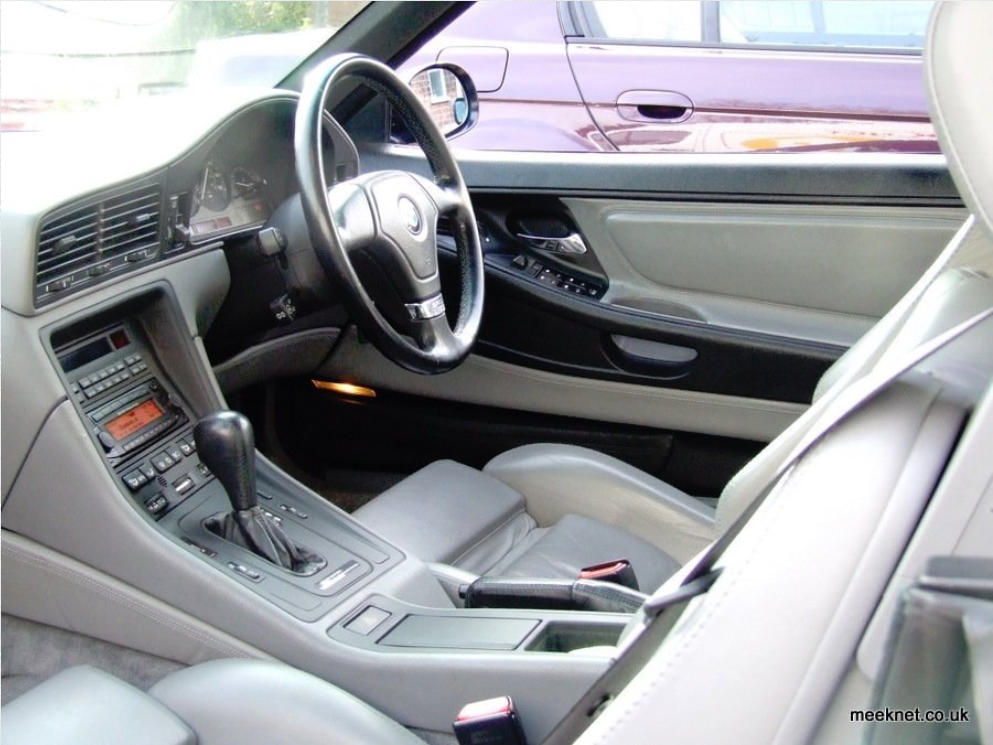
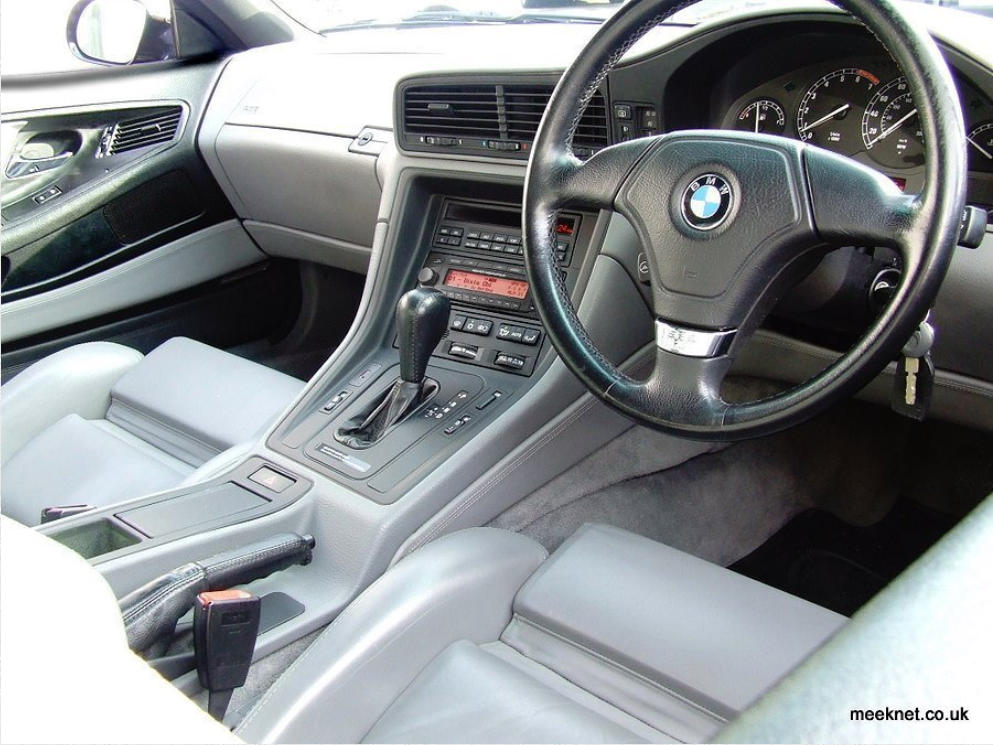
The interior of my Orient Blue 840ci was a bit boring being silver-grey on silver-grey:

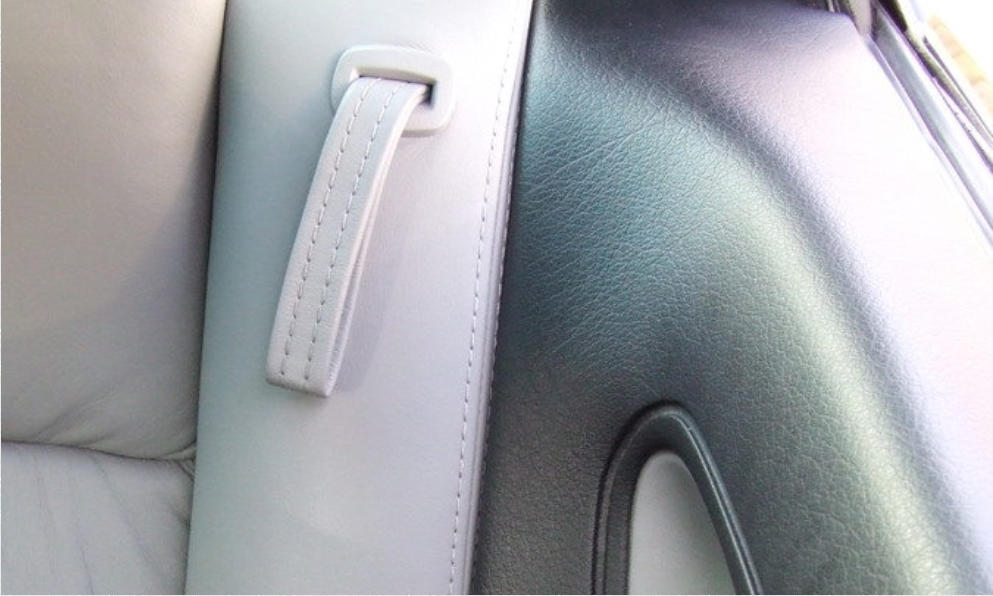
I was quite envious of the two-tone door panels in other models, especially the Individuals. So, I was very pleased to
come across a set of two-tone panels on Ebay. Here's one of the fronts:
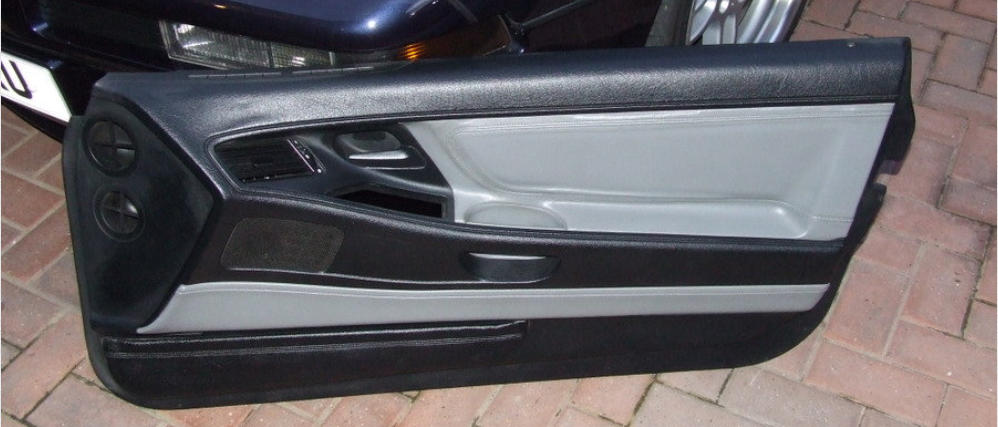
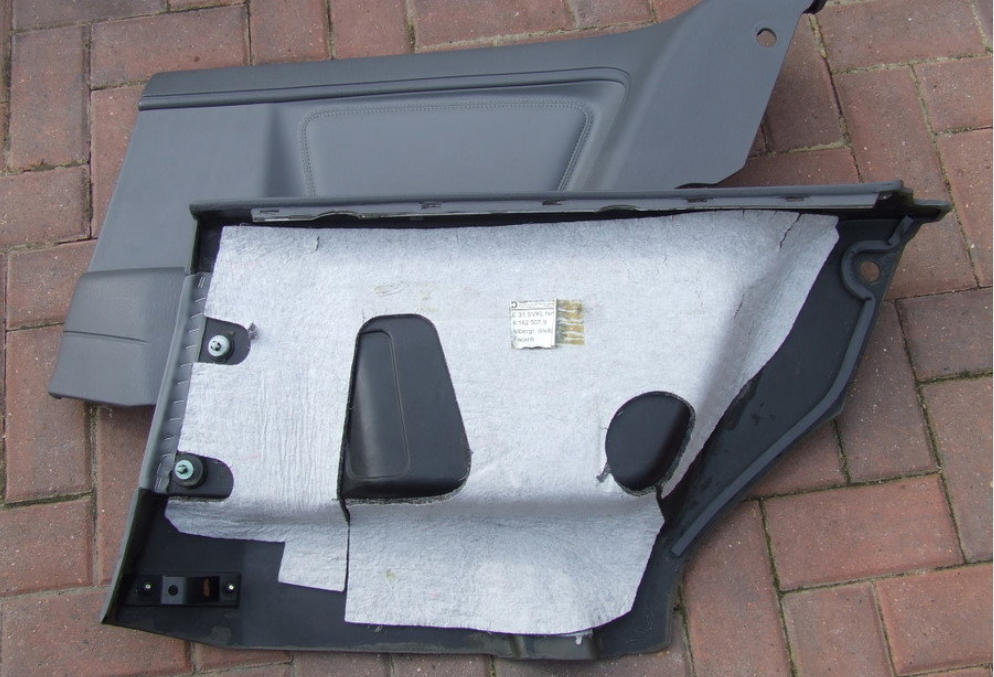
They cleaned up pretty well, but the door handles were black whereas I preferred my original chrome ones, and the
upper insert panels looked a bit tired. So, I decided to transplant the upper leather panel and the plastic section
including the door handles. So, firstly I removed the plastic panel, please note that there are parts missing here and
there in the pictures, I took a number of pictures after the job was completed. It will also be noted that doors I'm
shown taking the parts off below are the panels that were removed from my car, not the ones that I'm putting in!
Remove the upper pipe that goes to the outer door surface by pushing it out and twisting it at the same time:
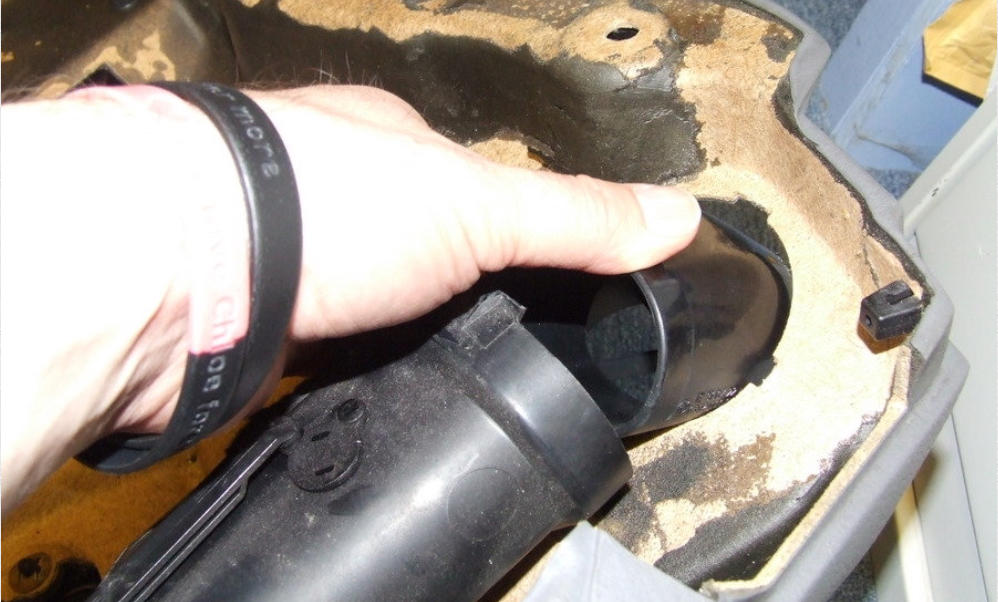
Twist the lower circular vent and it can be pulled out to release the outer vent pipe:
Which can then be released from the window vent:

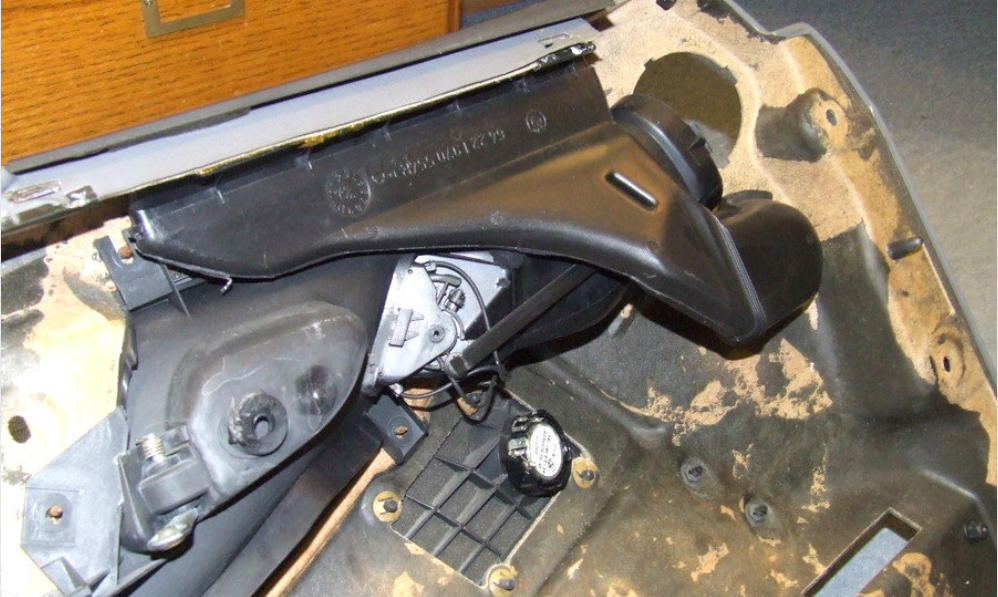
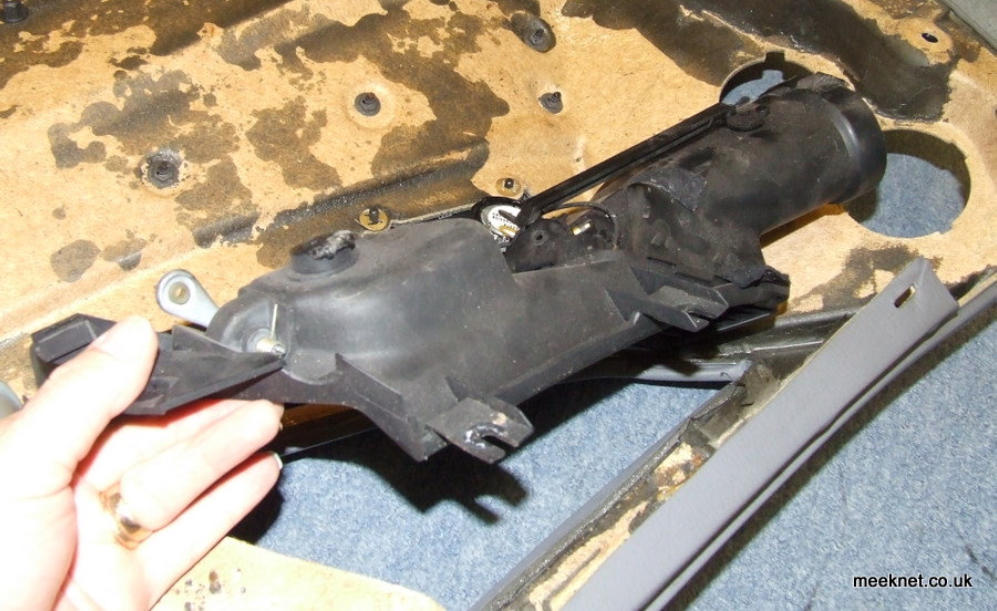
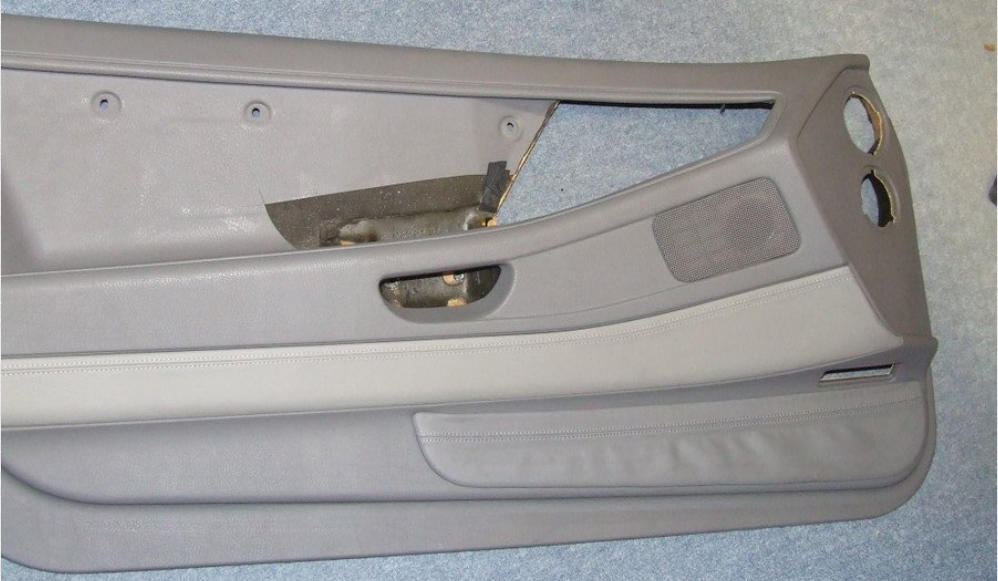
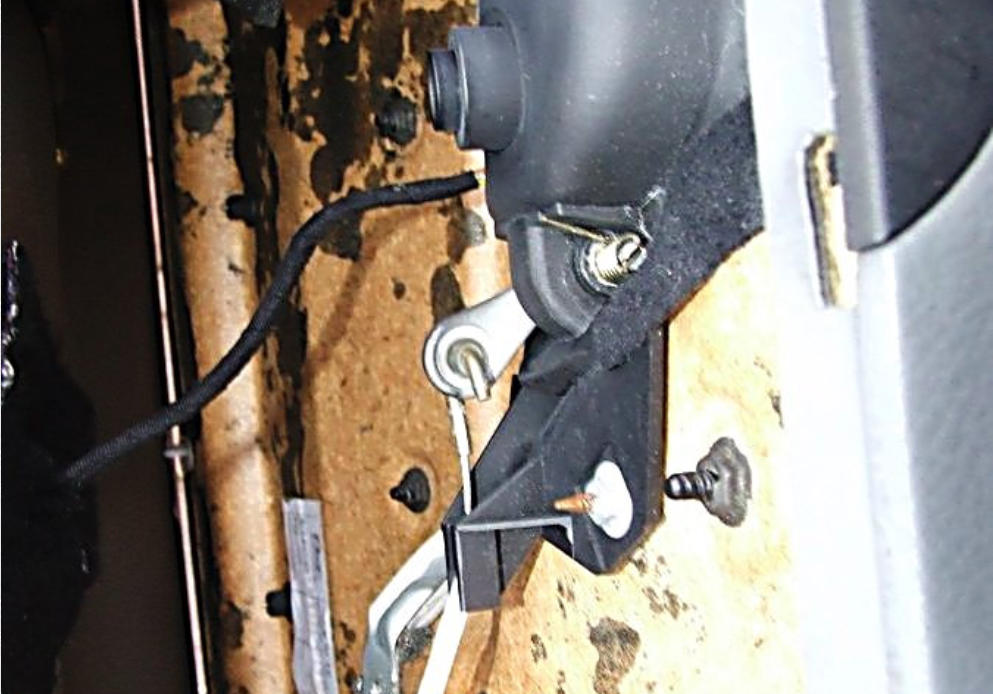
The plastic insert can now be released, it is held on by a number of self-tapping nuts, there is a hidden one under the
vent pipe. There is also a normal nut that secures it to the reinforcing bracket
Next, I remove the leather insert panel. This is held on by more self-tapping nuts. The top needs to be pushed out of
the top and then canted outwards and lifted upwards

If your car is anything like mine, in the grab-handle pocket will be found numerous self-tapping screws, it is really
difficult getting the screws through the holes in the leather and securing the door-card to the door. If they don't
manage to get through the hole in the reinforcing bracket they drop into the cavity and no magnet or grasping tool will
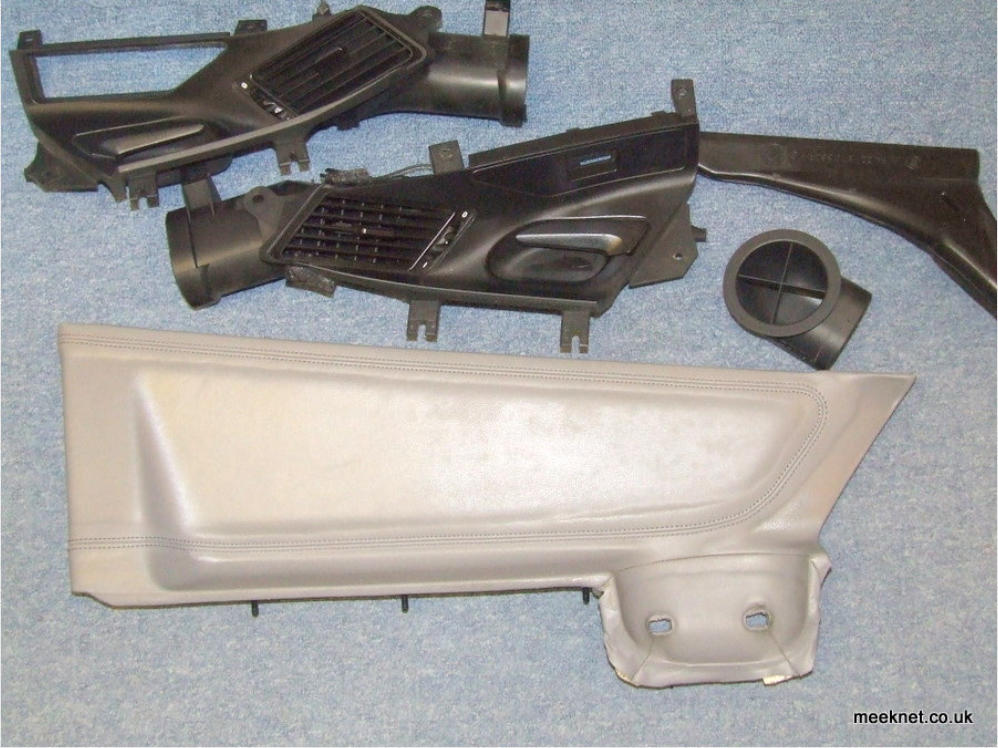
get them back out again. So is the panel and the removed parts:
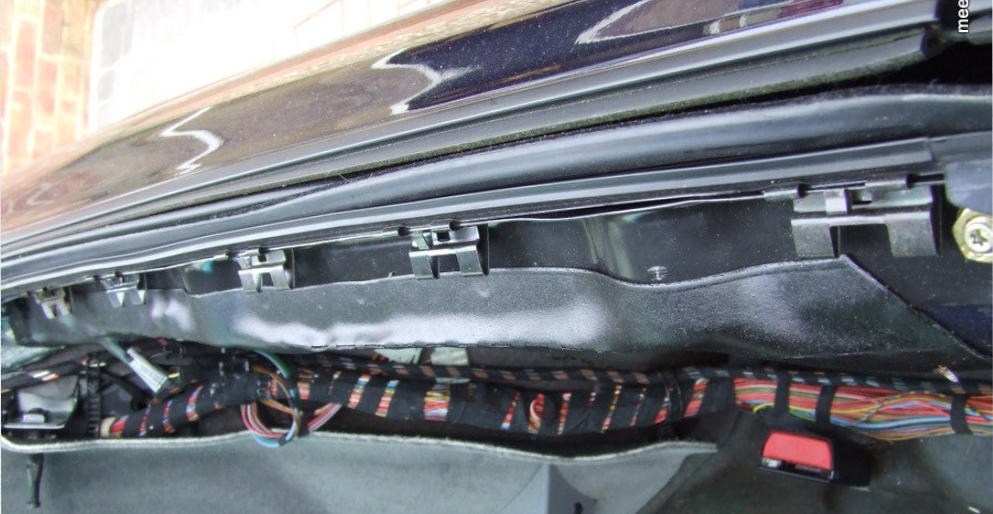
I'm starting with the rear panels, they look easy to remove and replace! There are no screws, they are held on by a row
of clips at the top and three push-clips at the front edge, the lowest push-clip is missing here:
I removed the rear bolsters first, these are lifted upwards at the front and then pulled forwards. The upper bolster is
pulled down from the top, when it is horizontal it can be pulled forward (it takes quite a bit of force) until it clicks and
then pulled upwards from the back and removed. The panel can then be pulled outwards at the bottom to release the
push-clips and then pulled outwards at the top:

As can be seen, the lower push-clip has disintegrated and left half of it behind, this has to be removed before the new
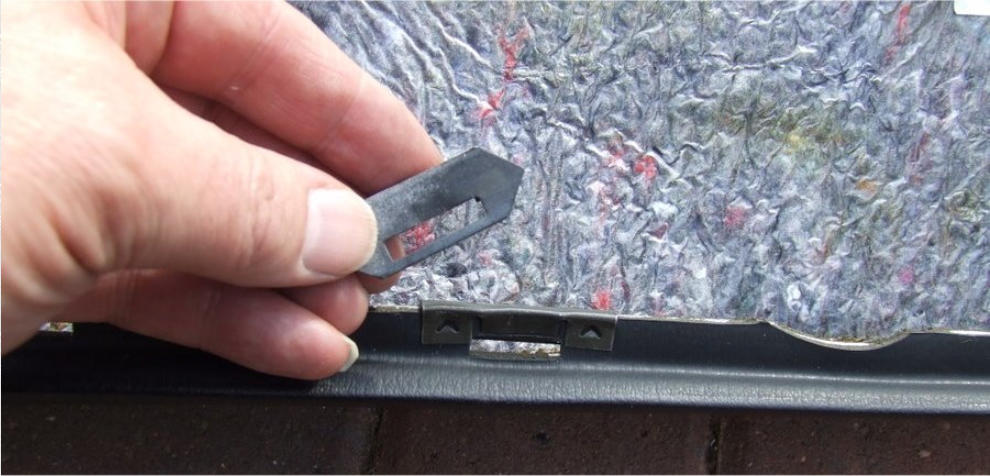
panel is fitted. Here are the upper clips on the door frame:
The mating half on the new panel are different to those I have just removed so I transplanted them to the replacement
panel:
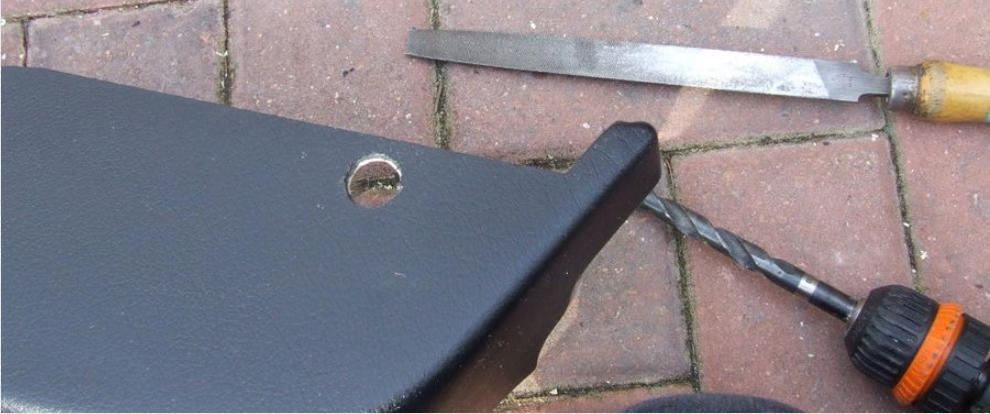
One surprising omission from the replacement panels was a hole! The hole is needed for the fitting that mates with
the rear-bolster catch. I placed the removed panel on top of the opposite replacement panel, marked out, drilled and
enlarged the hole:
I then fitted the first replacement panel in position. The top clips need a good squeeze to get them on, so drop the
window and use your hand to provide a clamping force between the panel and the outside of the car. Once the top is
in place ensure that the lower clips are aligned and then thump the card in with your fist
Seats back in, start with the upper bolster, the two lower hinges go into the fitting behind the spring clips, the bolster
is then pulled forward and pushed down into the fitting. When fully down, give it a sharp clout towards the back and it
will be retained and then lifted upright. The lower bolster can be pushed into the upper bolster and the pushed down to
fasten at the front:

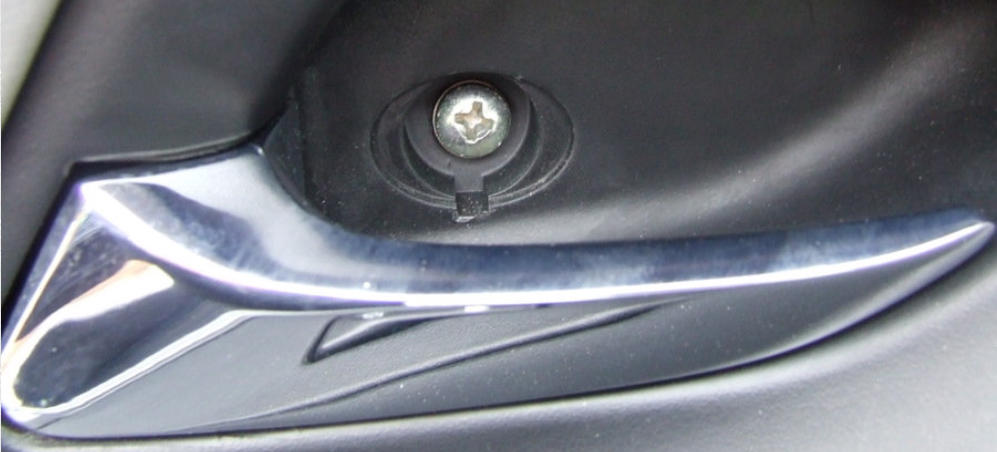
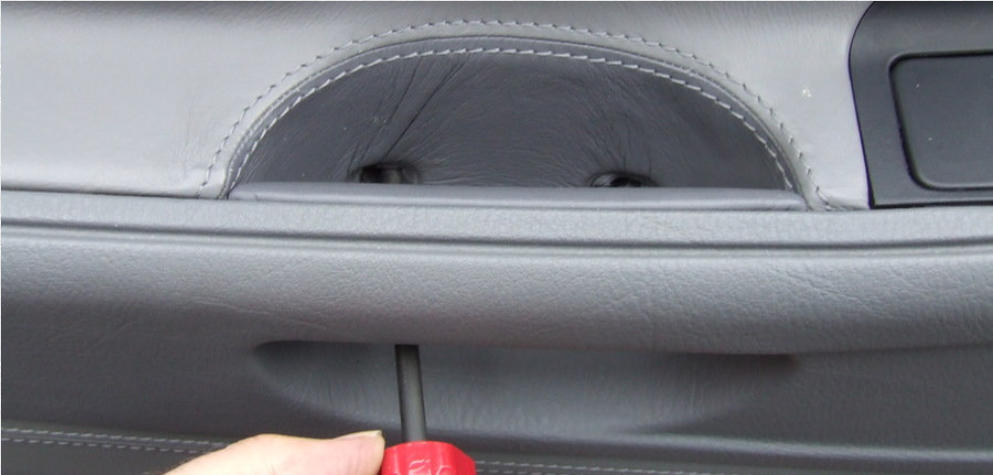
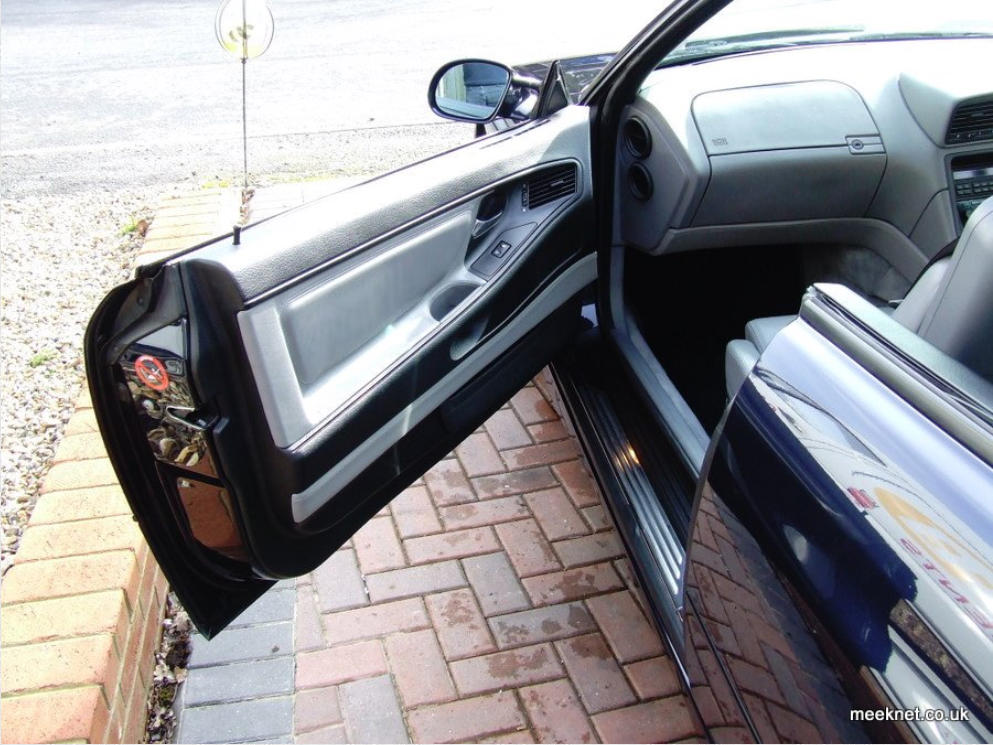
Now onto the front cards. Remove the plastic cover and the screw behind the door handle:
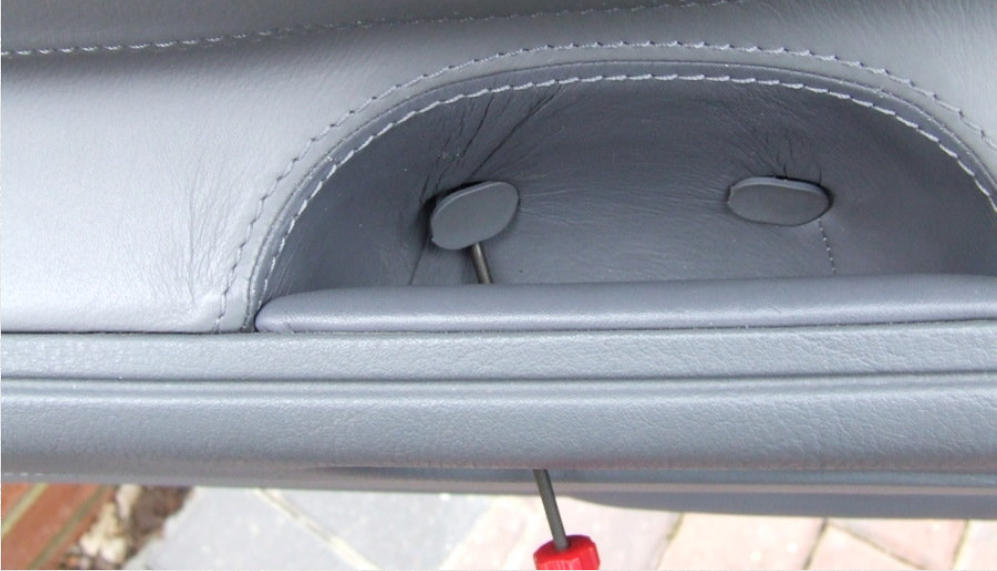
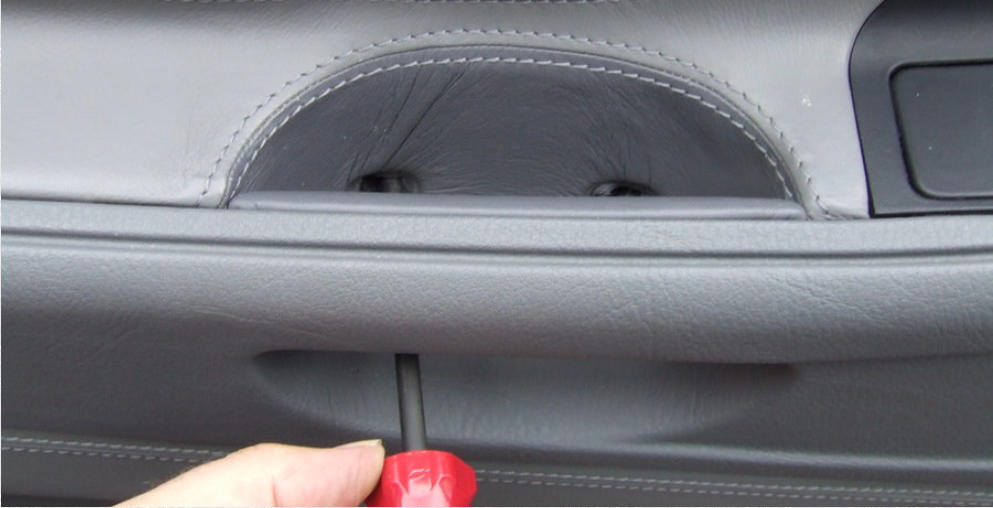
And then the blooming awkward screws behind the grab handle:
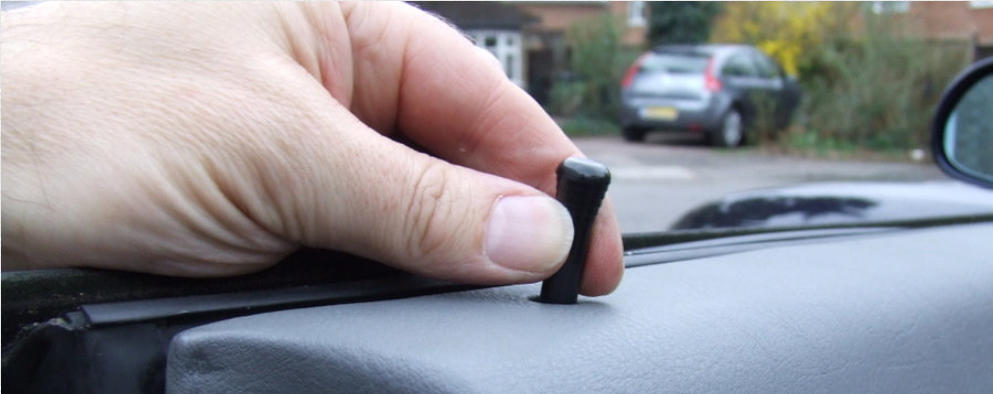
Unscrew the door pin and remove it:
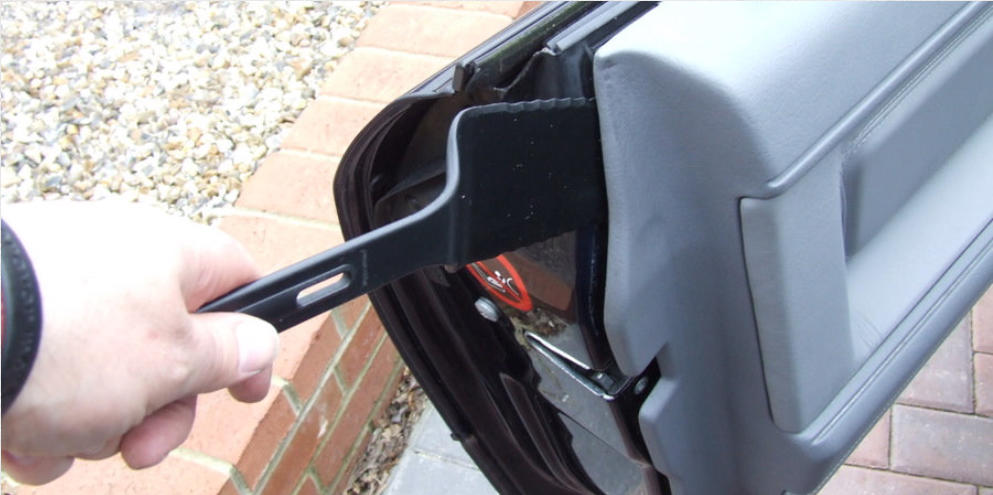
The door panel can then be pulled off starting at the outer edge using a specialist panel-removing tool, or in my case,
the wife's plastic spatula.
Once all the push-clips have popped out or disintegrated, pull the card from the top clips which are similar to the rear
panels. Get ready to take the weight of the panel and then pull it outwards to get access to the door handle cable. Pull
the outer of the cable out of the plastic guide and then twist the hook from the handle-eye:
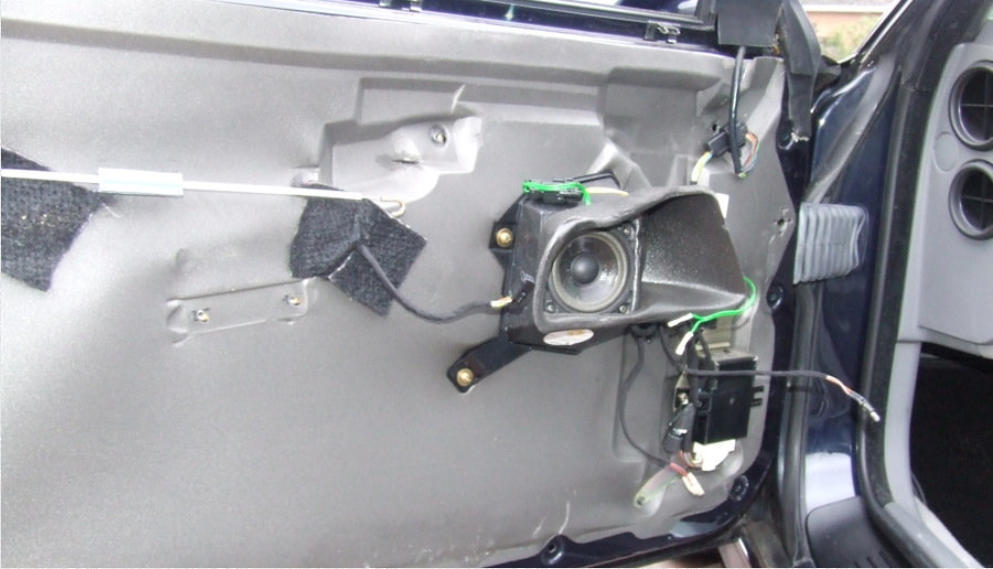
Now pull out the connectors from the door switches, puddle light, tweeter and pull the connector and captive bulb from
the vent illumination. Then remove the card:
This is where the vent-illumination bulb fits, the optic fibres can be seen that direct the light to the various parts of the
vent:

I then swapped all the parts over to the replacement cards as shown at the start of this routine. When replacing the
cards start by fitting the electrical connections and the vent bulb.
Make absolutely sure that the door-handle cable is replaced before whacking the door card into place - and
after fitting the card make sure you can hear the mechanism working before shutting the door. The card is
very difficult to get off once the door is closed!
Just like the rear panels, drop the window and use your hand as a clamp to push the top row of clips in place. Put your
hand between the panel and the door to guide the push-clips into the apertures. Give the panel a good clout right on
top of the push-clips all around the panel. The hard bit is fitting the self-tappers through the holes in the leather to
align them with the reinforcement brackets:
In retrospect, it would be much better to use Blu-Tack to hold the screws in the reinforcement bracket before
fitting the card to the door. At worst, the Blu-Tack will drop into the aperture, but that is better than fiddling around for
ages and losing a few screws in the aperture. The problem is that the head of the screw does not fit through the
aperture without tilting - and then dropping off the end of the screwdriver. This is the reason that you will find all sorts
of screws in there if you remove the upper leather panel - I found 12!
Update: I had the door-card off again recently and tried using Blu-Tack to hold the screws in place - it worked well and
I managed to get the two self-tappers in place easily:

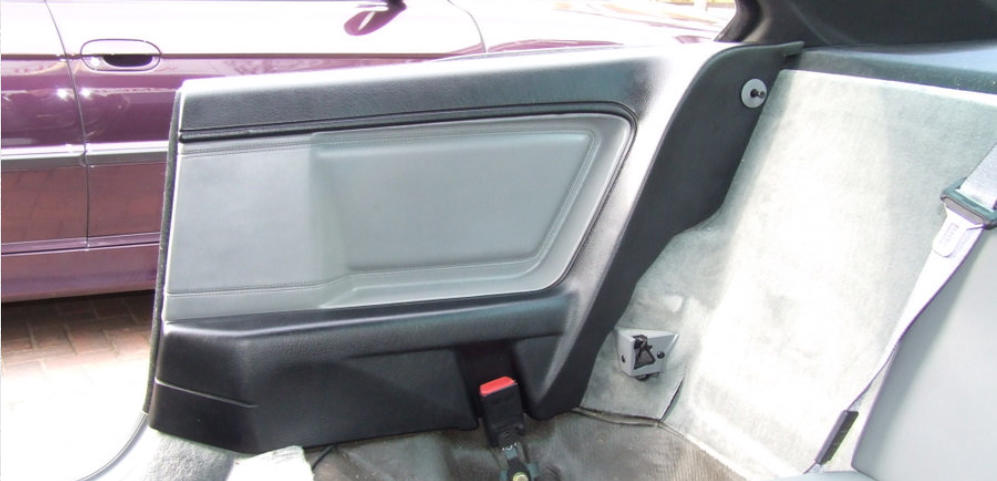
Door cards all back in and I love the new look:
All done - time for A Cup of Tea
Tools used listed below:
USA LINKS
UK LINKS