TIMM'S BMW E38
Leaking Fuel Tank Repair
This is one of the problems I was dreading, I have heard too many stories of the cost and work involved in replacing the fuel tank. To get
the tank replaced at BMW will set you back close to a couple of grand. DIY with a second-hand tank involves dropping the exhaust, heat
shields and propshaft and requires raising the car high enough to get those parts off.
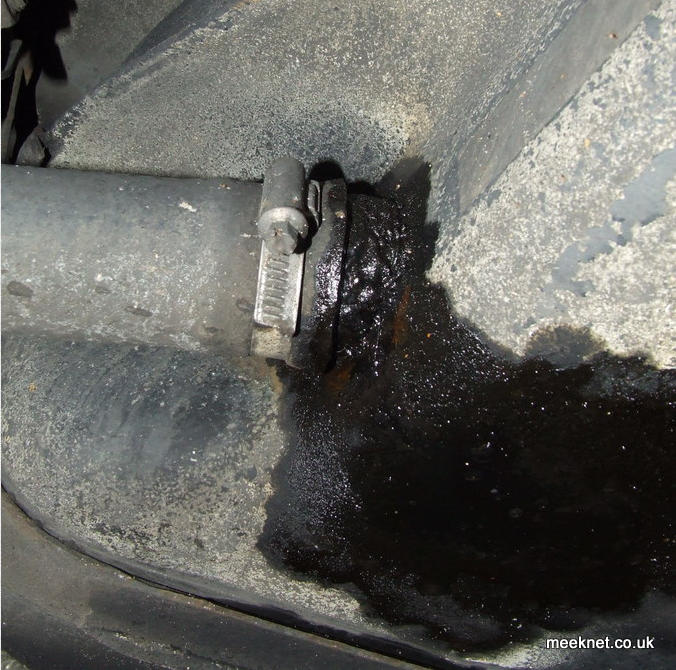
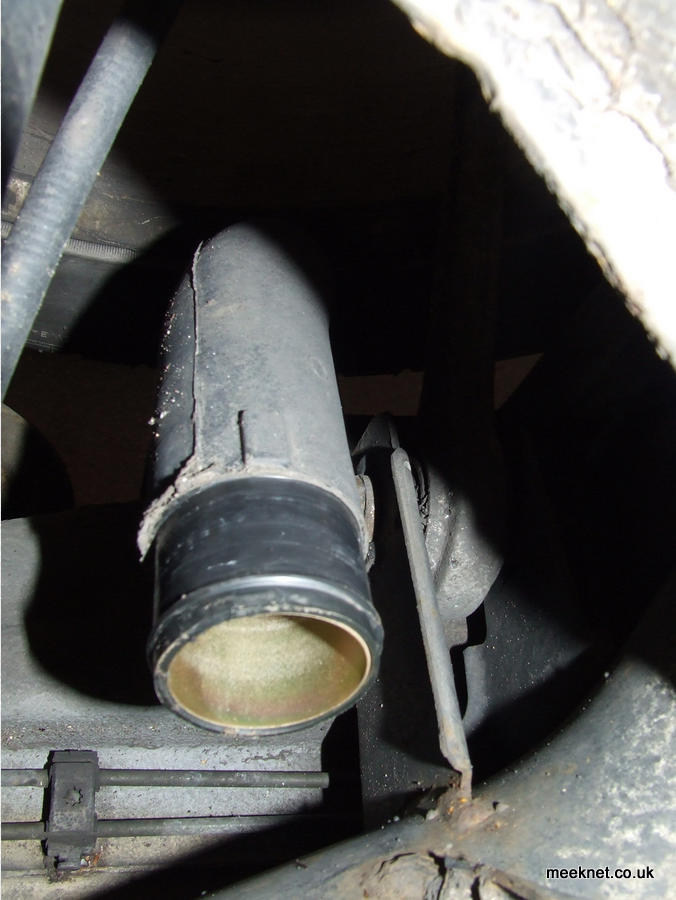
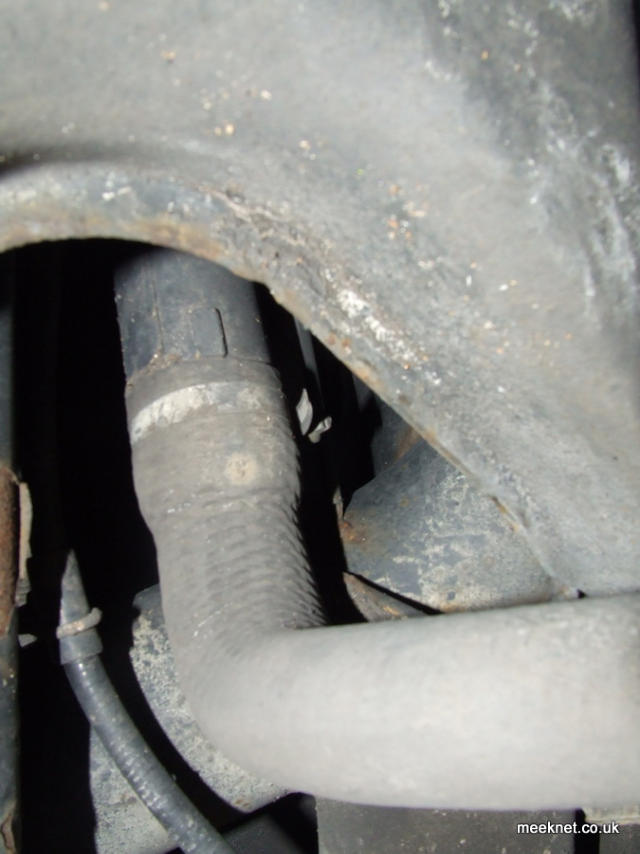
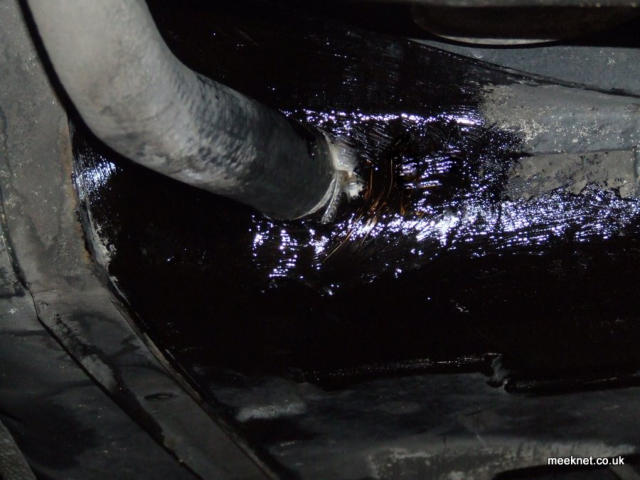
So, I was particularly miffed to get a whiff of petrol fumes from the E38, and more than a little disappointed to see this:
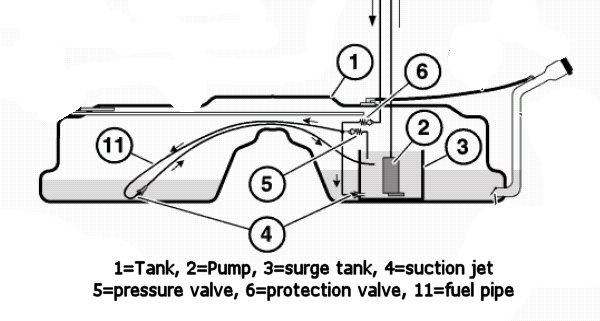
The filler can be seen on the right of the diagram, it is here where the leak is. One thing that is
important to know and is relevant to the repair is that if you have less than 10 litres of fuel in the tank it will all be in the surge tank (3). This
means that you can still have the car driveable when repairing the tank.
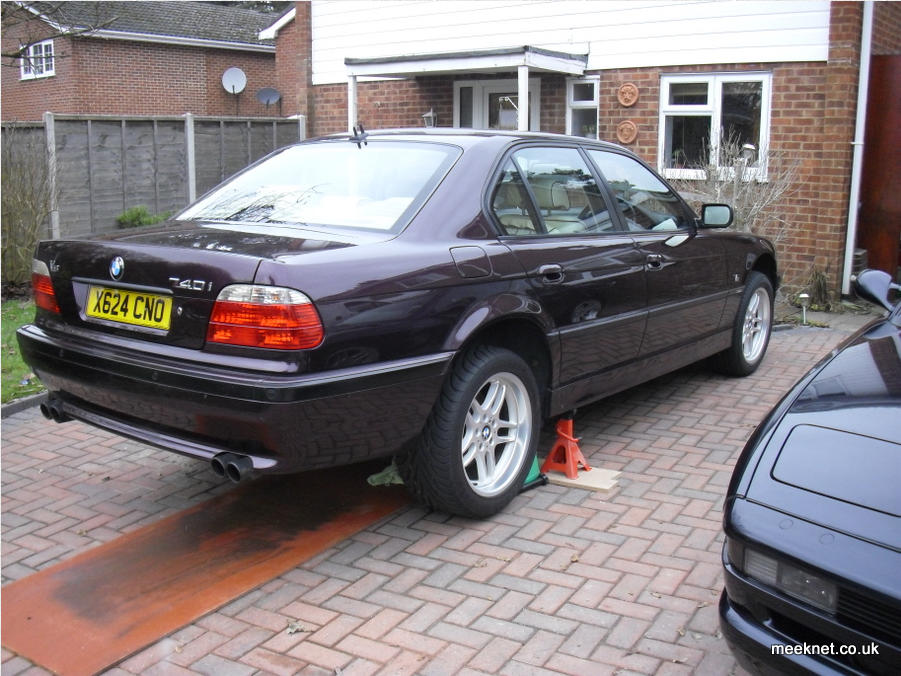
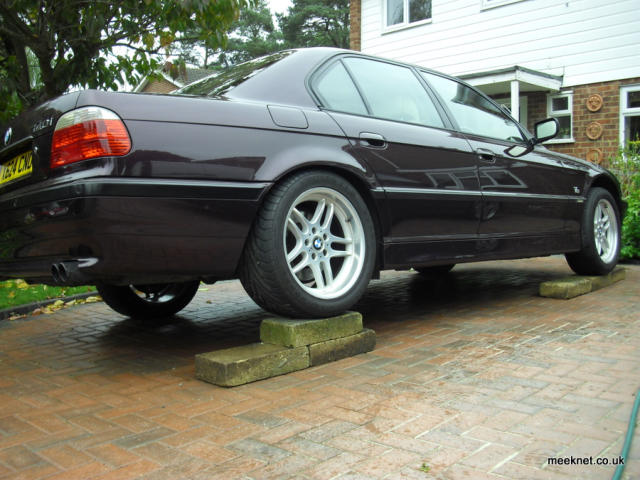
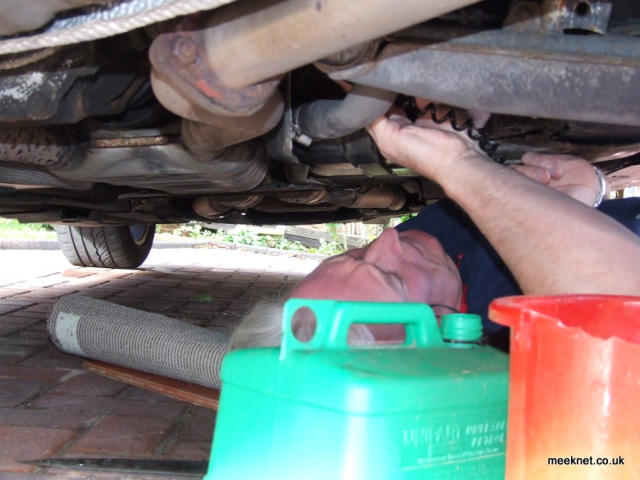
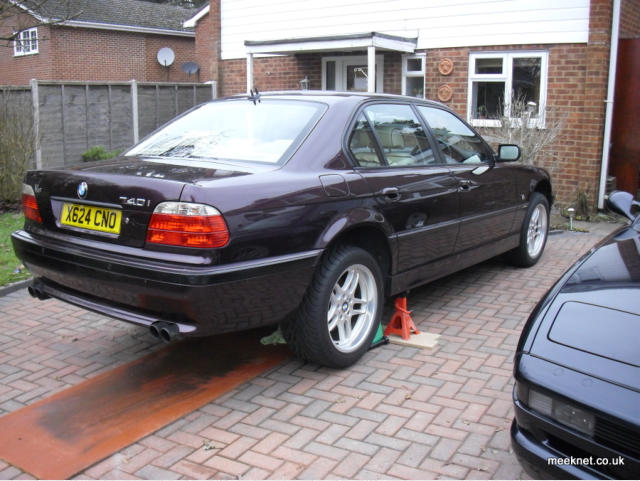
If you don't have the use of a lift, jack the right-hand side of the car up and place it on axle-stands. If you are desperate (like me), use
concrete blocks (do not use lightweight blocks, they will break and you will get squashed):

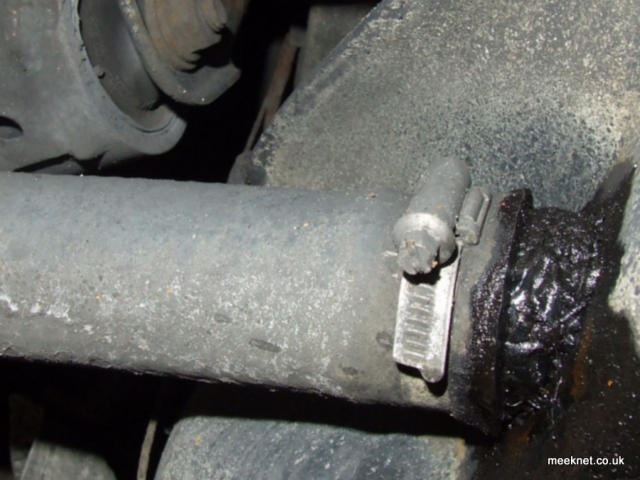
Start by inspecting the area of the leak, my leak is quite common being around the filler. I have also heard of leaks from the seam which is
around 1" above the filler pipe. These can occur when the ventilation system fails and the tank collapses under the suction of the fuel-pump,
this type of failure usually requires the replacement of the tank.
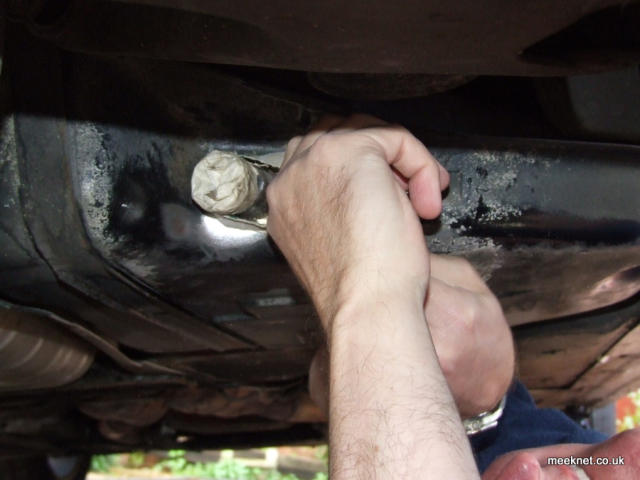
My leak was confined to the area around the filler, a close look revealed all sorts of lumps and bumps on the filler pipe. The leak was either
from the pipe or the join between tank and filler pipe:

I tried a number of solvents to dissolve what I guessed to be underseal, the most successful being cellulose thinners. A good scrub with a
brush over the problem area removed enough filth so that the filler pipe could be removed and the remaining fuel drained from the tank.
So, we got a funnel and petrol can ready for the 10 litres we were expecting:
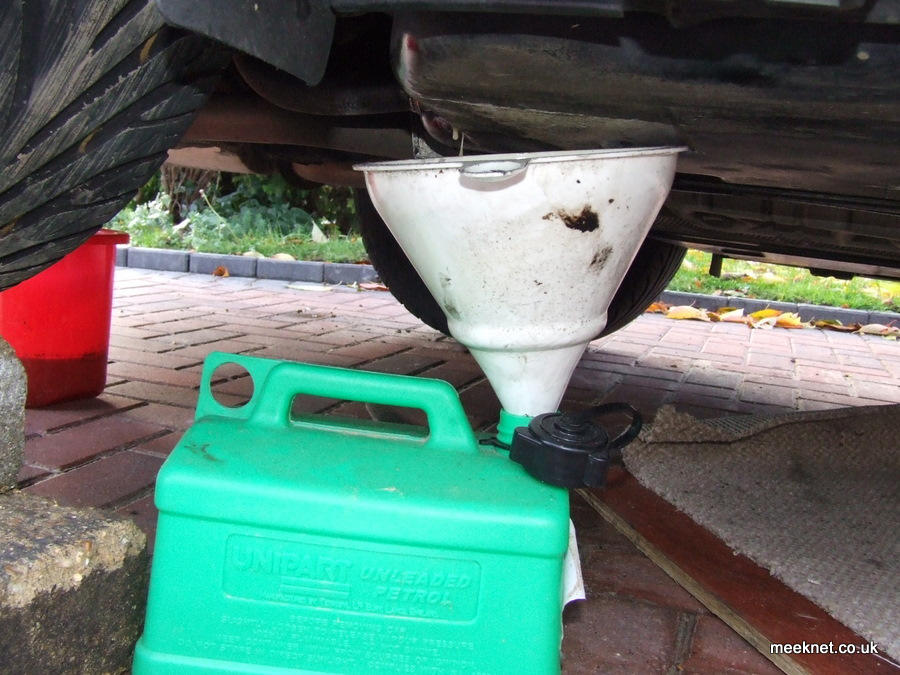
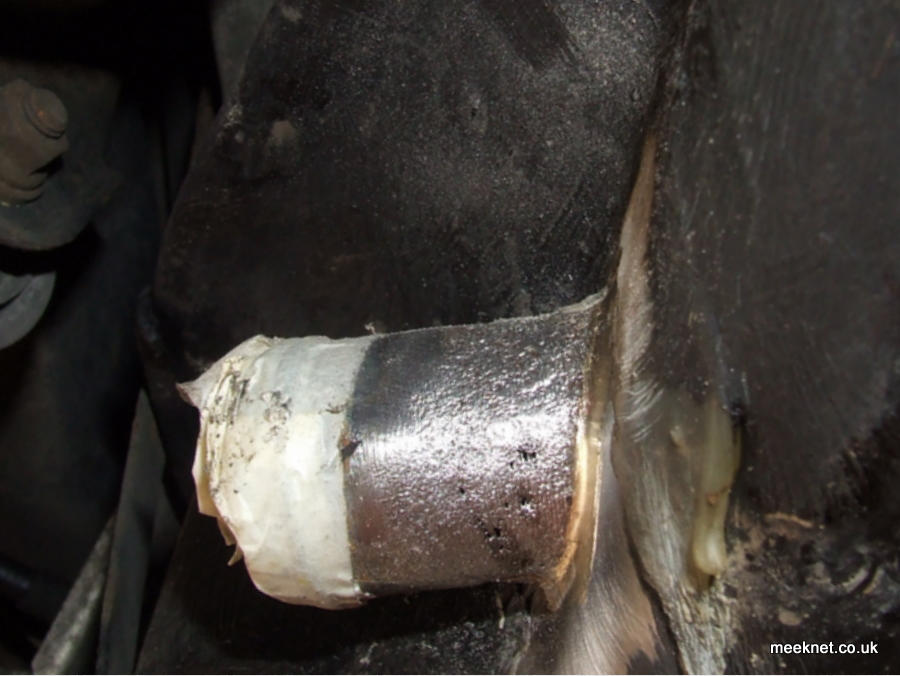
I completely loosened the Jubilee-clip from the filler hose and got ready to catch fuel. However, the filler hose was firmly stuck to the tank and
needed a good stretching to remove it. When it finally let go of the tank, it popped off and no fuel at all came out at all! This was due to the
remaining 10 litres being in the surge tank, but at the time I hadn't considered that. I immediately taped-up the end of the pipe and inspected
the area:

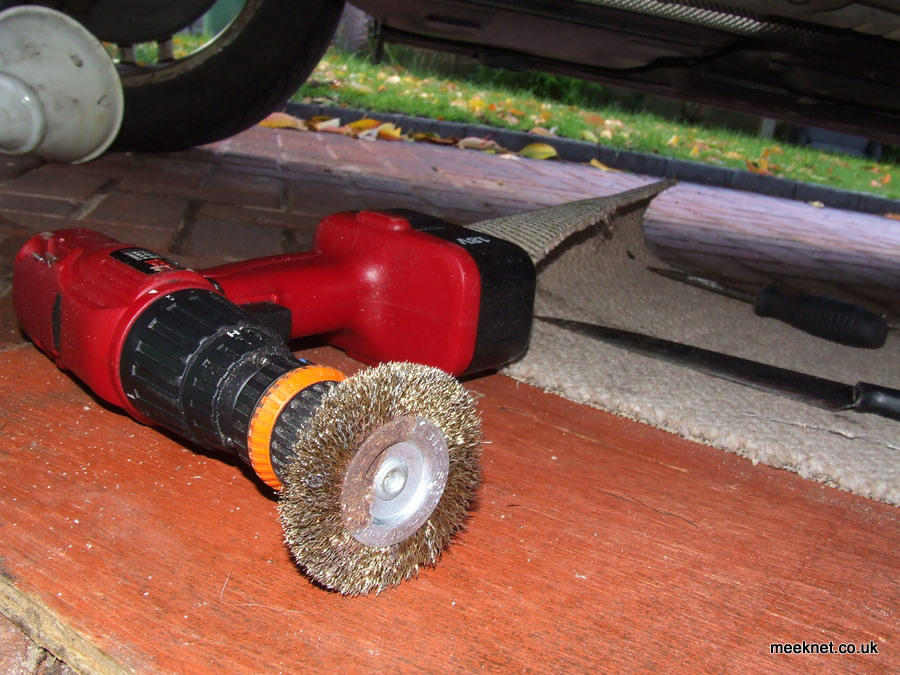
The pipe is pretty corroded, although the tank itself looked in good condition with no rust on the seams or underneath. Right, time to clean
the pipe and tank. I used a brass wire wheel:
I cleaned as much as possible with the wheel:

My friend Bob then cleaned behind the pipe with a dremmel (he gets all the good jobs):

The pipe was then further cleaned using a coarse wet-and-dry strip:

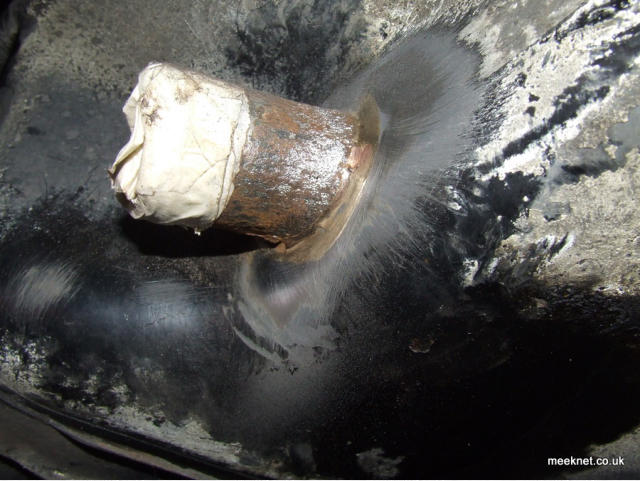
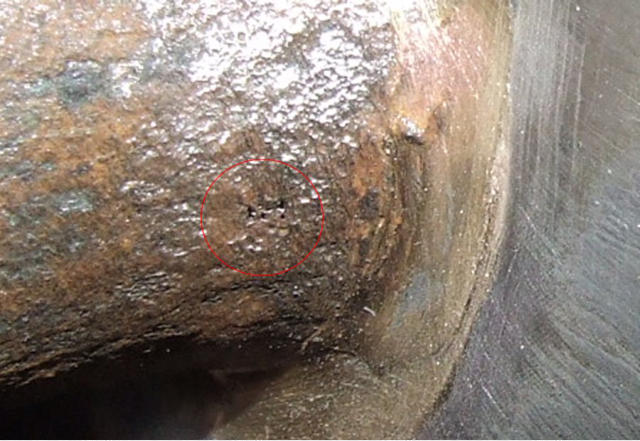
Although I didn't notice at the time, the cleaning had revealed where the fuel-leak was:
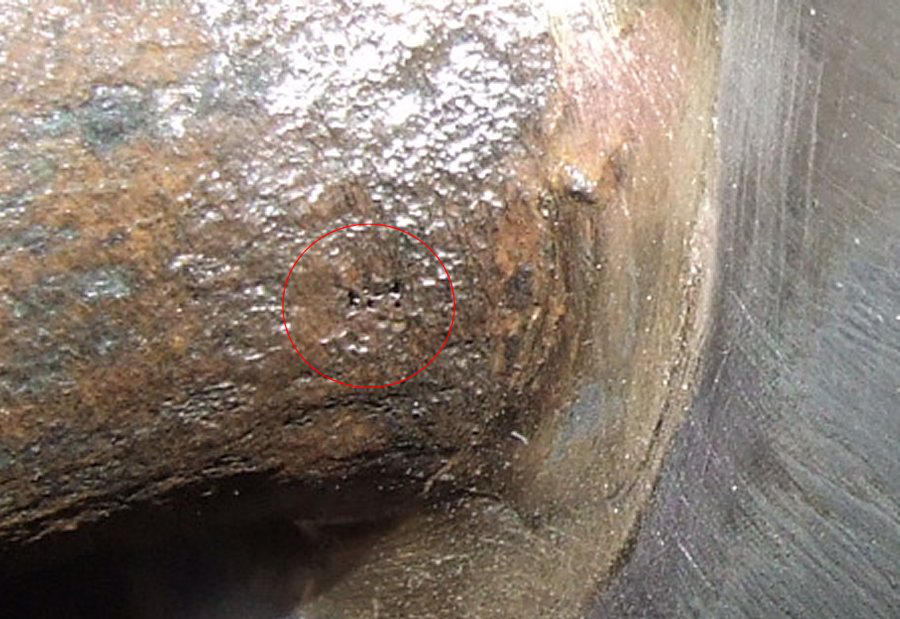
The pipe was perforated with pin-holes due to corrosion, the tank itself was not leaking.
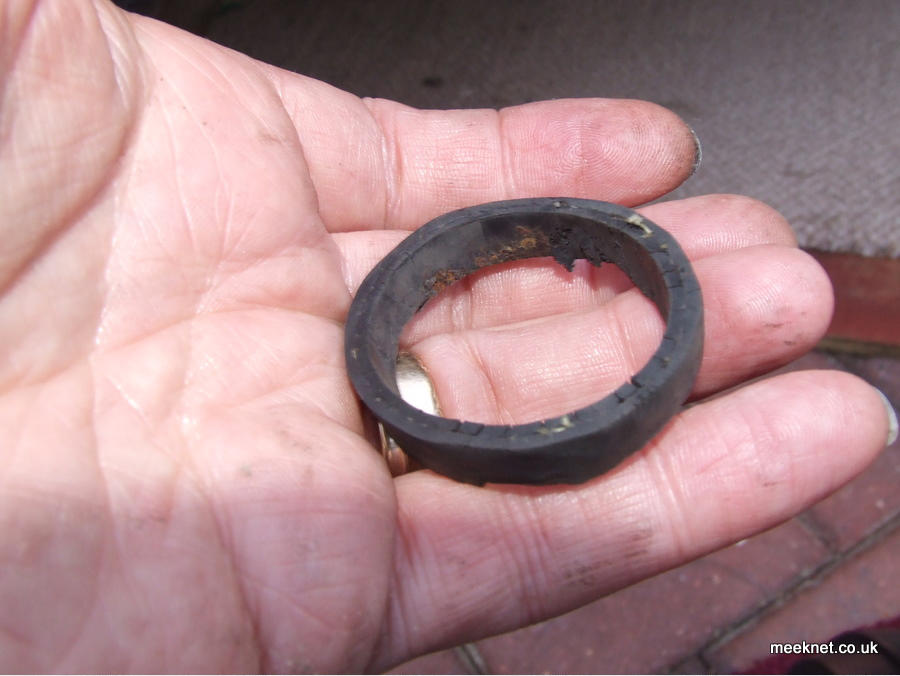
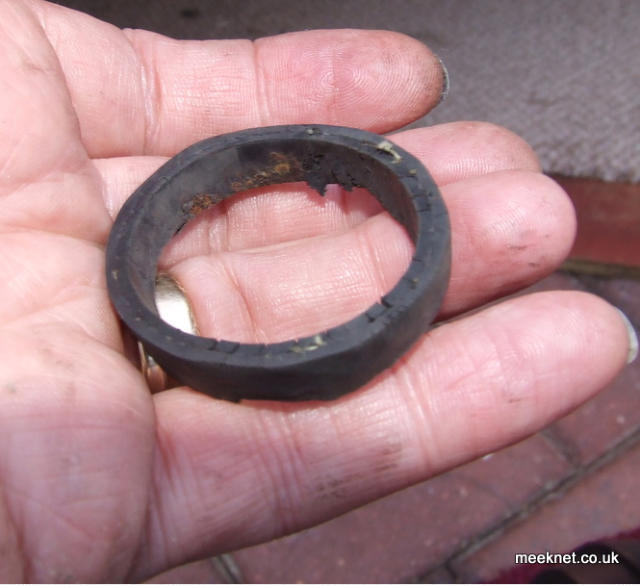
Due to rust being inside the filler hose, I decided to cut the last 10mm off:
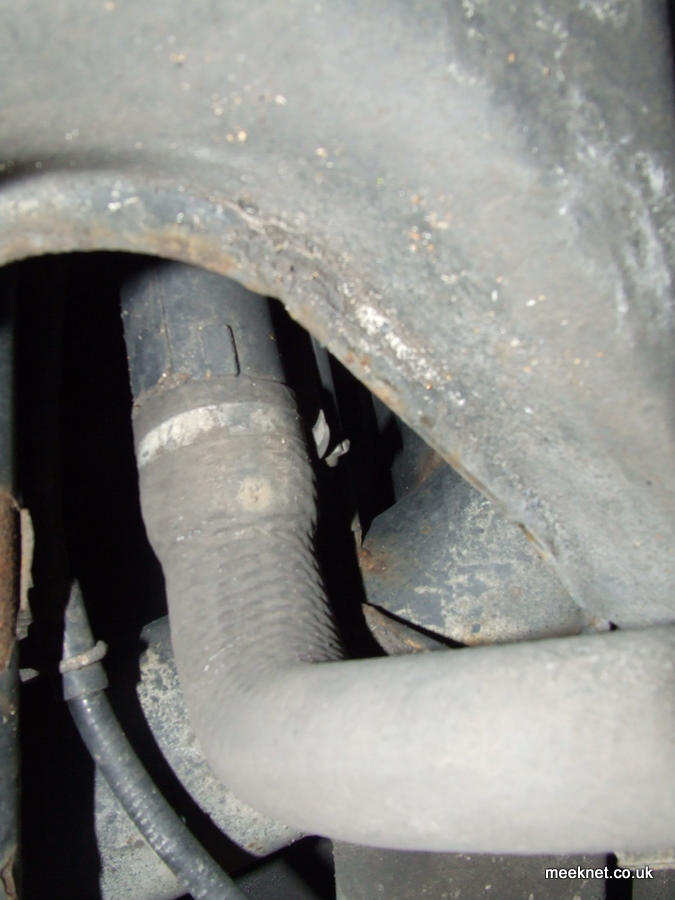
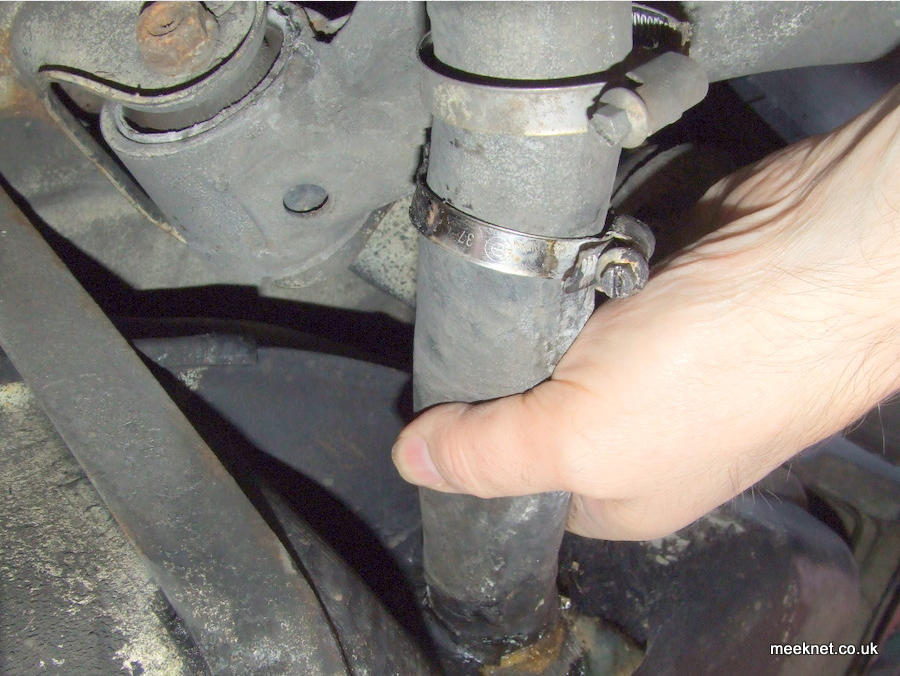
The hose can be replaced completely if required, it joins to the plastic filler neck about 18" from the
tank as it goes through the rear suspension:
:
Actually, this is the second attempt at a repair, the first time I used Araldite, and although it was meant to be petrol-safe the blooming stuff
dissolved completely. This time I have a much better compound - the only problem is that I have 80 Litres of fuel in the tank! I’m pushing
the boat out on the second attempt and will be using axle stands.
Someone asked where you jack the car up to get the axle stands under the jacking points - well, that's easy, you just jack the car up using
the front jacking points and the back comes up too.
Right, first problem is 80 litres of petrol to move out of the tank. As the tank is like a saddle-bag, you can leave about 20 litres in the left-
hand bag, but there is still 60 litres to get out. This is what I did:
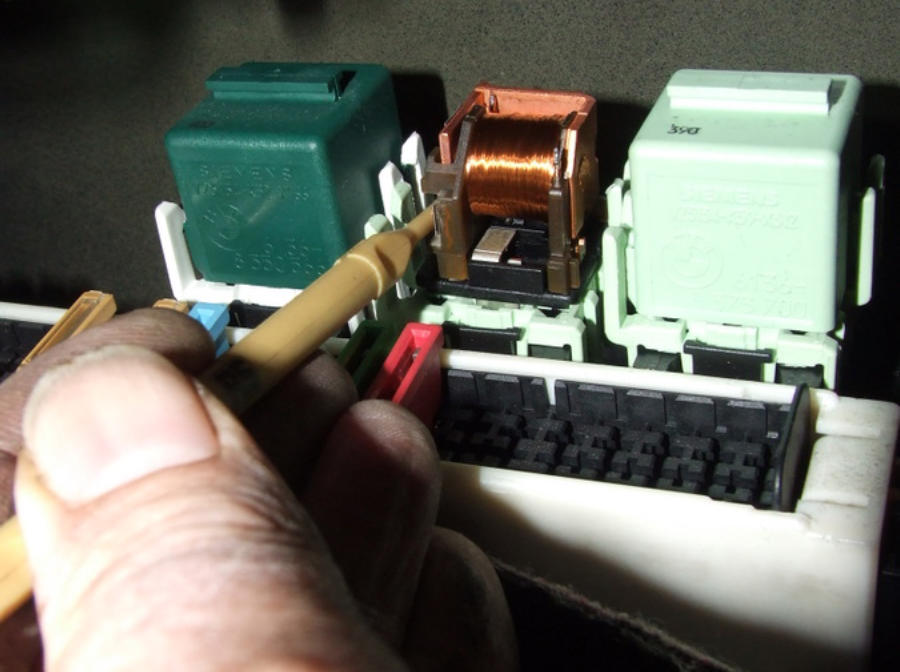
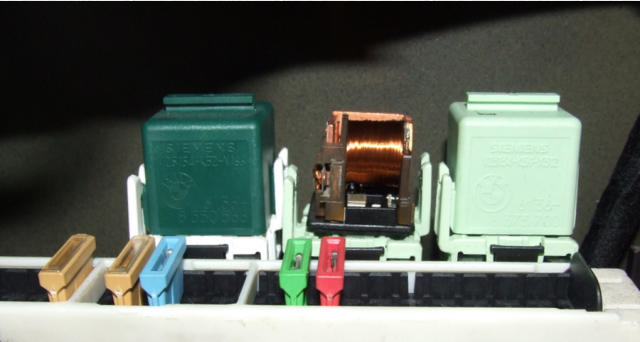
Remove the fuel-pump relay (second-from-last relay in the boot, coloured green), prise off the outer cover and then
stick it back in the fuse tray again:


I then poked the contacts on the fuel-pump relay with an insulated tool - and out comes the petrol into the can:
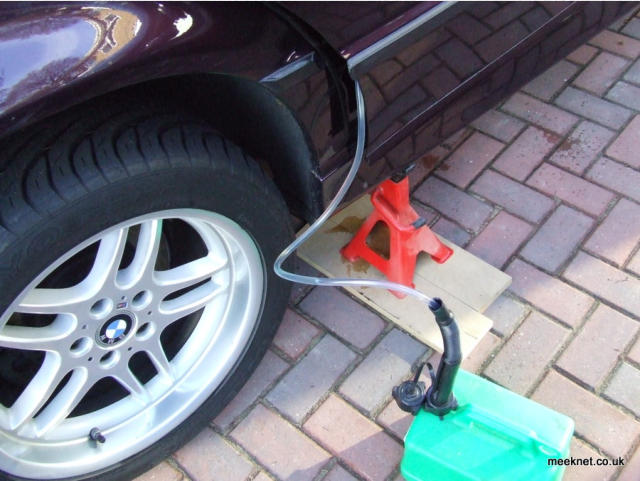
Well, this takes a while to be honest, 60 litres is 12 petrol tins being filled, and then emptied into the Mini and the E31. When air starts
coming out of the pipe, jack up the laft-hand side of the car a bit to get a bit of fuel from the left-hand saddle bag of the tank. When you see
air again let the left-hand side of the car back down again.
I slit the filler pipe from the tank and removed it completely:
The hard bit this time was getting the remains of the Araldite off. Where the petrol had got to it, it just peeled off, where it hadn't it took a lot
of wire-brushing, but I got there in the end:
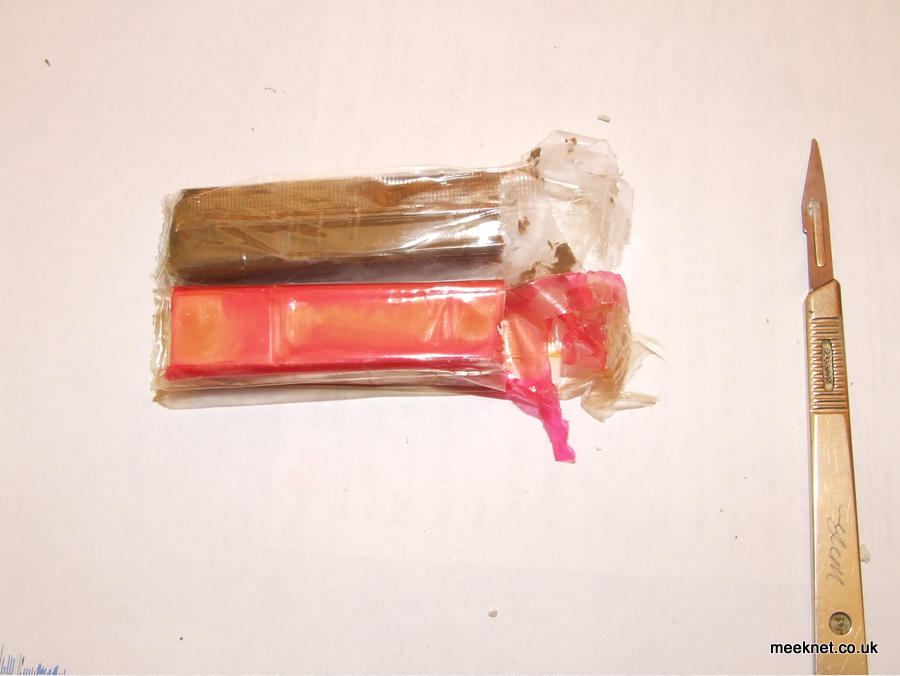
Today I'm using Pratley Putty:

It comes in two sticks, chop equal amounts off and mix it together:
The stuff is just like putty, you work it in a bit at a time, it can't be stuck
on too thickly so it is built up in layers:

I had a feel inside the pipe and I could feel corrosion at the bottom of the
pipe, so I stuck some putty in there as well!
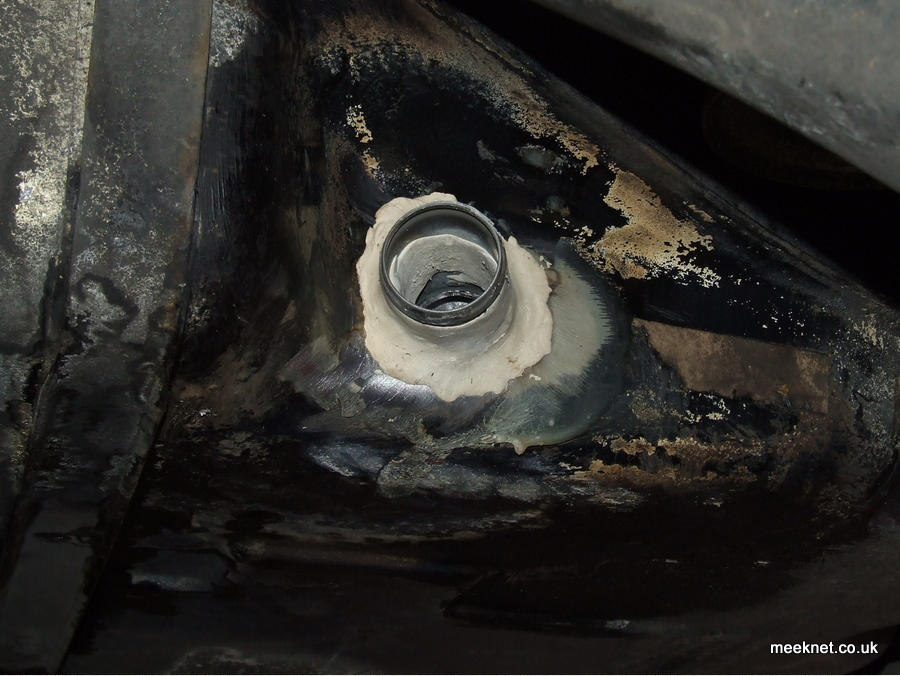
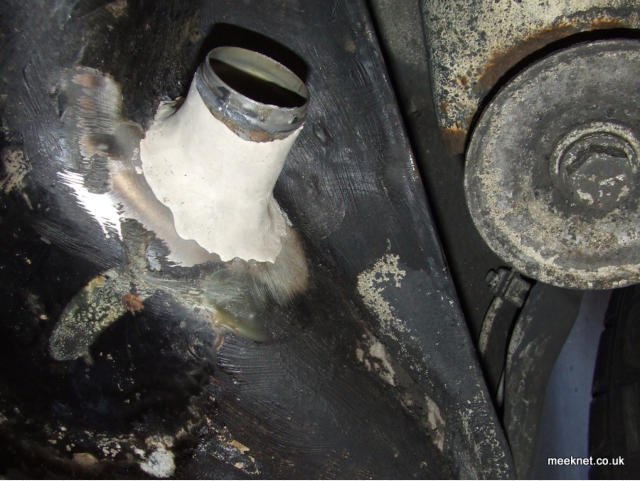
A few days later I cleaned up the area again and stuck another layer on.
I fitted a new filler hose this time, I used some silicone grease to help the pipe over the putty. Back inside the car I used a new
Jubilee clip to fit the fuel pipe back on and refitted the cover, foam, grommet and cloth pad. Then I refitted the rear seat.
After I got the car off the axle stands I stuck 5 litres of fuel back in and fired up, all OK.
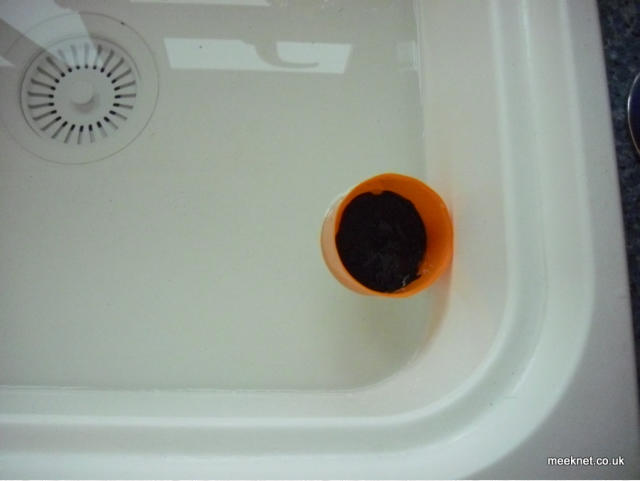
The final stage is to replace the underseal that was removed during the repair. I used this stuff:
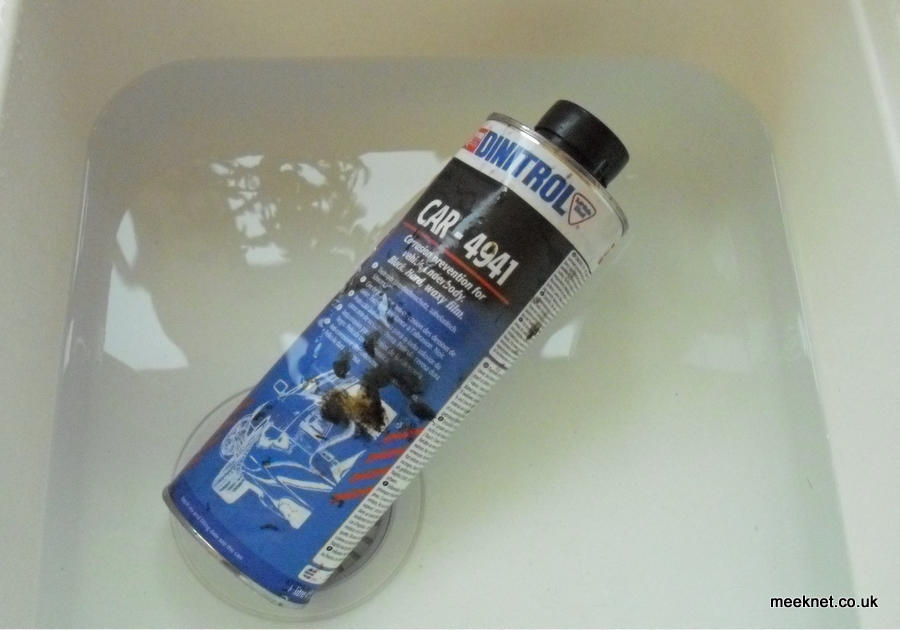
It is extremely gloopy so I heated it up in a sink full of near-boiling water. After 30 minutes I could decant some into
a can-lid that I kept hot in the sink:
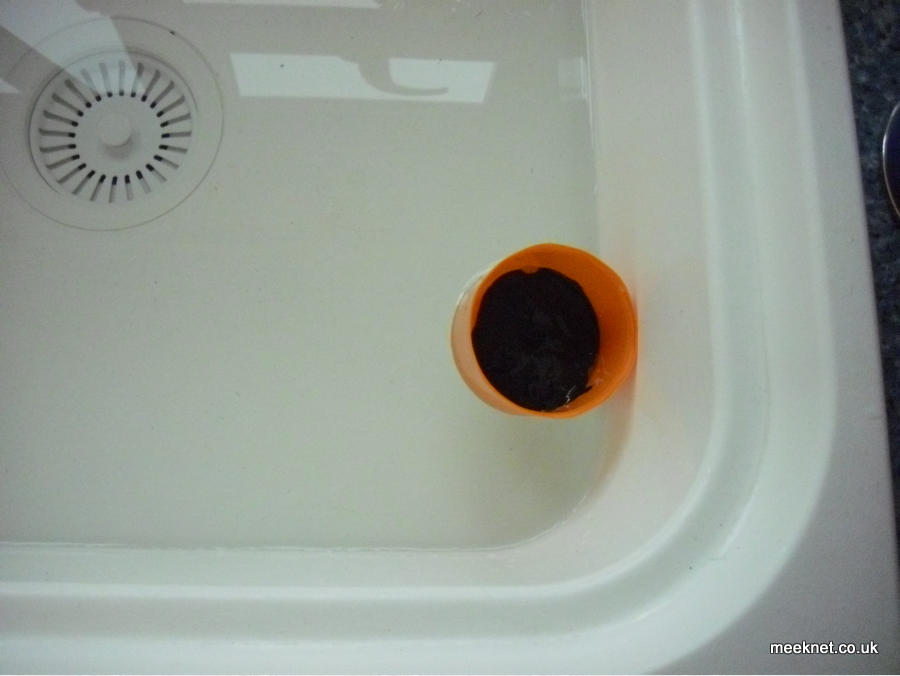
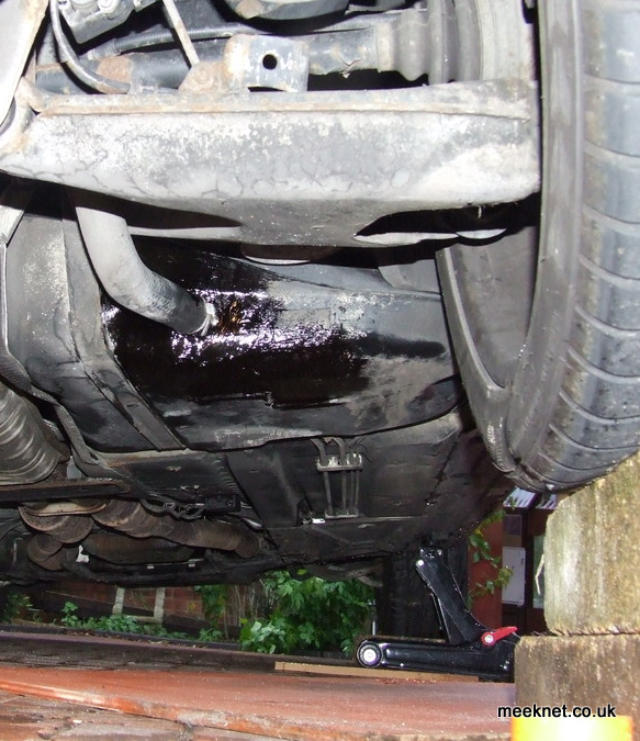
As the stuff starts congeal almost immediately, I got under the car and applied it with a paint brush:
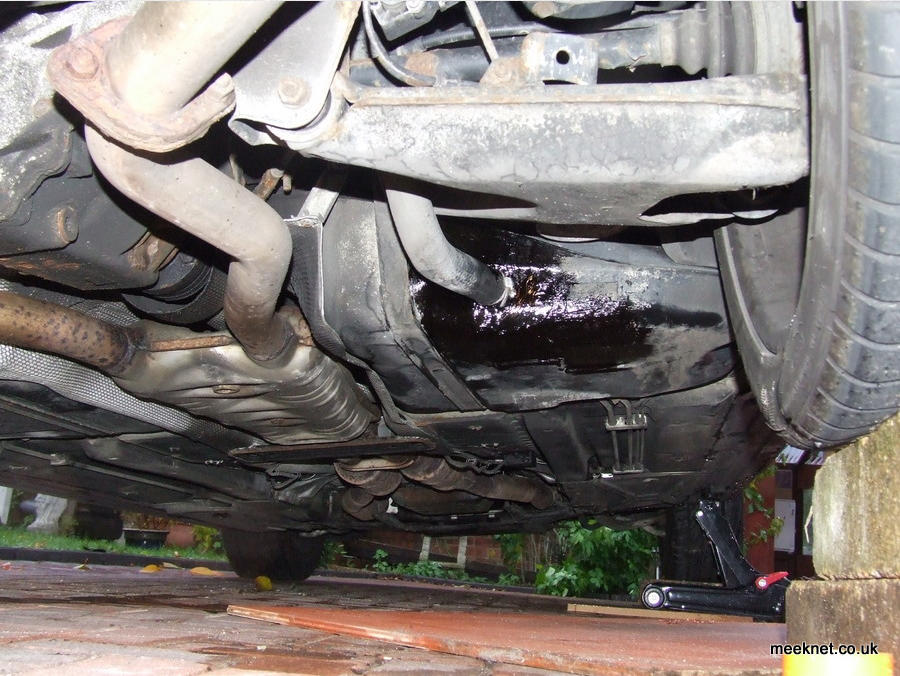

The tank appears to be leaking from somewhere near the inlet pipe at the bottom of the right-hand side of the tank.
Some information on the fuel tank
The tank takes the form of a saddlebag which straddles the propshaft and exhaust resonator, here is a cross-section of the tank:
THE REPAIR
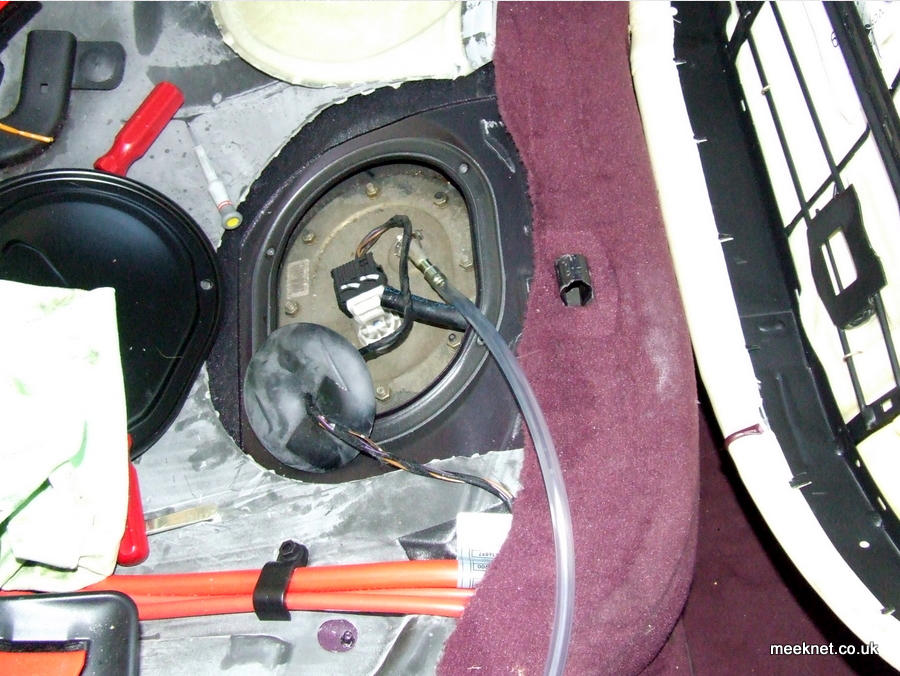
Lift the rear seat up and out, pull off the cloth pad over the fuel-pump loom, pop out the large grommet and reach through and pull the
connector from the tank cover (the connector housing moves to the rear of the car to release the connector). Cut one of the forward ends of
the foam cover and then flap it away from the plate. The tank cover is held on with four Phillips screws, remove the plate and put it to one
side, re-connect the fuel-pump connector.
The routine above is similar to that required to remove the left-hand sender, have a read of this if you have any problems
My plan was to use the petrol pump to get the fuel into petrol cans which I would stick in the Mini and the 840ci. So, I disconnected the fuel
pipe and stuck a long pipe on instead:
And that's it, job done. I'll update this repair in a few weeks, months etc, but I think the repair should hold well.
Update February 2012 - 12 months later - Still holding fine, no sign of leaking or deterioration
Update February 2013 - Still all good - car now sold so no more updates
All done, time for a cup of tea
Tools and parts used on this fix:


SEARCH MEEKNET
SEARCH MEEKNET
TIMM'S BMW E38
Leaking Fuel Tank Repair
This is one of the problems I was dreading, I have heard too many
stories of the cost and work involved in replacing the fuel tank. To get
the tank replaced at BMW will set you back close to a couple of grand.
DIY with a second-hand tank involves dropping the exhaust, heat shields
and propshaft and requires raising the car high enough to get those
parts off.
So, I was particularly miffed to get a whiff of petrol fumes from the E38,
and more than a little disappointed to see this:

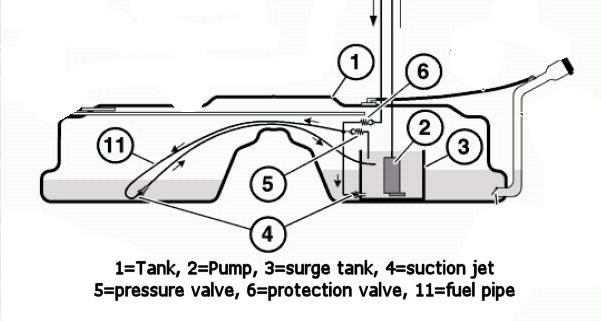
The filler can be seen on the right of the diagram, it is here where the
leak is. One thing that is
important to know and is relevant to the repair is that if you have less
than 10 litres of fuel in the tank it will all be in the surge tank (3). This
means that you can still have the car driveable when repairing the tank.
If you don't have the use of a lift, jack the right-hand side of the car up
and place it on axle-stands. If you are desperate (like me), use concrete
blocks (do not use lightweight blocks, they will break and you will get
squashed):
Start by inspecting the area of the leak, my leak is quite common being
around the filler. I have also heard of leaks from the seam which is around
1" above the filler pipe. These can occur when the ventilation system fails
and the tank collapses under the suction of the fuel-pump, this type of
failure usually requires the replacement of the tank.
My leak was confined to the area around the filler, a close look revealed
all sorts of lumps and bumps on the filler pipe. The leak was either from
the pipe or the join between tank and filler pipe:
I tried a number of solvents to dissolve what I guessed to be underseal,
the most successful being cellulose thinners. A good scrub with a brush
over the problem area removed enough filth so that the filler pipe could
be removed and the remaining fuel drained from the tank. So, we got a
funnel and petrol can ready for the 10 litres we were expecting:

I completely loosened the Jubilee-clip from the filler hose and got ready to
catch fuel. However, the filler hose was firmly stuck to the tank and needed
a good stretching to remove it. When it finally let go of the tank, it popped
off and no fuel at all came out at all! This was due to the remaining 10 litres
being in the surge tank, but at the time I hadn't considered that. I
immediately taped-up the end of the pipe and inspected the area:
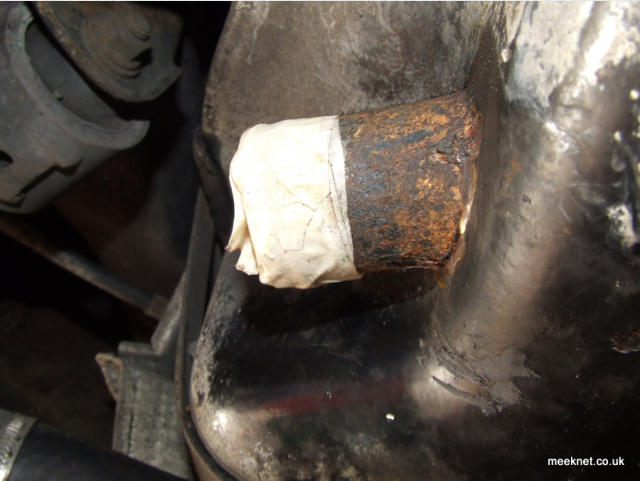
The pipe is pretty corroded, although the tank itself looked in good
condition with no rust on the seams or underneath. Right, time to clean
the pipe and tank. I used a brass wire wheel:

I cleaned as much as possible with the wheel:
My friend Bob then cleaned behind the pipe with a dremmel (he gets all
the good jobs):
The pipe was then further cleaned using a coarse wet-and-dry strip:
Although I didn't notice at the time, the cleaning had revealed where the
fuel-leak was:
The pipe was perforated with pin-holes due to corrosion, the tank itself
was not leaking.
Due to rust being inside the filler hose, I decided to cut the last 10mm off:
The hose can be replaced completely if required, it joins to the plastic
filler neck about 18" from the
tank as it goes through the rear suspension:
:
Actually, this is the second attempt at a repair, the first time I used
Araldite, and although it was meant to be petrol-safe the blooming stuff
dissolved completely. This time I have a much better compound - the only
problem is that I have 80 Litres of fuel in the tank! I’m pushing the boat
out on the second attempt and will be using axle stands.
Someone asked where you jack the car up to get the axle stands under
the jacking points - well, that's easy, you just jack the car up using the
front jacking points and the back comes up too.
Right, first problem is 80 litres of petrol to move out of the tank. As the
tank is like a saddle-bag, you can leave about 20 litres in the left-hand
bag, but there is still 60 litres to get out. This is what I did:
Remove the fuel-pump relay (second-from-last relay in the boot, coloured
green), prise off the outer cover and then stick it back in the fuse tray
again:

I then poked the contacts on the fuel-pump relay with an insulated tool -
and out comes the petrol into the can:

Well, this takes a while to be honest, 60 litres is 12 petrol tins being filled,
and then emptied into the Mini and the E31. When air starts coming out of
the pipe, jack up the laft-hand side of the car a bit to get a bit of fuel from
the left-hand saddle bag of the tank. When you see air again let the left-
hand side of the car back down again.
I slit the filler pipe from the tank and removed it completely:


The hard bit this time was getting the remains of the Araldite off. Where
the petrol had got to it, it just peeled off, where it hadn't it took a lot of
wire-brushing, but I got there in the end:

Today I'm using Pratley Putty:
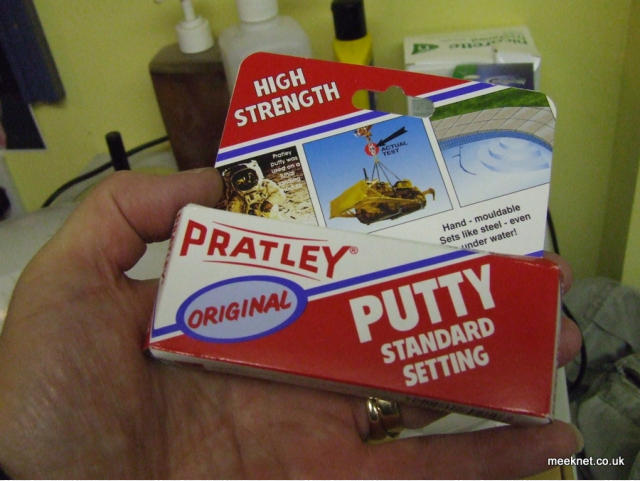
It comes in two sticks, chop equal amounts off and mix it together:

The stuff is just like putty, you work it in a bit at a time, it can't be stuck
on too thickly so it is built up in layers:
I had a feel inside the pipe and I could feel corrosion at the bottom of the
pipe, so I stuck some putty in there as well!

A few days later I cleaned up the area again and stuck another layer on.
I fitted a new filler hose this time, I used some silicone grease to help the
pipe over the putty. Back inside the car I used a new Jubilee clip to fit the
fuel pipe back on and refitted the cover, foam, grommet and cloth pad.
Then I refitted the rear seat.
After I got the car off the axle stands I stuck 5 litres of fuel back in and
fired up, all OK.
The final stage is to replace the underseal that was removed during the
repair. I used this stuff:

It is extremely gloopy so I heated it up in a sink full of near-boiling water.
After 30 minutes I could decant some into a can-lid that I kept hot in the
sink:
As the stuff starts congeal almost immediately, I got under the car and
applied it with a paint brush:
The tank appears to be leaking from somewhere near the inlet pipe at the
bottom of the right-hand side of the tank.
Some information on the fuel tank
The tank takes the form of a saddlebag which straddles the propshaft and
exhaust resonator, here is a cross-section of the tank:
THE REPAIR
Lift the rear seat up and out, pull off the cloth pad over the fuel-pump
loom, pop out the large grommet and reach through and pull the connector
from the tank cover (the connector housing moves to the rear of the car to
release the connector). Cut one of the forward ends of the foam cover and
then flap it away from the plate. The tank cover is held on with four Phillips
screws, remove the plate and put it to one side, re-connect the fuel-pump
connector.
The routine above is similar to that required to remove the left-hand
sender, have a read of this if you have any problems
My plan was to use the petrol pump to get the fuel into petrol cans which I
would stick in the Mini and the 840ci. So, I disconnected the fuel pipe and
stuck a long pipe on instead:
And that's it, job done. I'll update this repair in a few weeks, months
etc, but I think the repair should hold well.
Update February 2012 - 12 months later - Still holding fine, no sign of
leaking or deterioration
Update February 2013 - Still all good - car now sold so no more
updates
All done, time for a cup of tea
Tools and parts used on this fix:


SEARCH MEEKNET